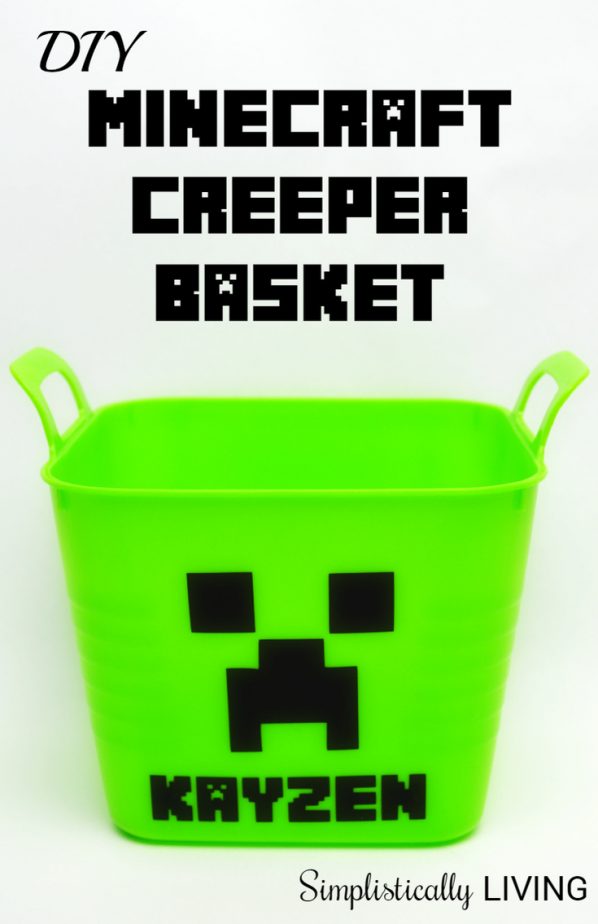
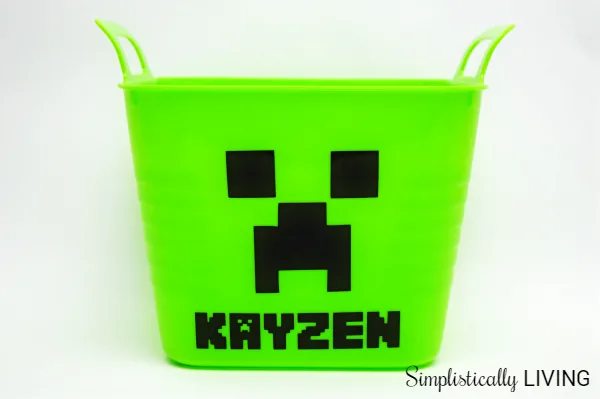
My son Kayzen has recently become interested in Minecraft. Due to it’s popularity, chances are you have a Mincraft fan at home too. With a year full of birthdays and Easter ahead, I wanted to share with you this DIY Minecraft Creeper Basket I came up with!

Personally, I like Minecraft because it creates a challenge and requires children to think critically. With that being said, it’s easy to see why it has become so popular in the gaming world.
Although there is a line of Minecraft toys and LEGO’s available, there really isn’t a whole lot of other merchandise. Since my son has decided for his 5th birthday he wants a Minecraft party it’s time for me to start planning ahead and using my silhouette machine to make all sorts of Minecraft themed party decor. I also know that Easter is nearing so I wanted to knock out two birds with one stone so to speak. So I came up with a quick and easy basket. This basket only requires a few things and it’s very inexpensive to make (about $0.75 each). Ready to learn how to make your own? Check out the instructions below!
DIY Minecraft Creeper Basket
Supplies Needed:
- Lime green square baskets (I found these in packs of 2 at Dollar Tree)
- Silhouette Machine for cutting creeper out
- Black Oracal 651 adhesive vinyl (my favorite is from Expressions Vinyl)
- Your silhouette weeding tools to get a clean design from
- Free Minecraft font download found HERE (the file from Dafont.com is safe. I cannot vouch for other downloads from other sites)
Directions:
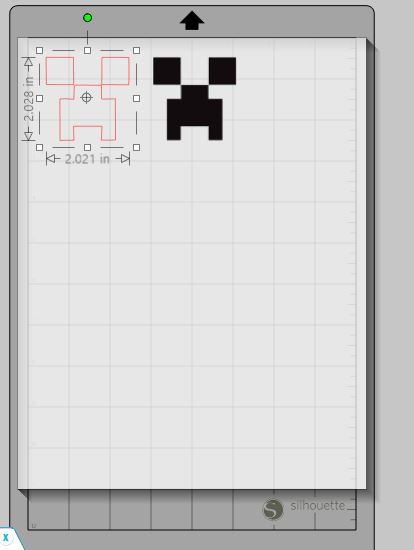
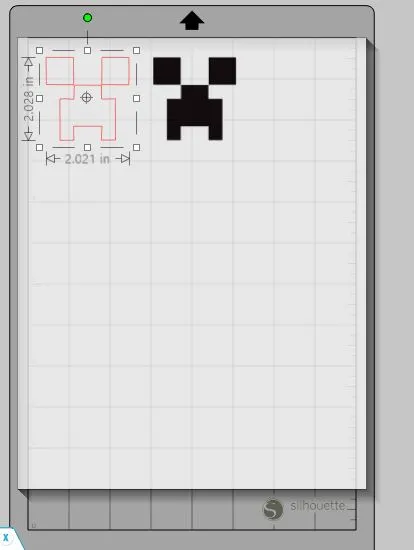
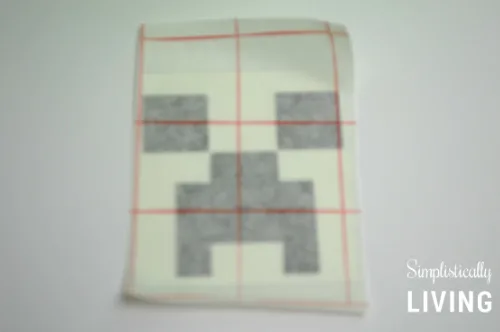
- Using your silhouette machine upload the Minecraft Creeper image into your silhouette software. In order to have the image fit onto the square baskets you will want your image size to be exactly 2.028″ x 2.021″ (see screenshot below).
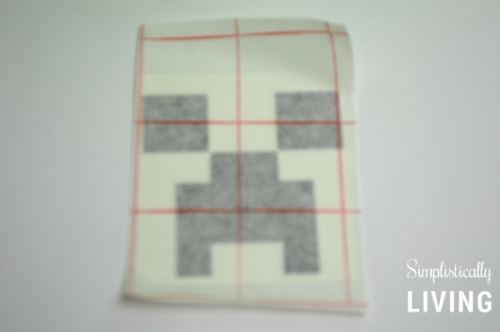
- Cut your image out in the adhesive vinyl and weed the image out.
- Using your contact or transfer paper align the image onto your basket. Helpful tip: If you plan on personalizing your basket with a name make sure you leave enough room to place that name onto it.
- If you plan on personalizing with a name you can download the Free Minecrafter Font from Dafont.com. Then type and cut the name in vinyl and repeat steps 2 and 3 above.
- You will then have a custom made Minecraft Creeper Basket that took only a few minutes to make and can be done for a few dollars!

Note: If you do not own a silhouette machine you can also use black electrical tape for the creeper image. Just tear pieces in the correct size and apply to the basket!
Disclosure: I was given vinyl from Expressions Vinyl to complete this project. The opinions expressed in this publication remain my own.
Minecraft Creeper Munch Simplistically Living
Tuesday 9th of February 2016
[…] This tasty treat only takes a few minutes to make and would be perfect for a Minecraft themed party. The container you see above is one I found at Dollar tree and you can check out my tutorial on how to make your own Minecraft Creeper Basket here. […]
DIY No-Sew Minecraft Bag Simplistically Living
Monday 1st of June 2015
[…] DIY Minecraft Creeper Basket […]
DIY Minecraft Creeper Banner Simplistically Living
Monday 27th of April 2015
[…] DIY Minecraft Creeper Basket […]
Inspire Me Mondays - 22
Monday 2nd of March 2015
[…] DIY Minecraft Creeper Basket with Simplistically Living […]
Brandi Clevinger
Saturday 28th of February 2015
These are pretty awesome! We are a Minecraft family, too, and yes, it's hard to find great items like this so we are forced to be creative :) I did an entire Minecraft party from scratch, too, and they turned out amazing! Check it out sometime (it has FREE printables, too!) http://www.beingfibromom.com/minecraft-birthday-party/
Thanks for sharing your post at Inspire Me Mondays!
Brandi Clevinger
Saturday 28th of February 2015
This post is one of my two favorite posts from this past Monday's linkup at Inspire Me Mondays! It will be featured during this Monday's linkup party at www.beingfibromom.com I also pinned this to the Inspire Me Mondays board at www.Pinterest.com/beingfibromom which is reserved for select posts.