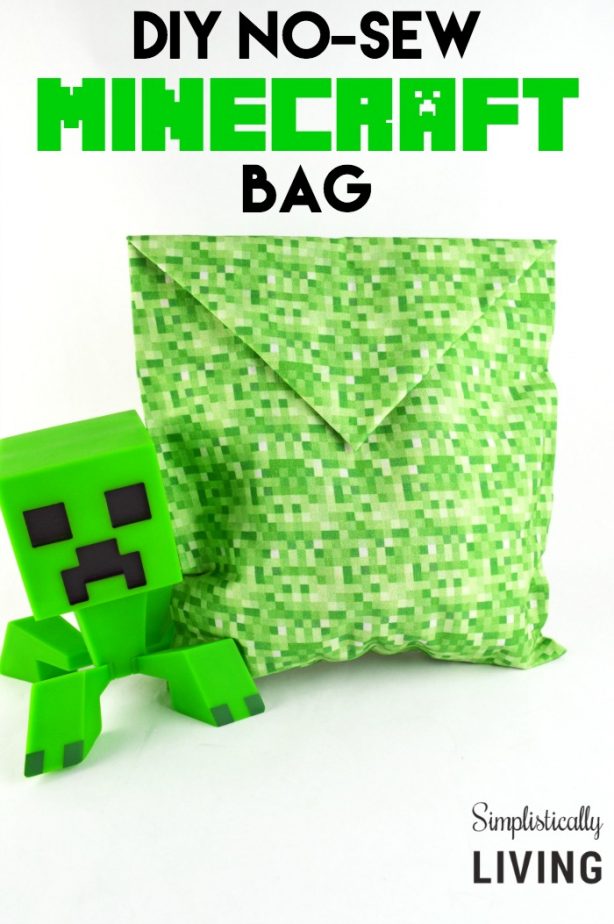
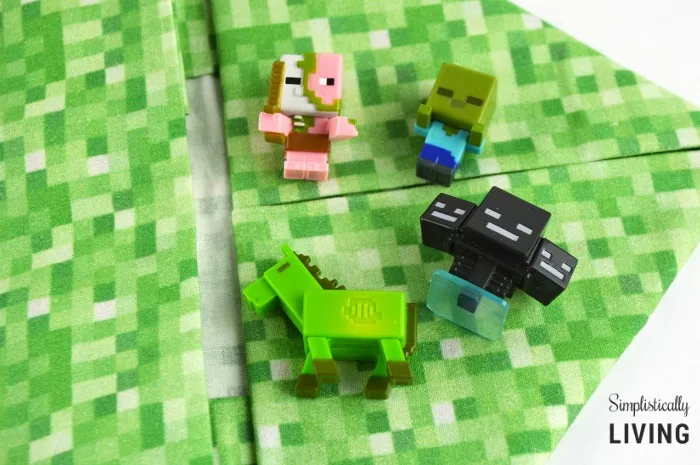
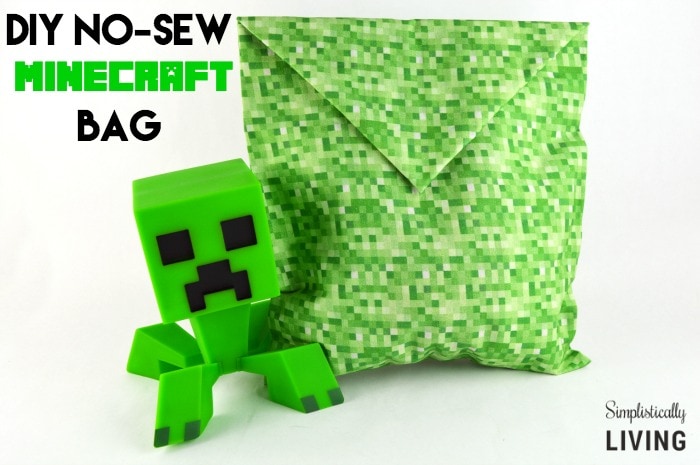
My oldest son loves to collect little action figures especially Minecraft ones. He also loves to travel with those little figures so I decided to come up with fun way for him to do just that! This DIY No-Sew Minecraft Bag is simple to make and it’s so cool looking!
Before we get started I want to point out that the fabric used in this craft is custom made by Zazzle. I actually uploaded an image of the Minecraft pixel background and they customly printed it onto fabric. Isn’t that just the coolest thing? So if you want to achieve this exact look, make sure you order your own fabric from them.
Although this bag is quite simple to make, it is time consuming. It took me about an hour total to make it but the end result is amazing and it’s totally worth the excitement your child will express when they see this!
I mentioned I made this so my son could store and travel with his Minecraft figures but your child can use it for a variety of uses. It can be their own little “chest”. You can also use some black fabric and add a Creeper face to the backside. I might do that later but really wanted the focus to be on the actual bag for now.
How to Make a No-Sew Minecraft Bag:
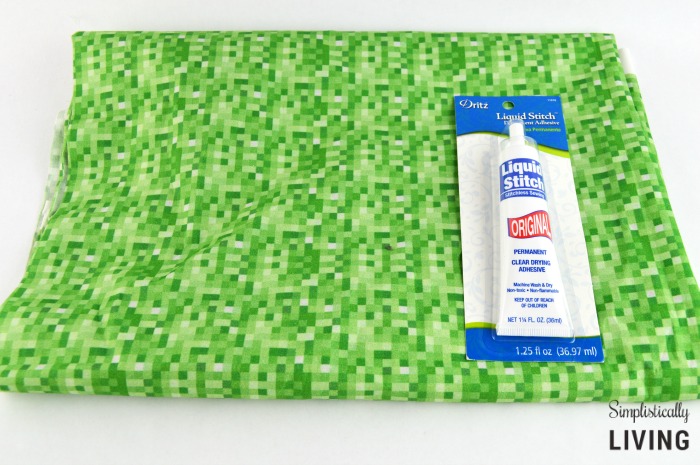
Supplies needed:
- Custom printed Minecraft pixel fabric (Zazzle.com)
- Liquid Stitch
- Scissors
- Brush (I used a craft brush) to help apply adhesive
Directions:
- Cut your fabric into the size of the bag you want to make. I ordered a yard of fabric and cut it equally into fourths. I then used one of those 1/4 pieces to create my bag. You truly need to decide how large or small you want your bag before continuing to step 2.
- Before applying ANY glue I highly recommend playing with your fabric and folding it up into the bag to see how you like it. This adhesive is PERMANENT so once it dries, there is no going back. I just folded and applied pressure to make creases which made this process a lot easier. I folded each side in about 1/2 inch to give a straight and even seam to the bag.
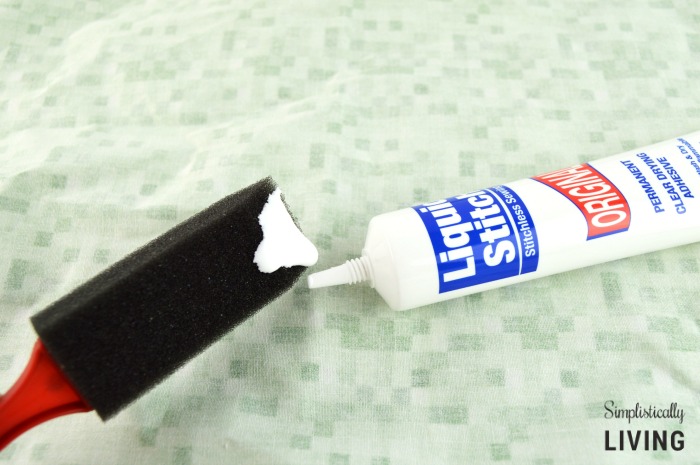
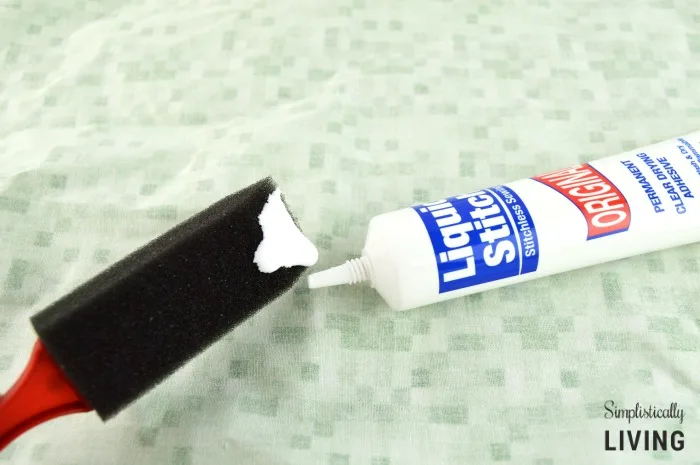
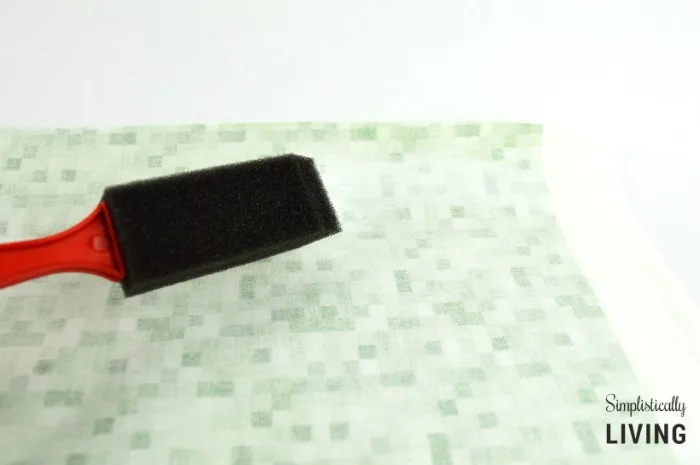
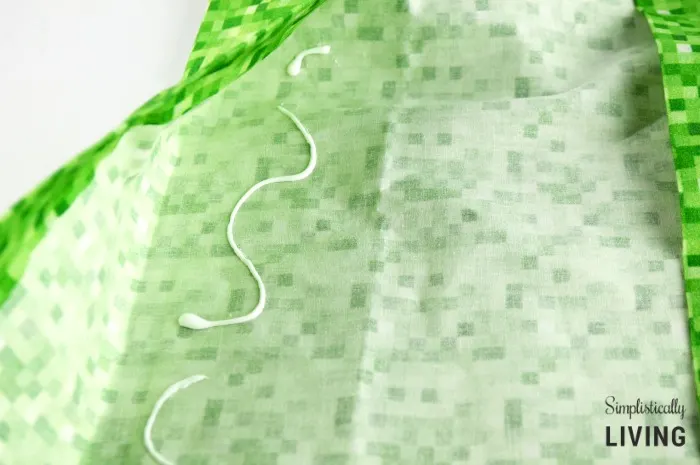
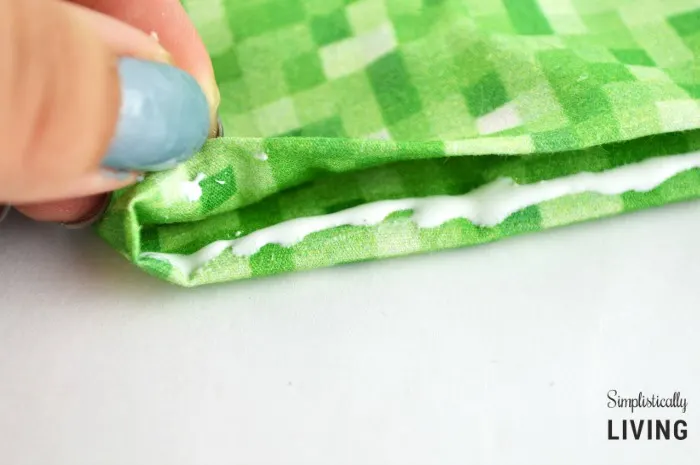
- Once you have determined the size and feel for your bag, it’s time to start applying the adhesive. I put a bit of adhesive directly on my craft brush and then applied it into small sections to the fabric that needed gluing. I would apply pressure until the adhesive stuck then worked on the next section continuing until that entire side was glued down.
- Once you’ve completed the step above, you should have an entire side that looks like this:
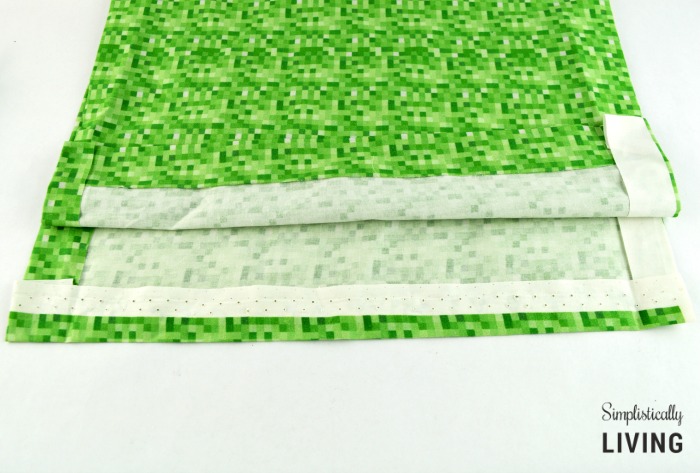

- Lay the entire piece of fabric flat (with the seams glued down facing toward you).
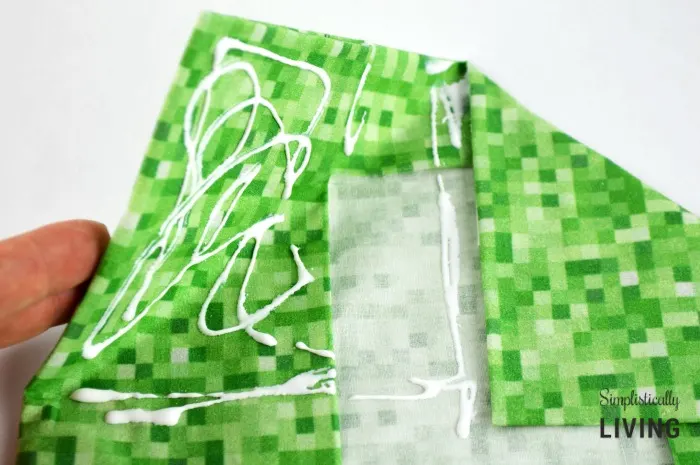
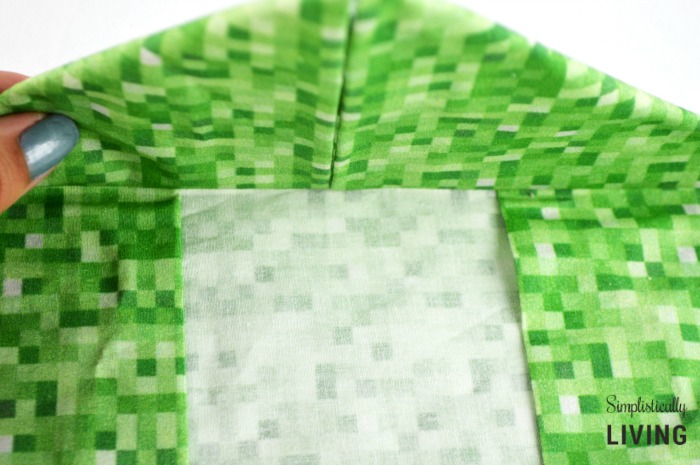
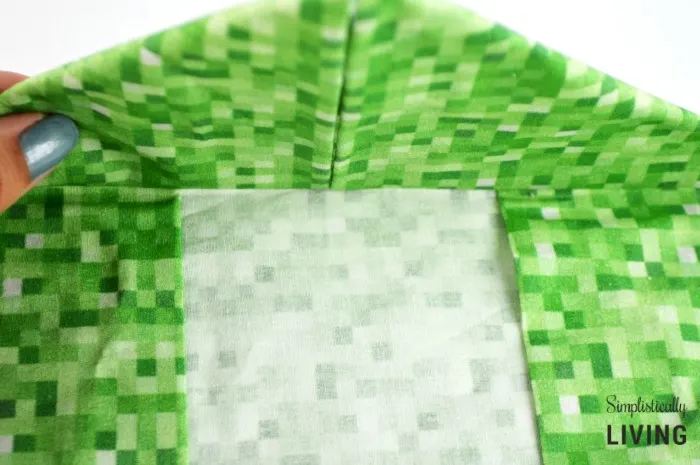
- Take each side and fold the fabric inward about an inch (see image below). Then glue this area down to itself.

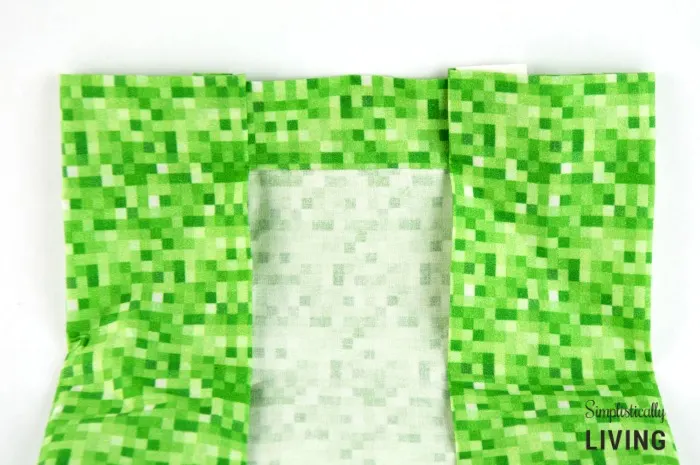
- The next step is to get the top part completed. This will be the part that folds over to close your bag. You want to fold in the two sides until they meet and form a triangle shape.

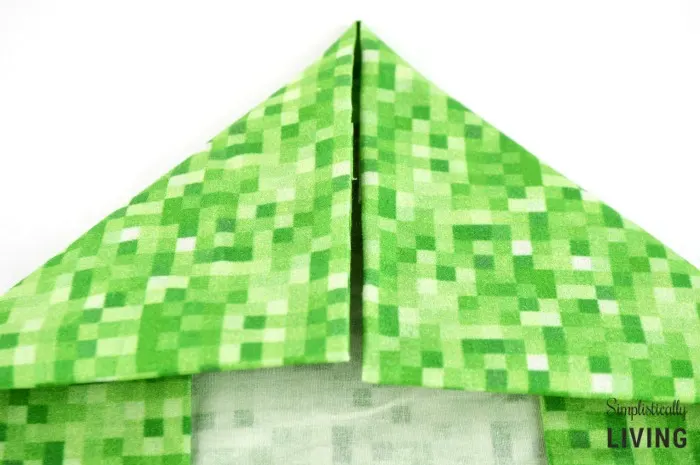
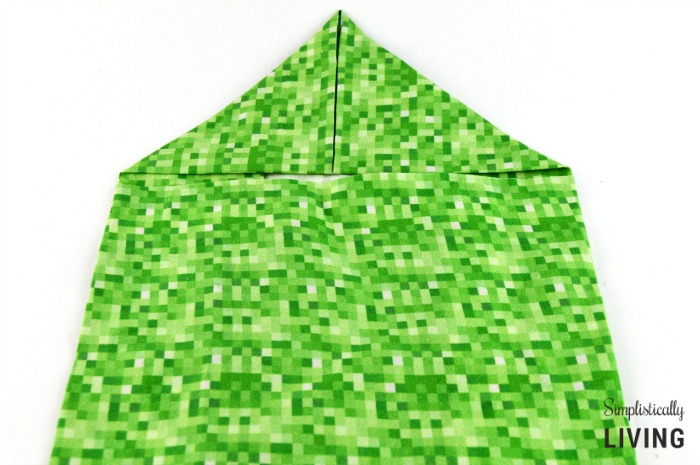
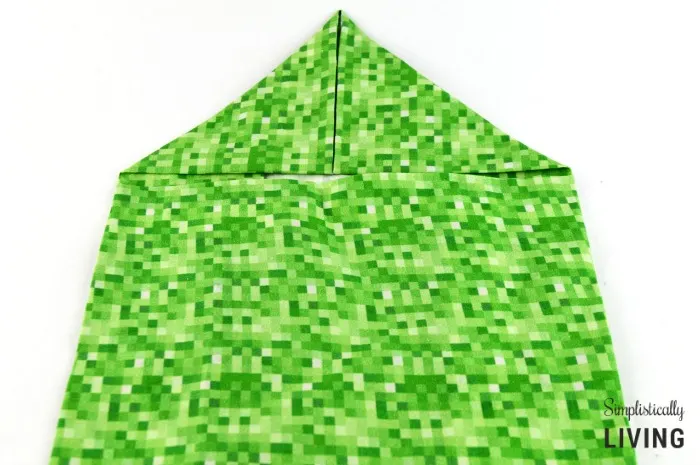
- Before you glue this part down, you want to ensure the two corners meet up straight like shown below.

- Then glue down these two pieces down.

- At this point you should have the two sides, and the top part glued and finished. The top (triangle) part should move back and fourth easily like a hinge. This will be the way you close your bag.
- Take the bottom piece of the fabric and fold upwards until it meets the area where the top triangle part folds down.
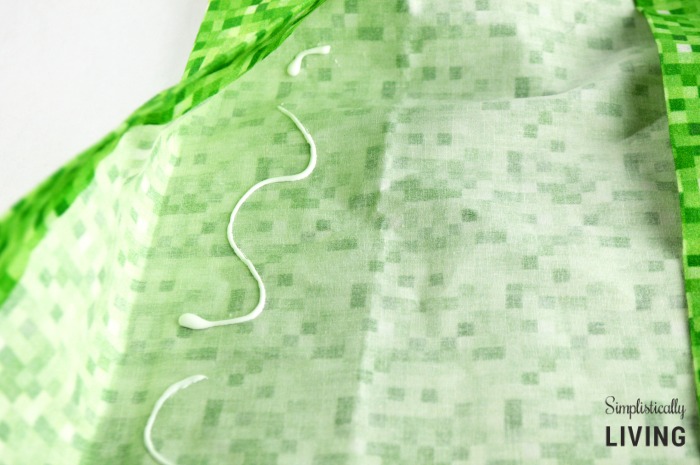
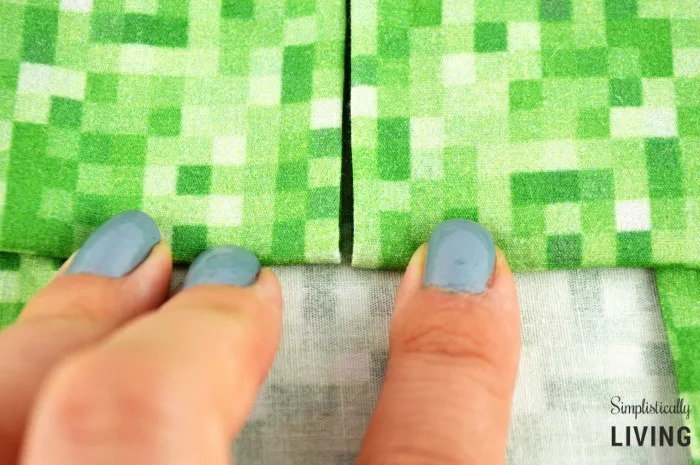
- All that is left is to the glue the sides. Start by applying a very thin layer of adhesive to the sides and pressing the fabric together (like shown below). It is VERY IMPORTANT you DO NOT apply glue to more than a quarter of an inch into the fabric or else you will not be able to put anything inside it.

- Once everything is glued, you want to allow it to dry for at least 24 hours before using or washing. If there are areas you need to reapply glue, you can do so at that time as well!
- Place your child’s Minecraft figures inside and let them carry them around in their new stylish Minecraft bag!

Looking for more great DIY Minecraft Ideas? Check out more below!
DIY Minecraft Creeper Chocolate
Disclosure: I received the fabric featured in this post from Zazzle. The ideas and opinions expressed behind this craft remain my own.
Cool Things To Build In Minecraft - DIY Crafti
Saturday 4th of February 2023
[…] Tutorial: simplisticallyliving […]
Kristen from The Road to Domestication
Friday 5th of June 2015
Okay, the Zazzle idea is brilliant, and I love the finished product! Too cute!!! Thanks so much for taking the time to link up with us over at the #HomeMattersParty - we hope to see you again next week, Brittanie! :)