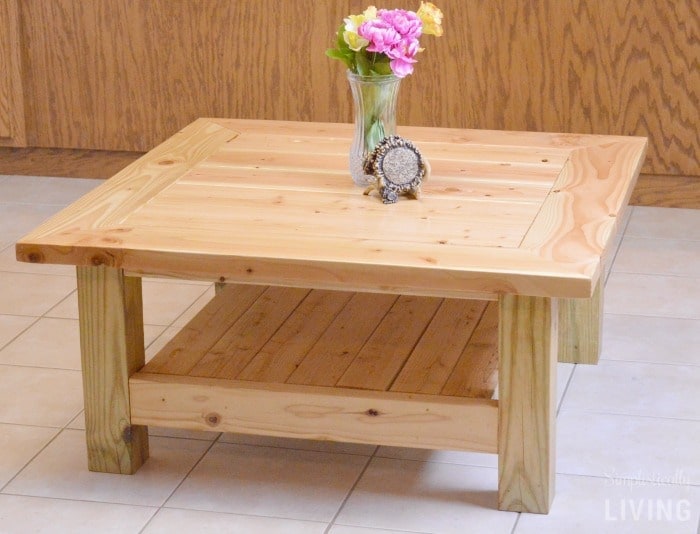
One of my goals for this past year was to start doing more home projects. I love crafting and I love whipping up a tasty recipe but I also have a passion for making my home beautiful. So recently I made this DIY Pine Table with the help of my hubby and I love how it turned out!
In case you are feeling crafty yourself, I’ve created a tutorial to show you just how to make it!

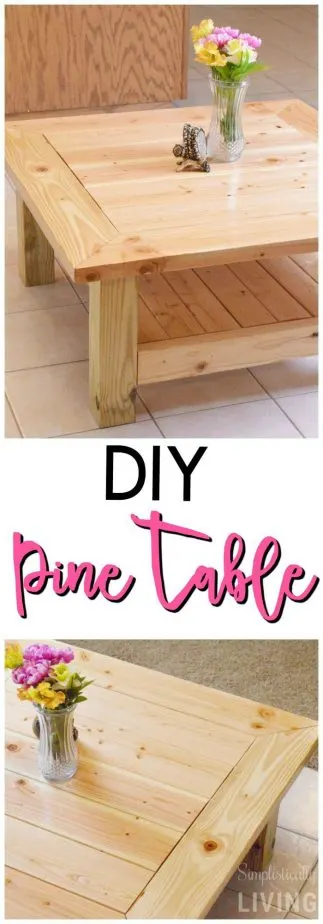
Before I get into the tutorial I do want to mention that this is labor intensive as well as time consuming but in the end you will be left with a beautiful piece of furniture you made yourself and that is entirely worth it!
Materials Needed to Make Your Own Pine Table:
Tools:
- Kreg Jig
- Drill
- Clamp
- Miter Saw (you can also rent one at Home Depot)
- Sander
- 2 ½ inch Wood Screws (around 12)
- 2 ½ Pocket Screws (around 60)
Wood:
- 1 – 4x4x8 (Cut into 4 pieces, 18 inches each)
- 4 – 2x6x8 (Cut into 5 pieces, 27 inches each and 4 pieces at 45 degrees, the longest side of the board reaching 38 inches)
- 5 – 2x4x8 (Cut into 7 pieces, 29 ¼ inches each and 6 pieces, 25 ¼ inches)
Note: You can ask an employee to cut these sizes for you at Home Depot or Lowe’s to cut down on time. 🙂
How to Make Your Own Pine Table:
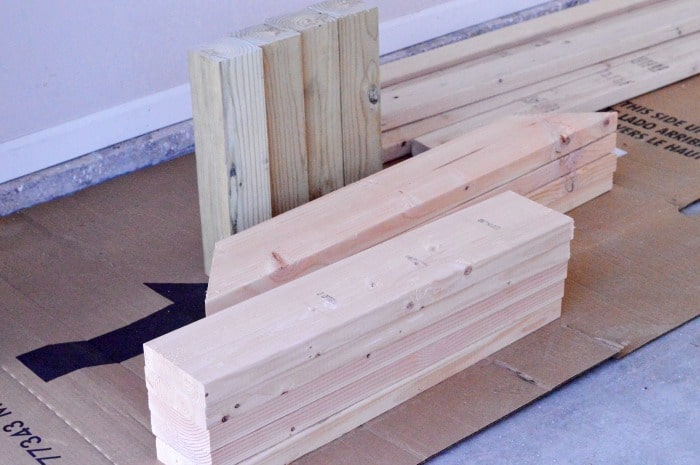
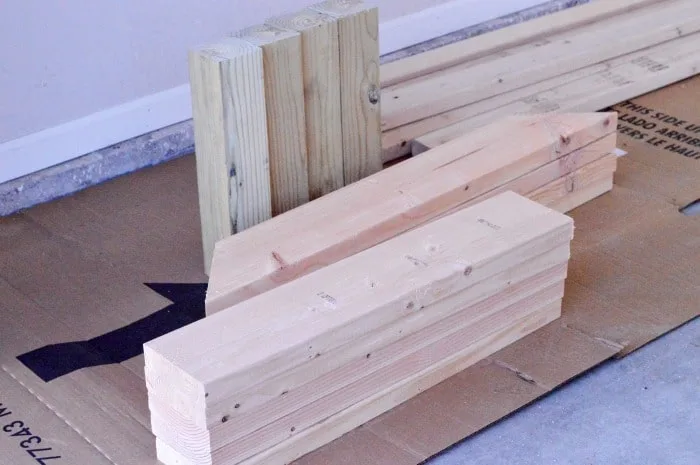
Begin by cutting all your pieces with the miter saw. The measurements for each board are listed above. Be sure that your miter saw is capable of cutting a twelve-inch cross cut. Some of the cheapest miter saws do not have this capability. Again, you can also request your pieces of wood are pre-cut from Home Depot or Lowe’s.
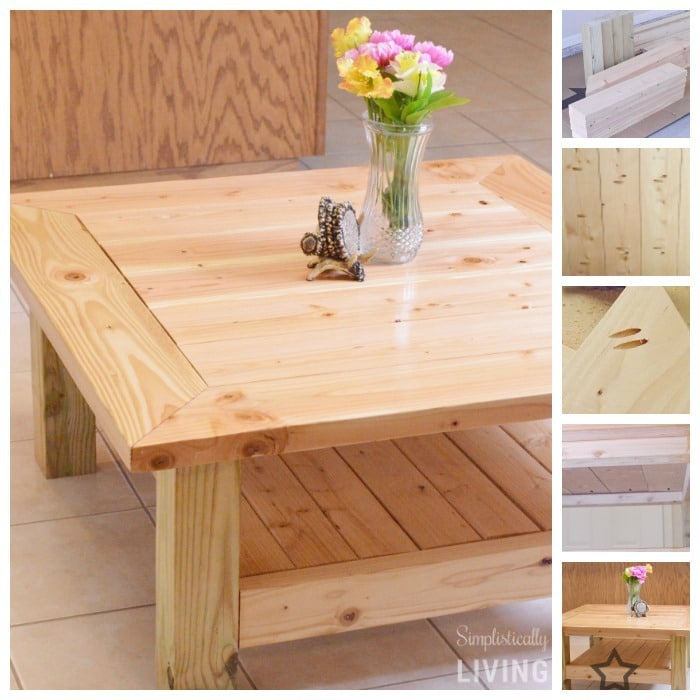
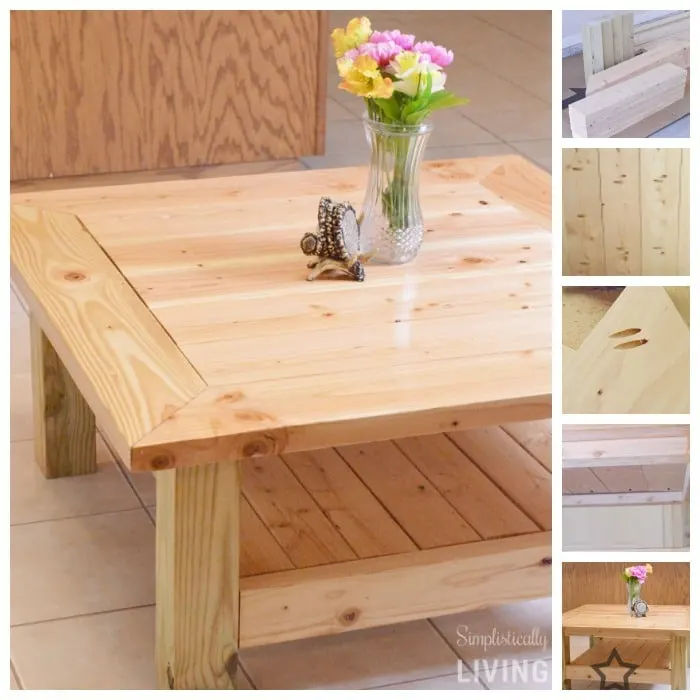
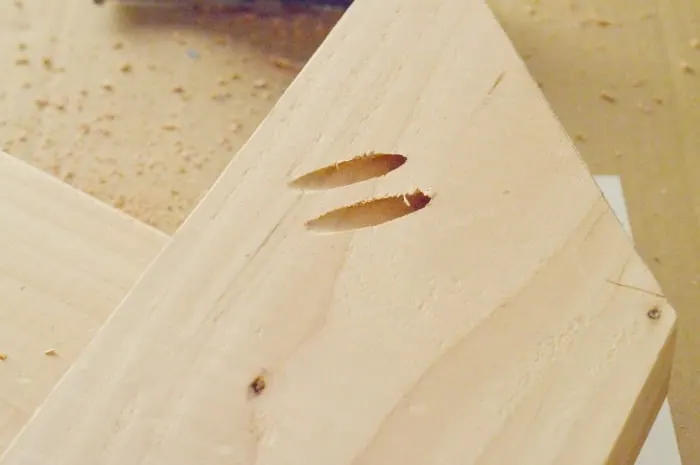
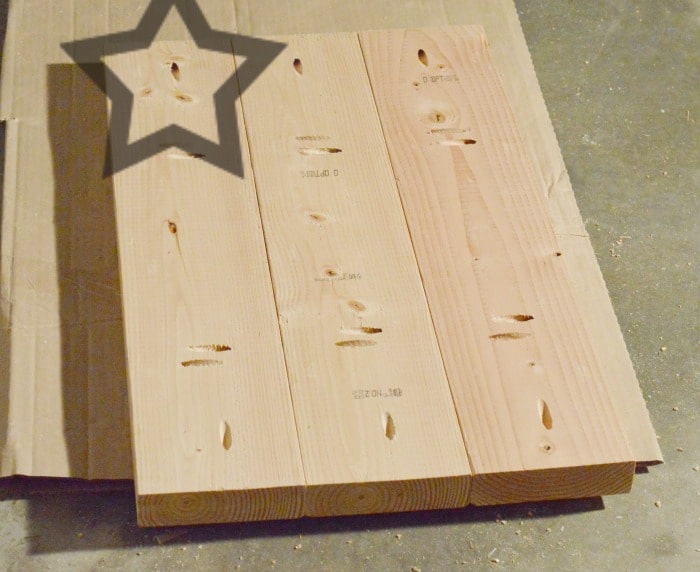
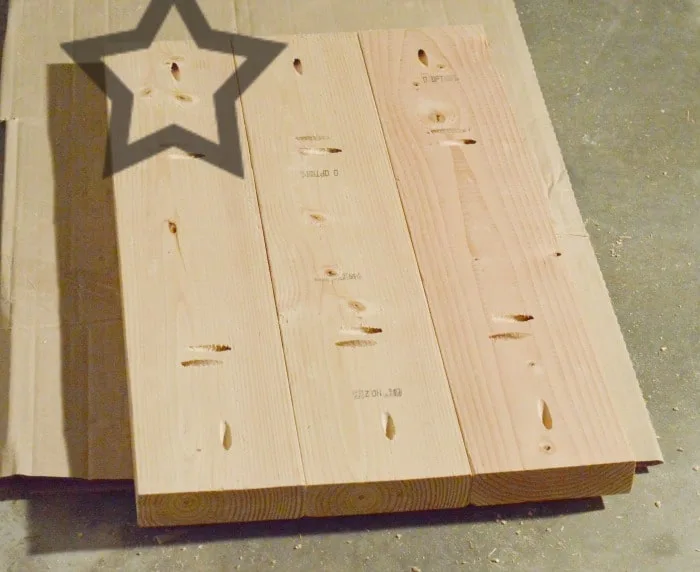
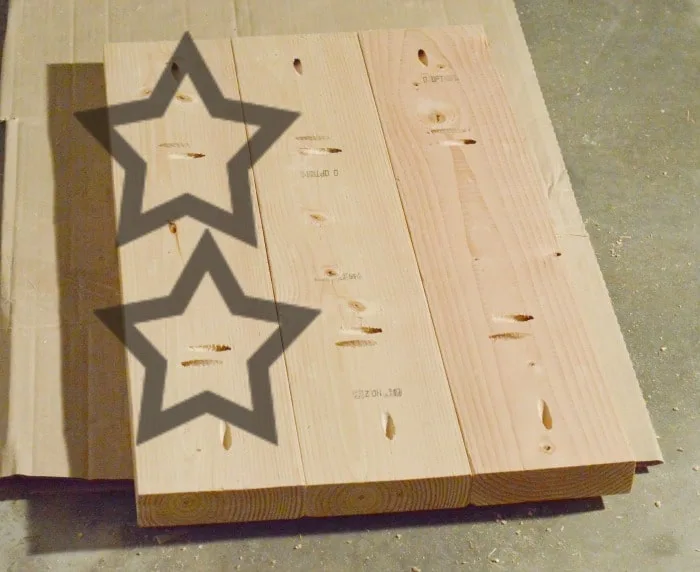
 Next assemble the middle of the top of the coffee table by taking your 27 inch pieces and drilling pocket holes as shown in the photo. In the picture is shown two different ways you can drill the pocket holes, there is really net set way. Add pocket holes at the ends of your boards for the next step.
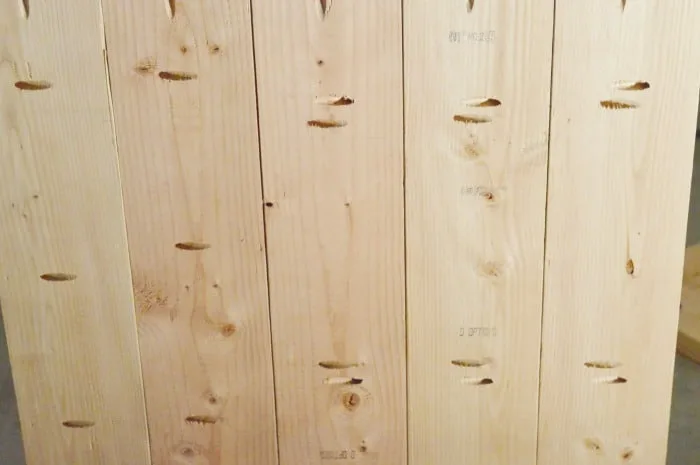
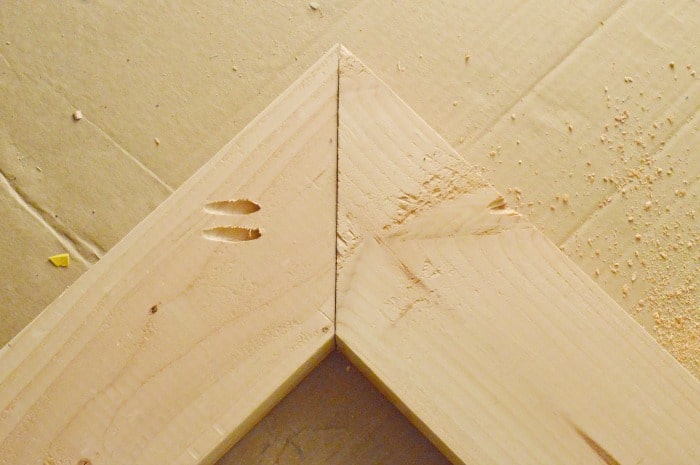
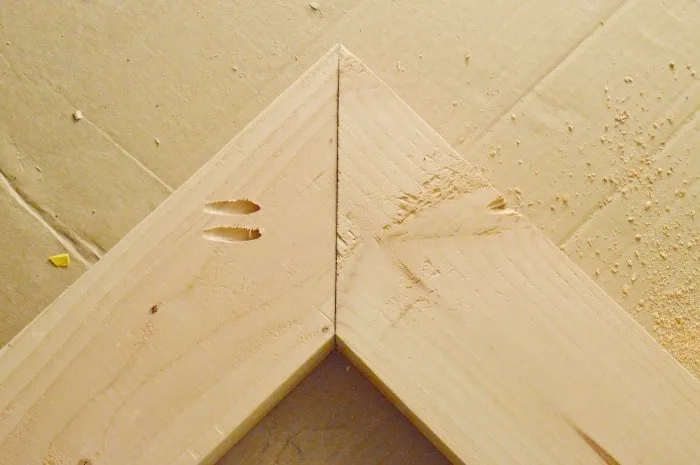
Next, you will assemble the frame of the top of your table by again, drilling pocket holes at the edges of each 38-inch board as shown in the photo. Connect each board by the 45-degree angle cuts. Attach frame to middle with the pocket holes you already drilled in step 2.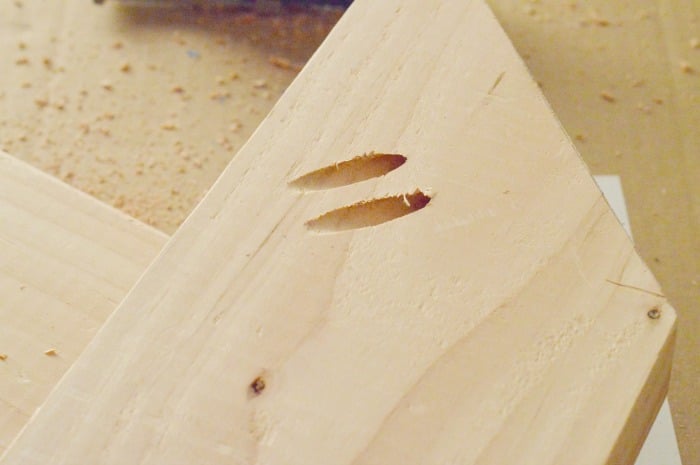
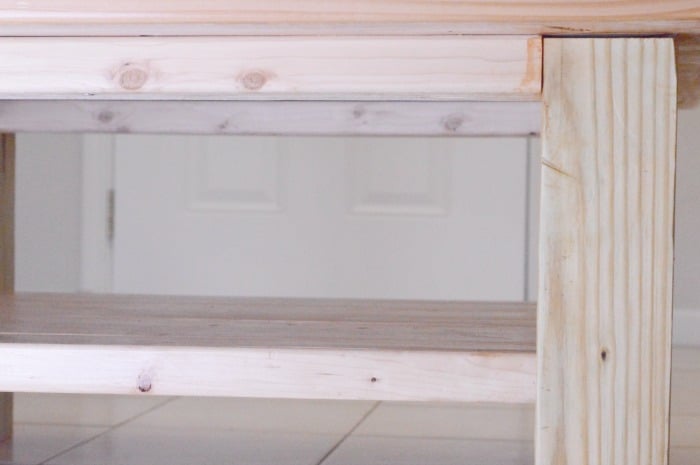
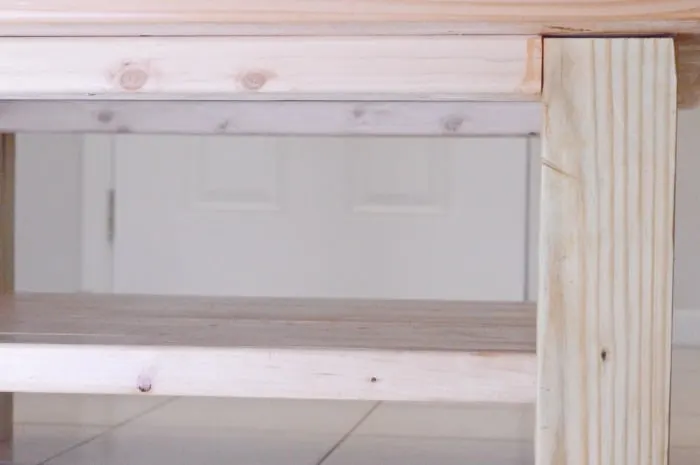
Take your 4×4 pieces and connect them using your 25 ¼ 2×4 pieces as seen in the photos to make a frame of sorts around the top of the table. Place your pocket holes at the ends of your boards as you did in step 2. Then take your two remaining 25 ¼ pieces and place one on each side of the table, about 5 inches from the floor as seen in photo. Attach these two pieces using pocket holes at the ends of your boards as you have in previous steps.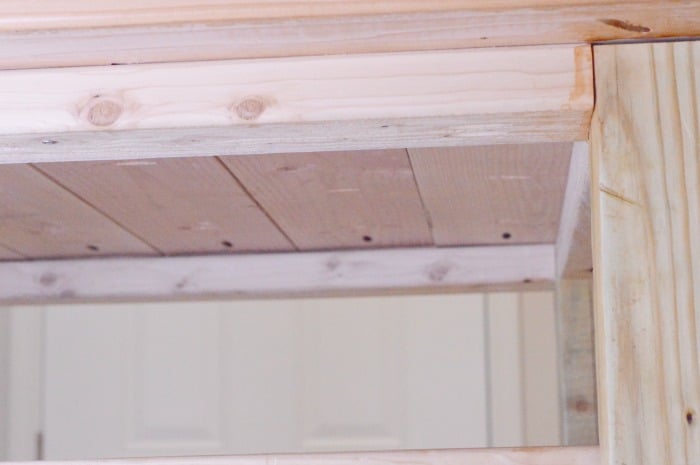
Next, you will assemble the bottom portion of the table by drilling pocket holes just like step 2 except you will be using your 29 ¼ inch board pieces. Refer to step 2 photos for pocket hole placement. 
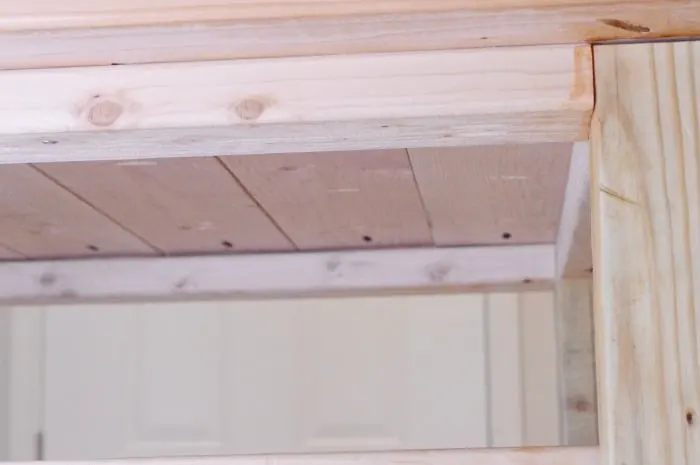
The last step in assembling your table is attaching the top to the frame of the table. Make sure to line your top up before proceeding. Drill three 2 ½ inch wood screws (coming from under the table) through the 2x4s to the table top as seen in the photo. Do this for all four sides.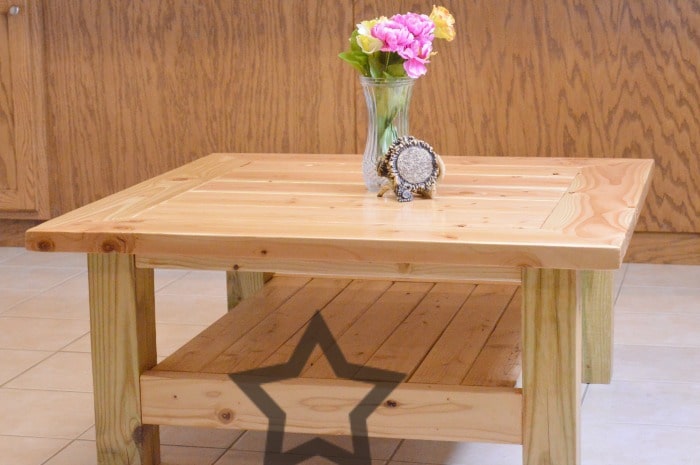

Finish the table by sanding the surface with a 220 grit sand paper until smooth and even. This step will set you up to use whatever finishing product (stain, paint, varnish, etc.) you choose.
Note: When choosing your wood, make sure that all of your wood matches. In other words, if some of the pieces are treated, all of them should be treated. If not, you will end up with your boards having different shades of color which makes it difficult for staining, etc. We made this mistake so we want to make sure you do not!
In the end you will have a beautiful table that you made yourself. It will surely be a conversation starter!