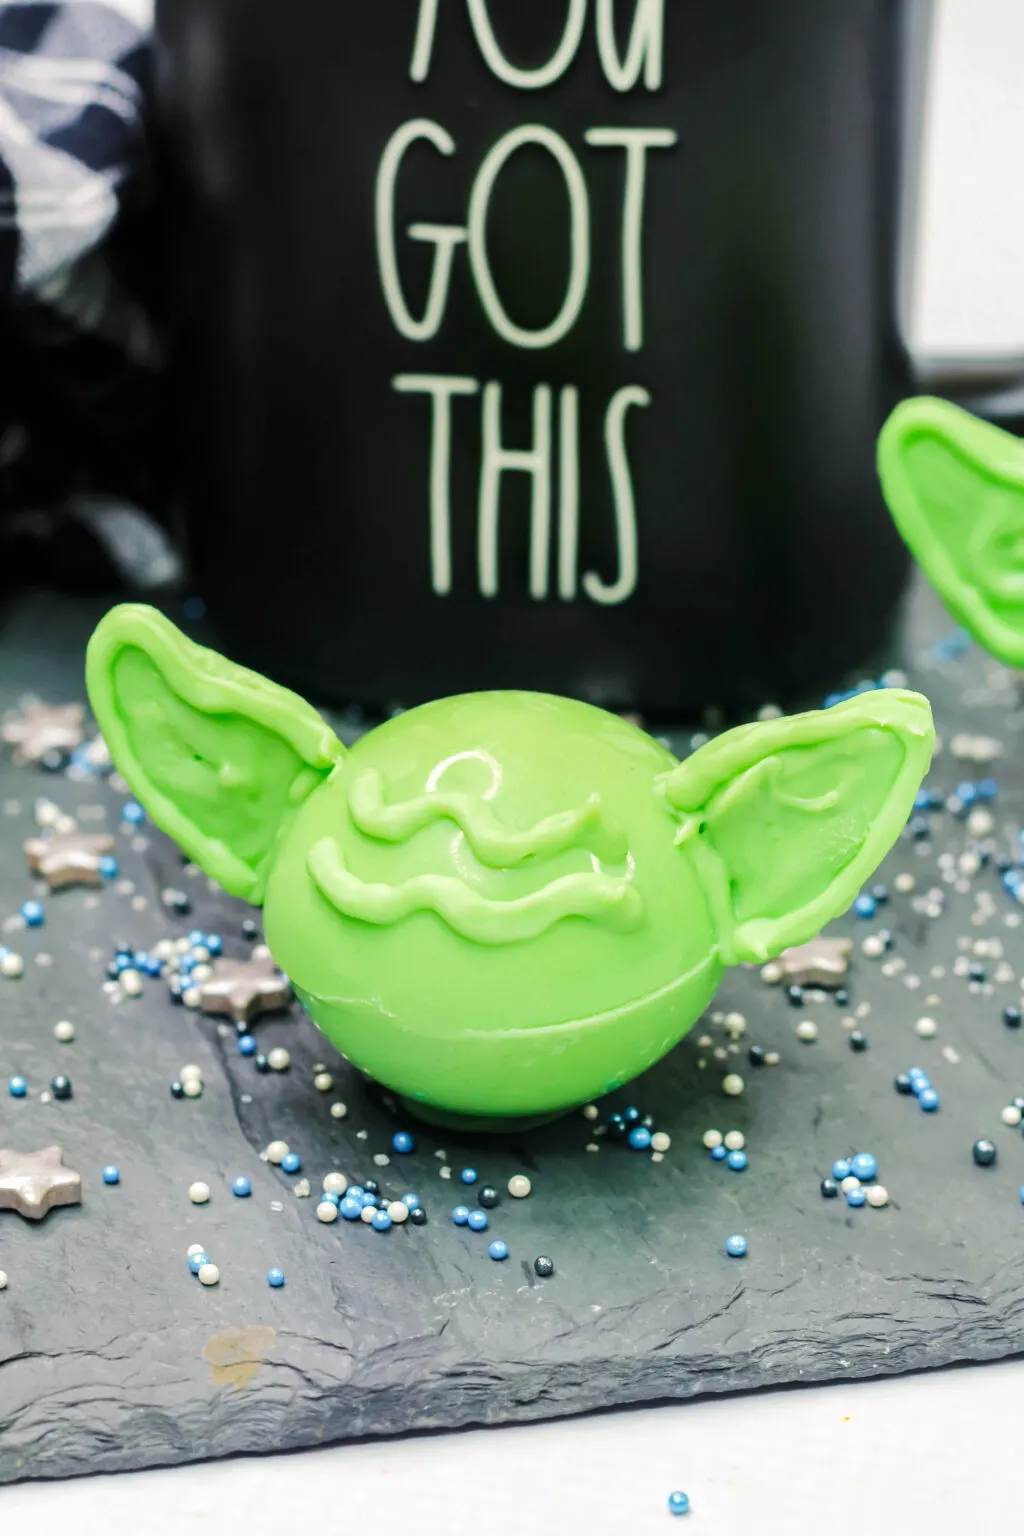
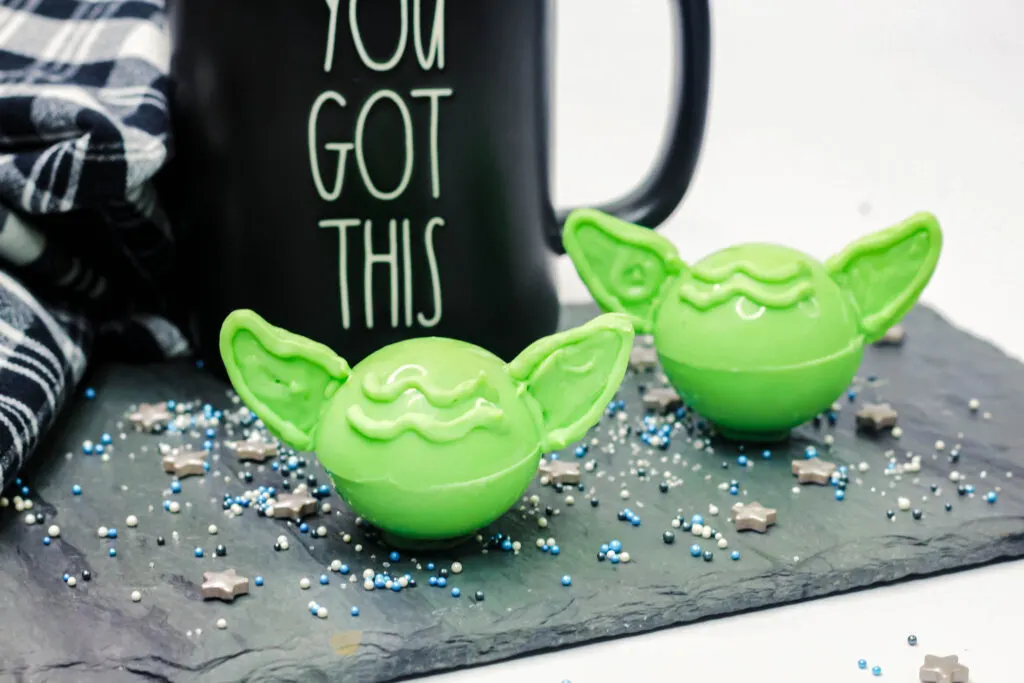
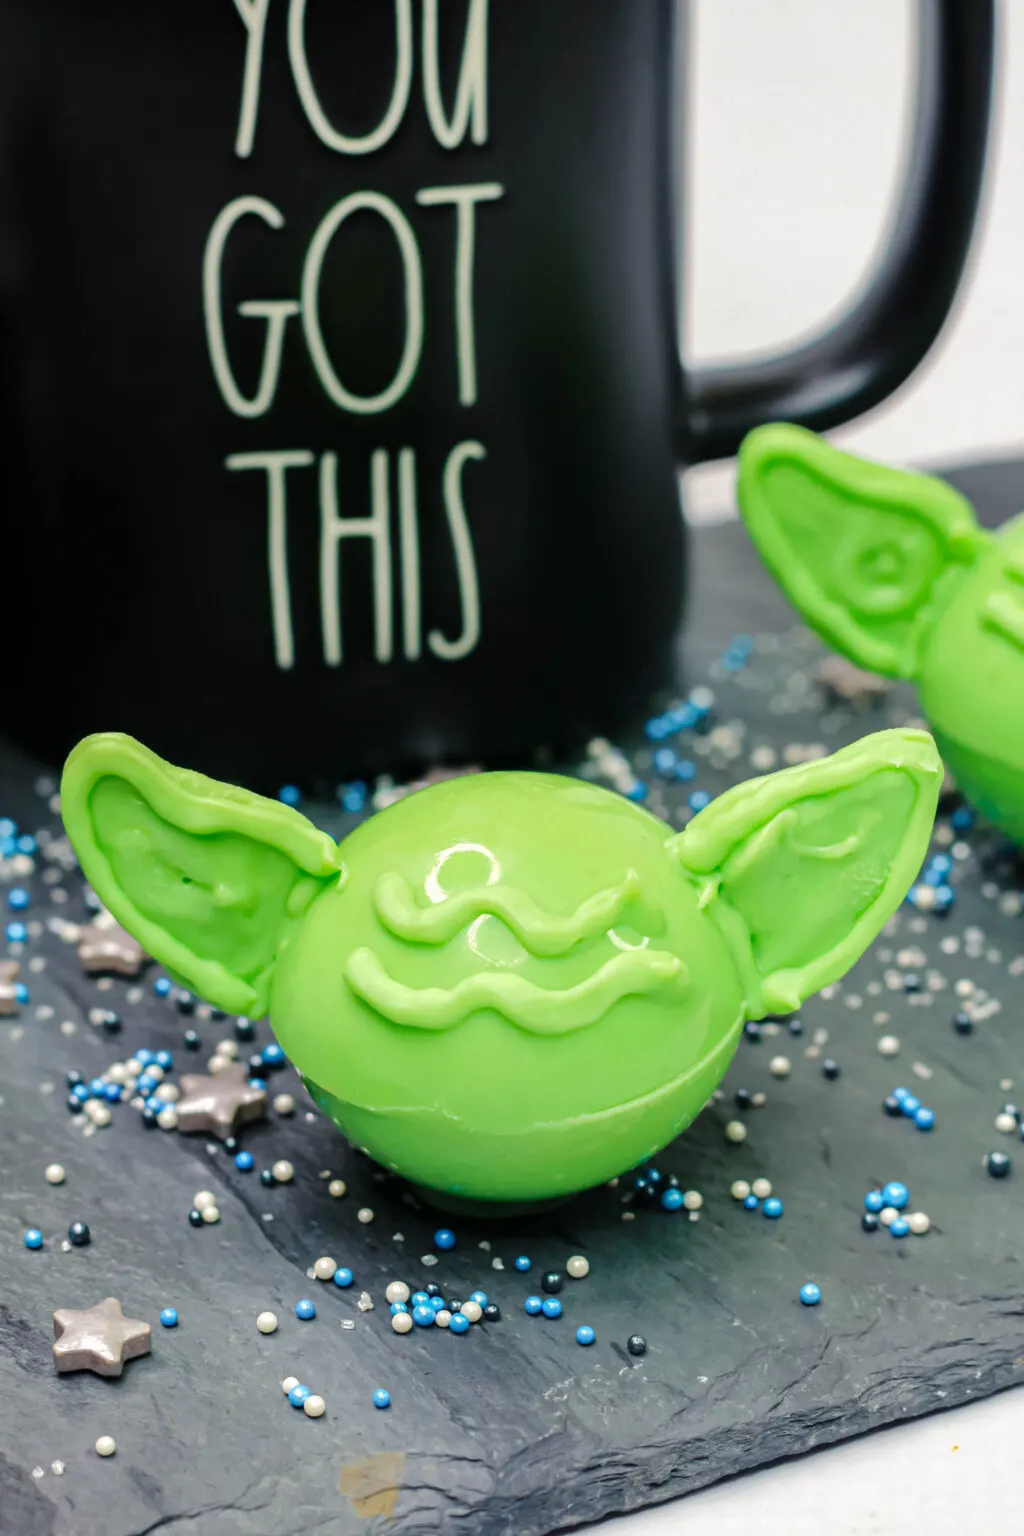
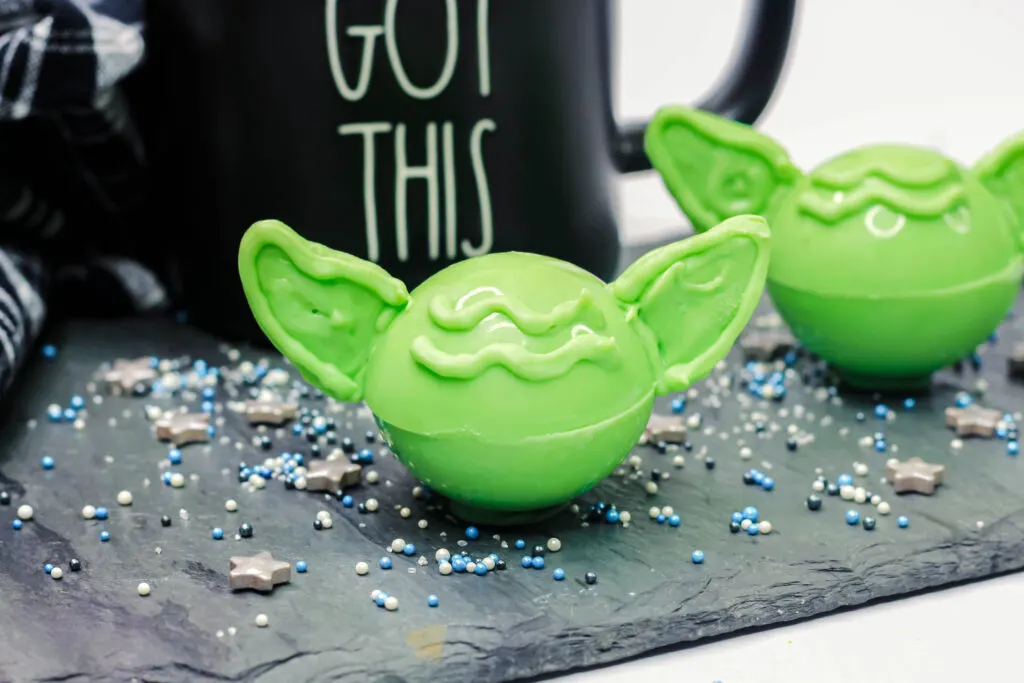
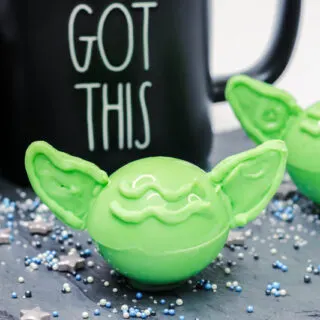
Baby Yoda Hot Cocoa Bombs make you the coolest cup of hot chocolate in the entire galaxy. If you are looking for a fun and tasty way to make hot cocoa, this is the way!

Baby Yoda Hot Cocoa Bomb Recipe
When the hot cocoa bomb trend started, it took off like wildfire all over social media (especially TikTok).
We quickly jumped on the trend and shared How to Make Hot Cocoa Bombs and things took off from there.
Since that time, we’ve made all sorts of fun hot cocoa bombs such as our Fruity Pebbles Hot Cocoa Bombs, Pokemon Poke Ball Hot Cocoa Bombs, Peppermint Hot Cocoa Bombs, Snowman Hot Cocoa Bombs, and tons more!
Over time we’ve come up with more fun ideas and that is when this Baby Yoda cocoa bomb was born.
You may have seen posts circulating online of Baby Yoda Hot Chocolate Bombs that had a Baby Yoda marshmallow inside. While they are adorable, they are expensive and honestly, they don’t even taste that great.
So, if you want to make some adorable hot cocoa bombs that taste as good as they look, this is it!
Why I Love This Recipe
- It is easy to make
- It is kid-friendly
- They are so colorful and fun to make
- They make great gifts!
Ingredients Needed To Make Baby Yoda Hot Cocoa Bombs
- Bright Green Candy Melts – I like using the Wilton brand just like I used when I made the viral Grinch Hot Cocoa Bombs
- Hot Cocoa Mix – I prefer Ghirardelli or Swiss Miss
- Mini Marshmallows
- Silicone Sphere Mold
- Small Skillet or Hot Plate
- Disposable piping bag
- Large Cookie sheet fitted with wax paper
- Small cookie sheet fitting with wax paper
- 1 outline of Yoda’s head (I just drew a small silhouette on wax paper using a pencil)
How To Make Baby Yoda Hot Cocoa Bombs
Place about ½ cup of the bright green candy melts aside for baby Yoda’s ears.
Melt the remaining candy melts in increments of 30 seconds using a microwave safe bowl. Stir and repeat until the chocolate is melted.
Using a spoon, spoon about 1-2 tbsp of the candy melts into the silicone mold.
Carefully swirl the candy melt to completely coat the inside of each cavity of the mold.
Lightly shake the extra candy melt back into the bowl.
Place the coated molds into the fridge for 5-10 minutes until hardened.
Remove from the fridge and gently peel the silicone mold back away from the hardened shell
Carefully place the mold onto the cookie sheet. You should have 8 halves depending on what size of silicone mold you are using.
How to Make The Baby Yoda Ears
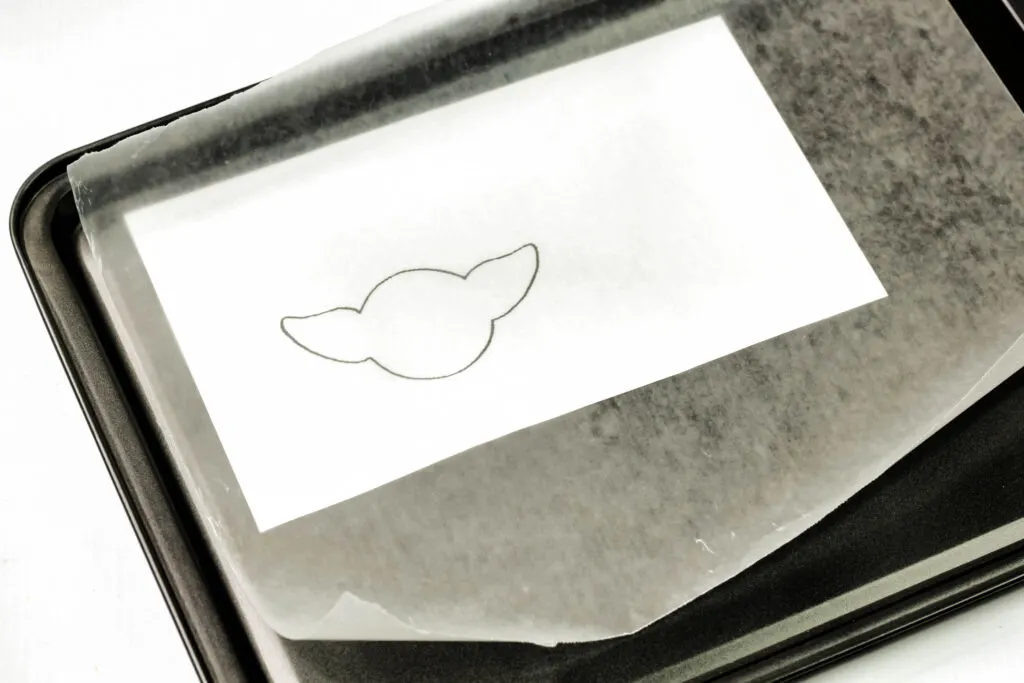
Draw a Baby Yoda silhouette and cut it out. You will be sticking this under your wax paper to outline it in chocolate. The easiest way to do this is to trace one of your cocoa bombs and then draw the ears so they fit perfectly.
Melt the candy melts that was set aside in increments of 30 seconds until melted.
Scoop the melted candy melts into the piping bag and lay a piece of wax paper over the outline of Baby Yoda.
Using the piping bag, pipe an outline of Baby Yoda’s ears and then fill in the ears using the green chocolate.
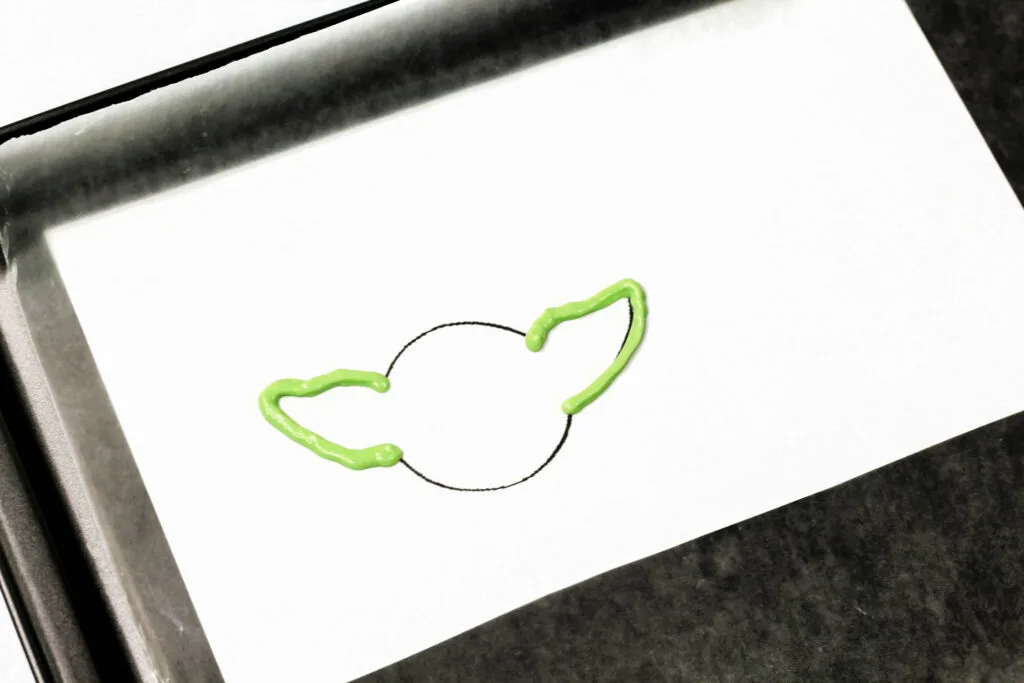
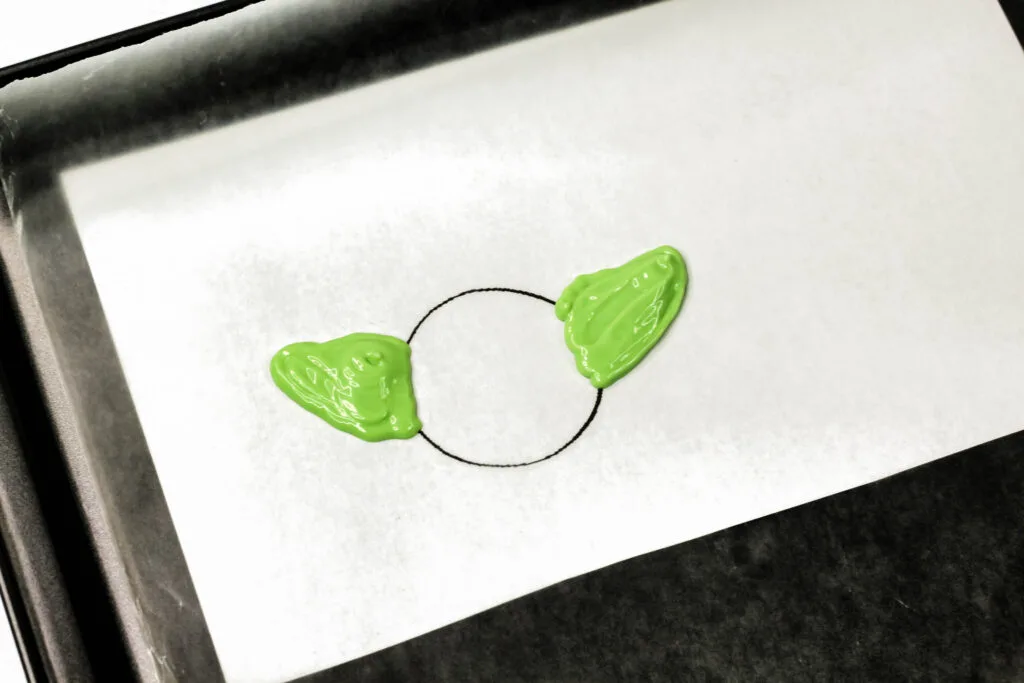
Repeat about 8-10 times that way you have extra incase an ear breaks when you build the cocoa bomb.
Place the tray into the fridge and allow to harden.
Now you can begin building the hot cocoa bombs.
How to Assemble The Baby Yoda Hot Cocoa Bombs
Place 4 molds onto the large cookie sheet and place the small pan onto a stove top over low-medium heat (you can also make a hot plate using the microwave)
Scoop about 1 ½ tablespoons of cocoa powder into the bottom mold and place a small handful of mini marshmallows into the mold.
Carefully place the top mold onto the pan or hot plate to melt the edge for a quick few seconds
Quickly place the mold onto the top of the bottom mold and gently press down
Allow the candy melt to harden together to seal the seam.
Remove the ears from the fridge and carefully peel ears off the wax paper
Quickly melt the edge of the ears using the warm pan or hot plate then place the ears onto the sides of the mold
Using the piping bag, pipe squiggly lines for Baby Yoda’s forehead and allow the details to harden.
When ready to enjoy, serve up with a hot cup of milk!
Hot Cocoa Bomb Tips:
- Avoid getting the candy melts wet (as in with water) or they will seize and will be ruined.
- The chocolate bombs need to be stored somewhere cool or they will melt.
- Avoid holding or touching the hot cocoa bombs for too long or they will melt in your hands.
- You can wear food safe gloves to avoid getting fingerprints on your chocolate bombs.
- To have easier control of the silicone molds and to make the chocolate come out easier, you can cut the silicone molds so that each sphere mold is by itself. You can read how to cut your hot chocolate bomb mold here.
- To make a hot plate, place a microwave safe plate inside the microwave for 30 seconds and check on it. If it’s hot enough, remove with a heat resistant mitten. If not, heat for another 30 seconds until hot.
- To store, keep them in an airtight container in fridge to avoid melting.
- You do not need to spray the silicone mold with cooking spray, the hot cocoa bombs pop right out without any extra steps.
- You can place them inside sealed bags for gift giving.
How to Use Hot Chocolate Bombs
Once your hot chocolate bomb is ready to be used, drop into 8-10 oz of hot milk or stick into the bottom of a cup and pour 8-10 oz of hot milk over the chocolate bomb.
Watch the hot chocolate bomb melt before your eyes. Stir and drink to enjoy!
You can use whatever milk you want such as whole, skim or even almond milk. We use 1% milk.
Keep in mind, use less milk if you want a more rich taste and use more milk if you want a less rich taste.
Baby Yoda Hot Cocoa Bombs
Equipment
Ingredients
- 2 bags of lime green candy melts
- 2 cups of cocoa mix
- 1 cup mini marshmallows
Instructions
- Place about ½ cup of the bright green candy melts aside for baby Yoda’s ears.
- Melt the remaining candy melts in increments of 30 seconds using a microwave safe bowl. Stir and repeat until the chocolate is melted.
- Using a spoon, spoon about 1-2 tbsp of the candy melts into the silicone mold.
- Carefully swirl the candy melt to completely coat the inside of each cavity of the mold.
- Lightly shake the extra candy melt back into the bowl.
- Place the coated molds into the fridge for 5-10 minutes until hardened.
- Remove from the fridge and gently peel the silicone mold back away from the hardened shell
- Carefully place the mold onto the cookie sheet. You should have 8 halves depending on what size of silicone mold you are using.
How to Make The Baby Yoda Chocolate Ears
- Draw a Baby Yoda silhouette and cut it out. You will be sticking this under your wax paper to outline it in chocolate.
- Melt the candy melts that was set aside in increments of 30 seconds until melted.
- Scoop the melted candy melts into the piping bag and lay a piece of wax paper over the outline of Baby Yoda.
- Using the piping bag, pipe an outline of Baby Yoda’s ears and then fill in the ears using the green chocolate.
- Repeat about 8-10 times that way you have extra incase an ear breaks when you build the cocoa bomb.
- Place the tray into the fridge and allow to harden.
- Now you can begin building the hot cocoa bombs.
How to Assemble The Baby Yoda Hot Cocoa Bombs
- Place 4 molds onto the large cookie sheet and place the small pan onto a stove top over low-medium heat (you can also make a hot plate using the microwave)
- Scoop about 1 ½ tablespoons of cocoa powder into the bottom mold and place a small handful of mini marshmallows into the mold.
- Carefully place the top mold onto the pan or hot plate to melt the edge for a quick few seconds
- Quickly place the mold onto the top of the bottom mold and gently press down
- Allow the candy melt to harden together to seal the seam.
- Remove the ears from the fridge and carefully peel ears off the wax paper
- Quickly melt the edge of the ears using the warm pan or hot plate then place the ears onto the sides of the mold
- Using the piping bag, pipe squiggly lines for Baby Yoda’s forehead and allow the details to harden.
- When ready to enjoy, serve up with a hot cup of milk!
Nutrition information is a rough estimate only; actual values will vary based on the exact ingredients used and amount of recipe prepared.
