

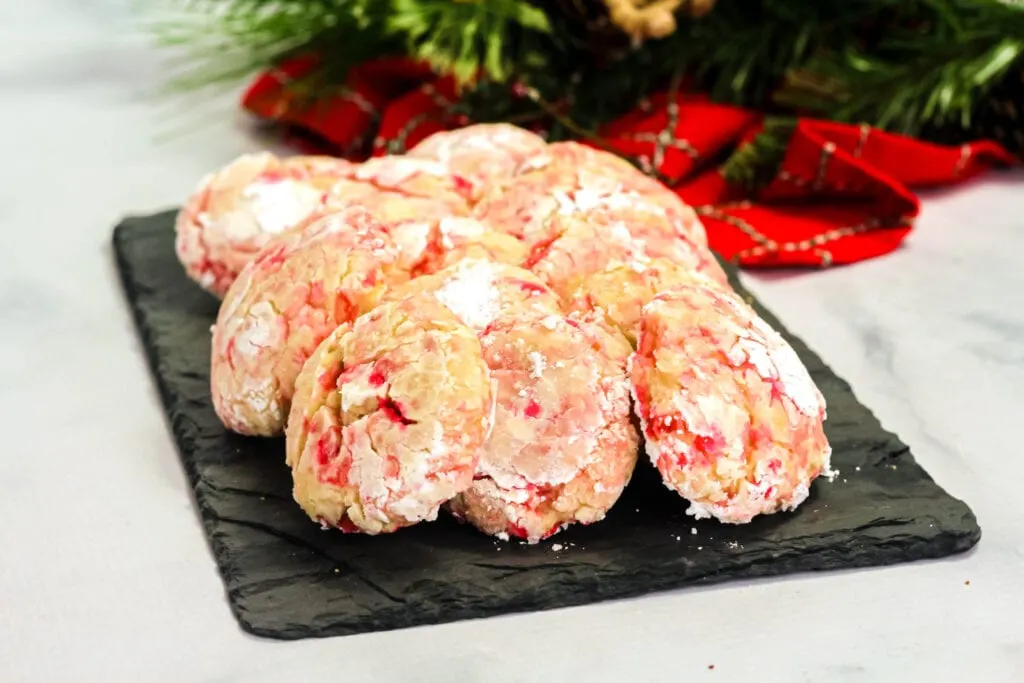
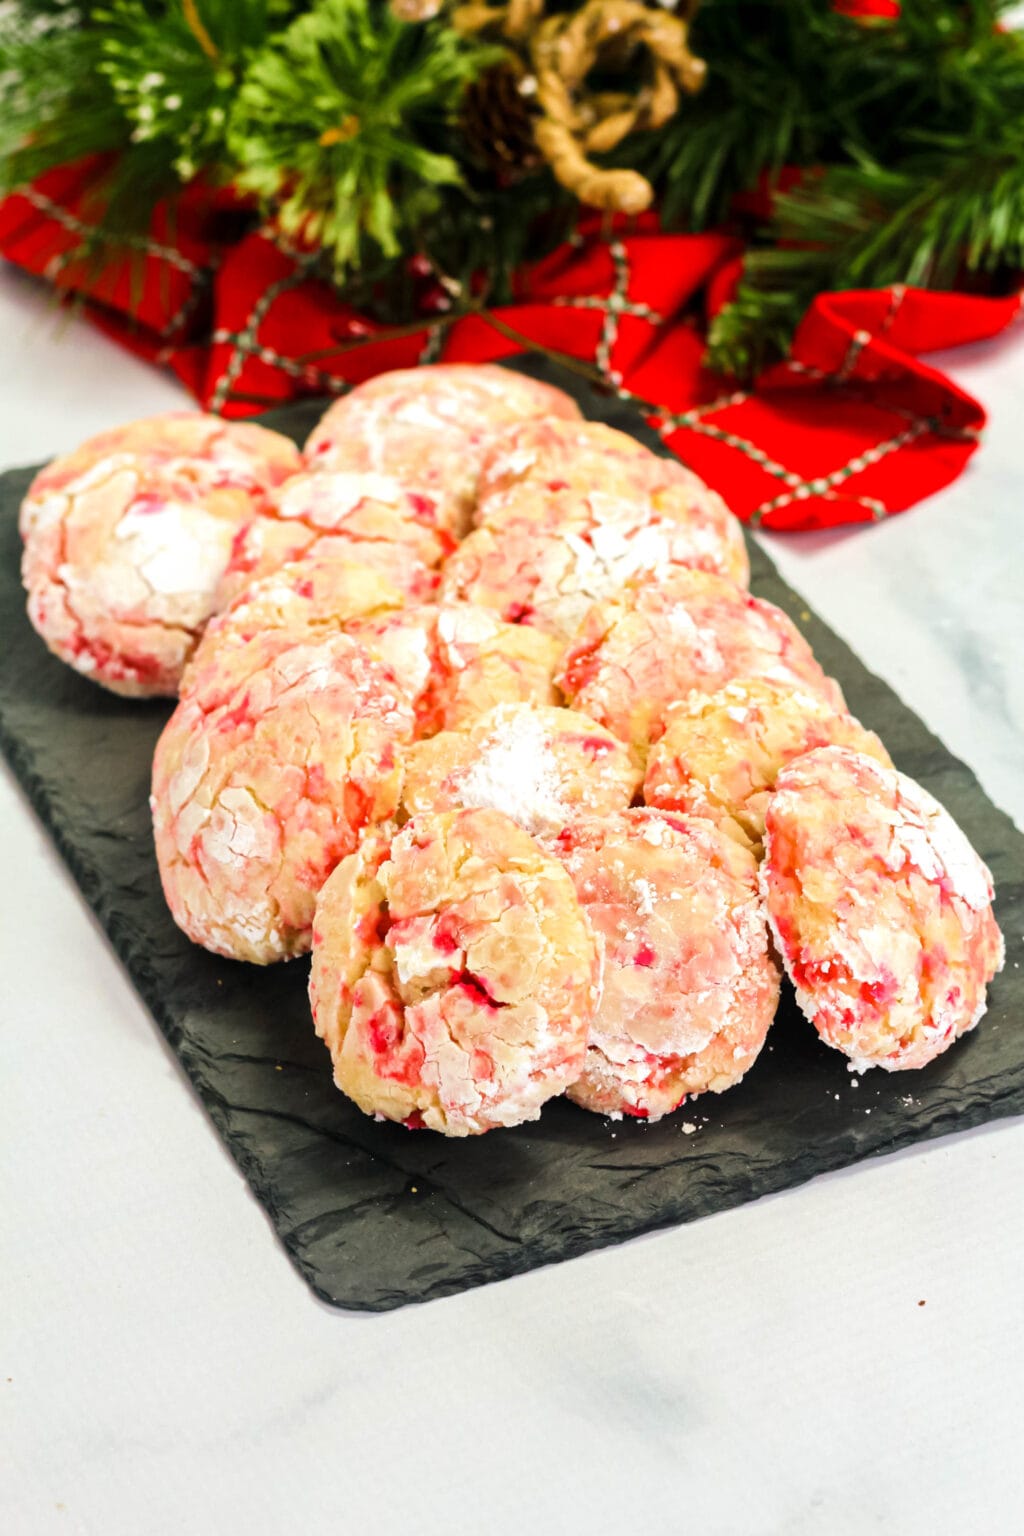
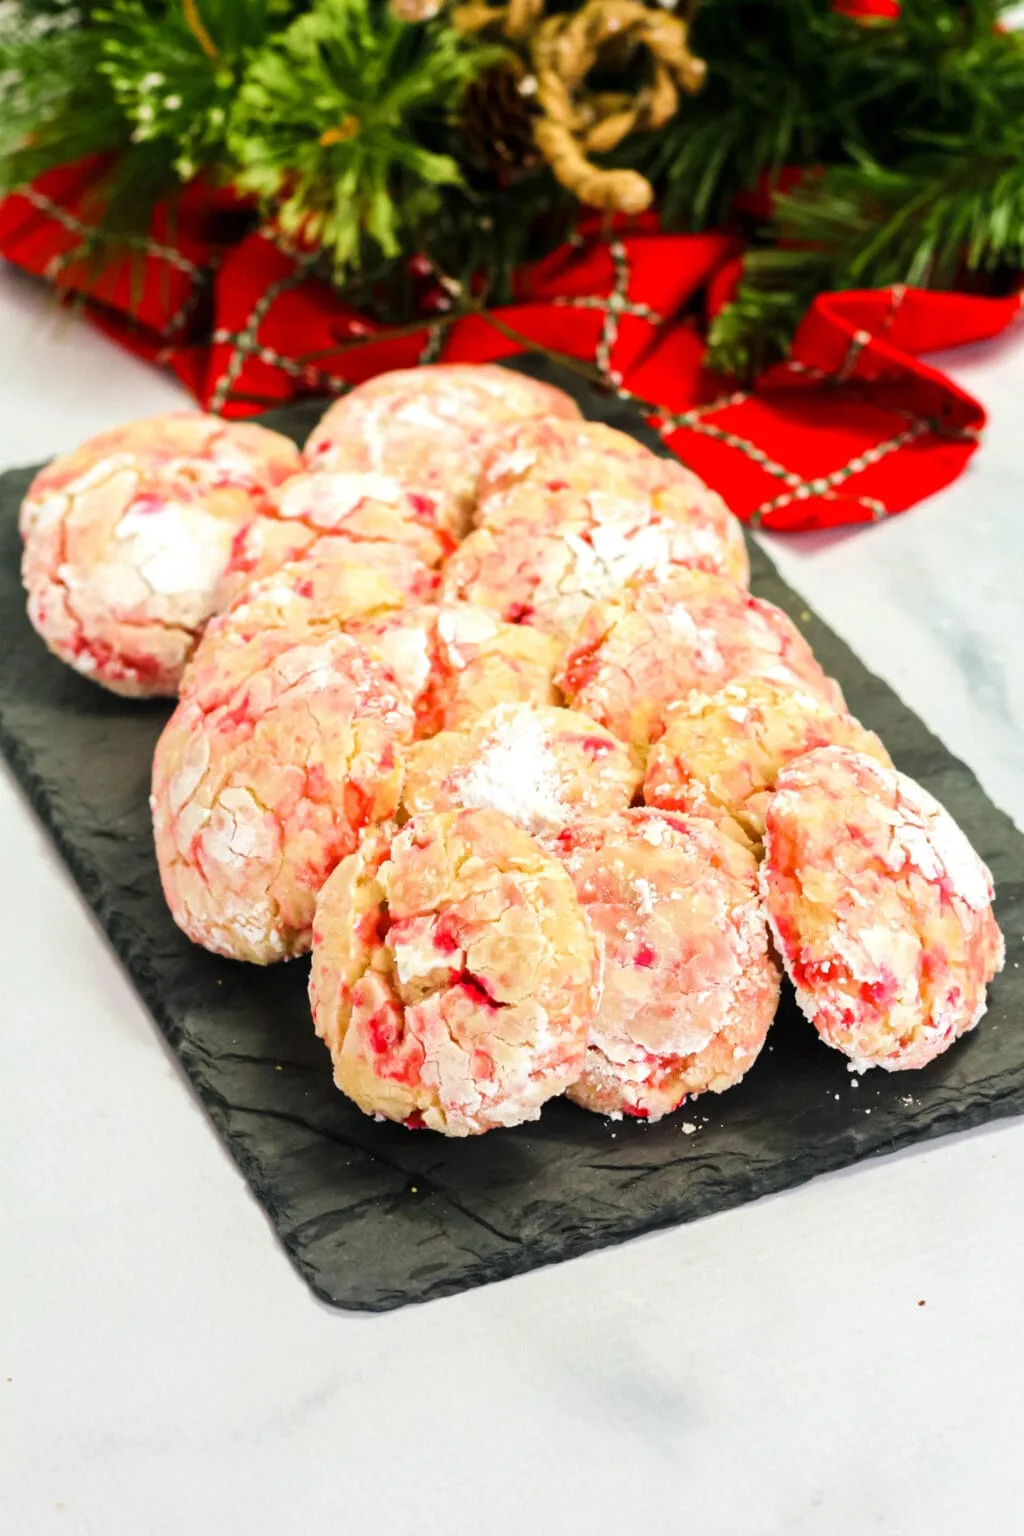
Candy Cane Crinkle Cookies are the best peppermint flavored cookies around. They are crinkly on the outside and gooey on the inside making them the perfect holiday cookie.
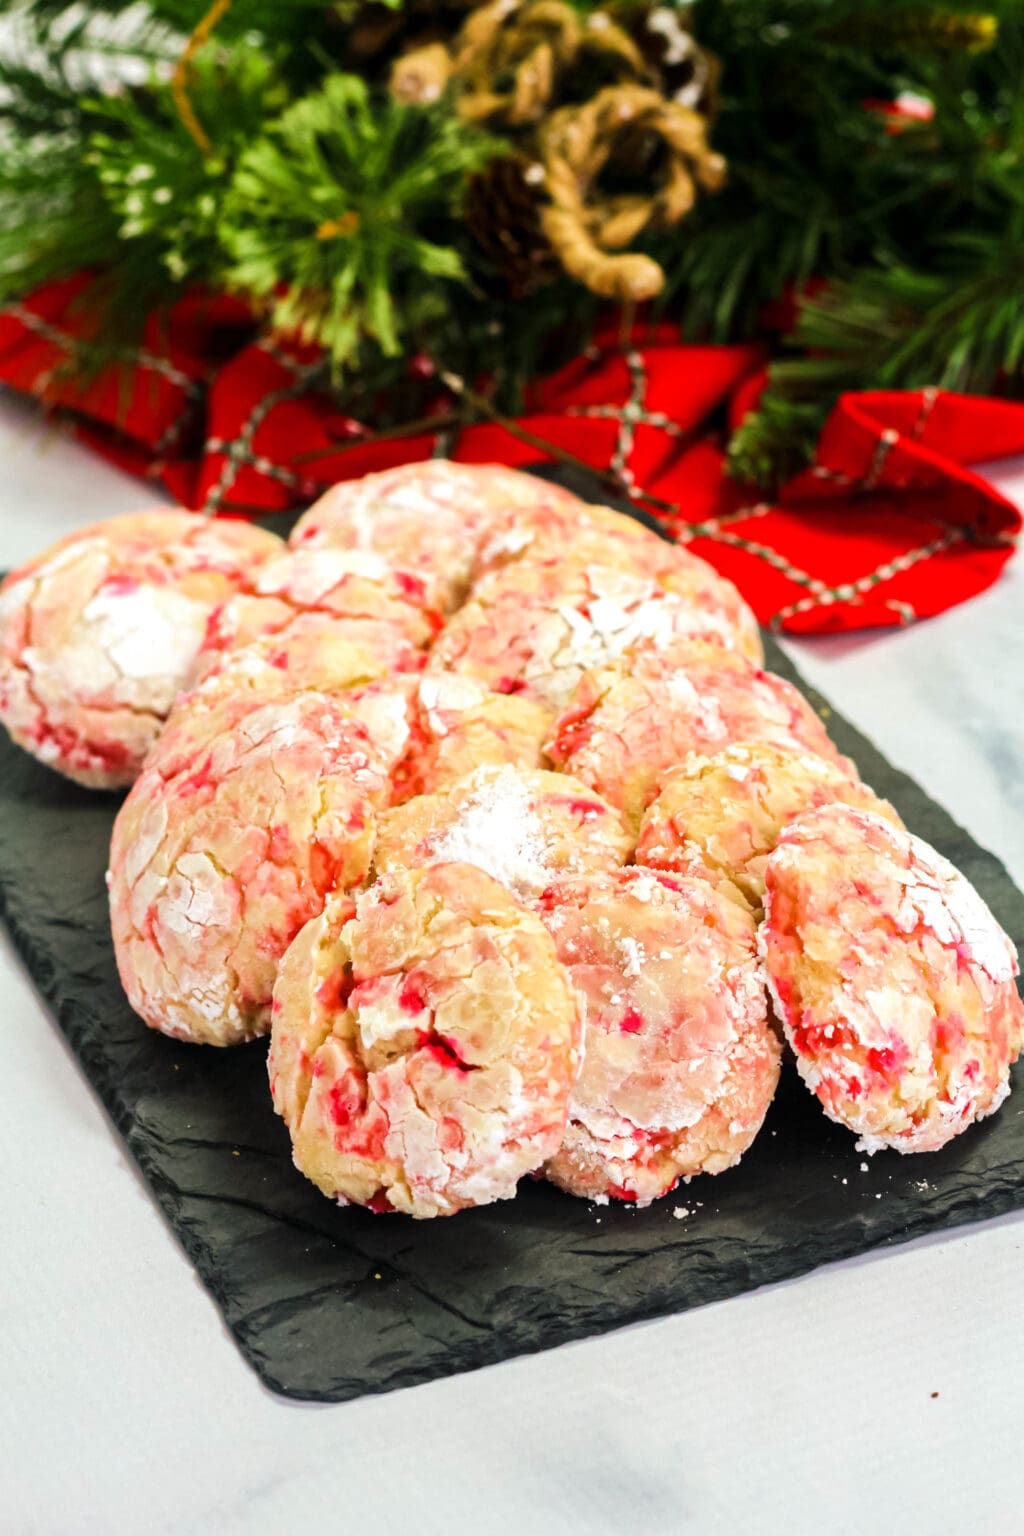

Over the years, Crinkle Cookies have become a thing for us. My kids really enjoy making these “gooey cookies” as they like to call them.
Our first ever Crinkle Cookies were these Grinch Cookies and they turned out so good we had to make more which led us to making these peppermint crinkle cookies.

What is Popular on Simplistically Living
If you’ve never made cookies like this before you should know, the secret to making the best crinkle cookie is patience.
Yes, I know that seems silly but trust me, if you don’t follow the directions or over bake them, they turn hard and crinkly rather than soft and gooey like they’re supposed to be.
These cookies are best made ahead of time (at least making the dough a day before you plan to bake it) to give them that perfect consistency.

How to Make Candy Cane Crinkle Cookies
Step 1. Crush candy canes or use store bought candy cane pieces and sift to remove any small shards or sharp pieces.
Step 2. In a bowl, combine the flour and baking soda and set aside.
Step 3. Cream the cream cheese and butter together using the electric mixer. Continue to work with the cream cheese and butter until they are well blended, creamy, and smooth.
Step 4. Slowly add in the sugar, vanilla, peppermint oil, and salt. Mix until all of the ingredients are well combined, light, and fluffy.
Step 5. Beat, on medium speed, while adding in the egg and egg yolk. (About 2 minutes). The mixture should be creamy and light. This step develops the base structure of the cookies.
Step 6. Reduce the mixer speed to low. Slowly begin to add in the flour mixture from step 2. Mix until all ingredients are combined. (The dough will be sticky.)
Step 7. Take out 1/4th of the cookie dough and place it in a small bowl. Add several drops of the red food coloring stirring to blend the color throughout all of the dough. Cover this bowl and the other bowl of cookie dough with plastic wrap. Put in the refrigerator overnight or at least several hours to allow the dough to set before baking.

Step 8. Once your cookie dough has set and you are ready to bake, preheat oven to 350 degrees.
Step 9. Using the mini-cookie scoop measure out the non-colored dough. With your hands roll each scoop of dough into an equal sized ball. (This step will ensure that all cookies are the same size).
With your thumb push an indent into each ball of dough. You can also use the backend of a spoon, you want a nice indent because we will be “filling” the indent with the red colored dough.
Step 10. Using a small measuring teaspoon, measure out equal sizes of red colored cookie dough and place them in the indented area in the non-tinted dough. With your finger press the tinted dough further into the hole in the cookie.
Step 11. On each cookie, one at a time, squeeze some of the non-colored dough to the top of the cookie. Smooth this over the red colored dough. Enclose and seal it closed. (If necessary take a small amount of extra dough and add just a small amount to the top of the cookie. Follow the previous steps to seal the hole in the cookie).
Immediately after this process roll the cookie dough into a ball. Roll each completed dough ball in the powdered sugar to coat. Transfer the coated cookie balls to the prepared cookie sheets leaving 2 inches between each.
(If you have a problem with rolling the dough into balls after working with 4-6 cookies wash your hands.)
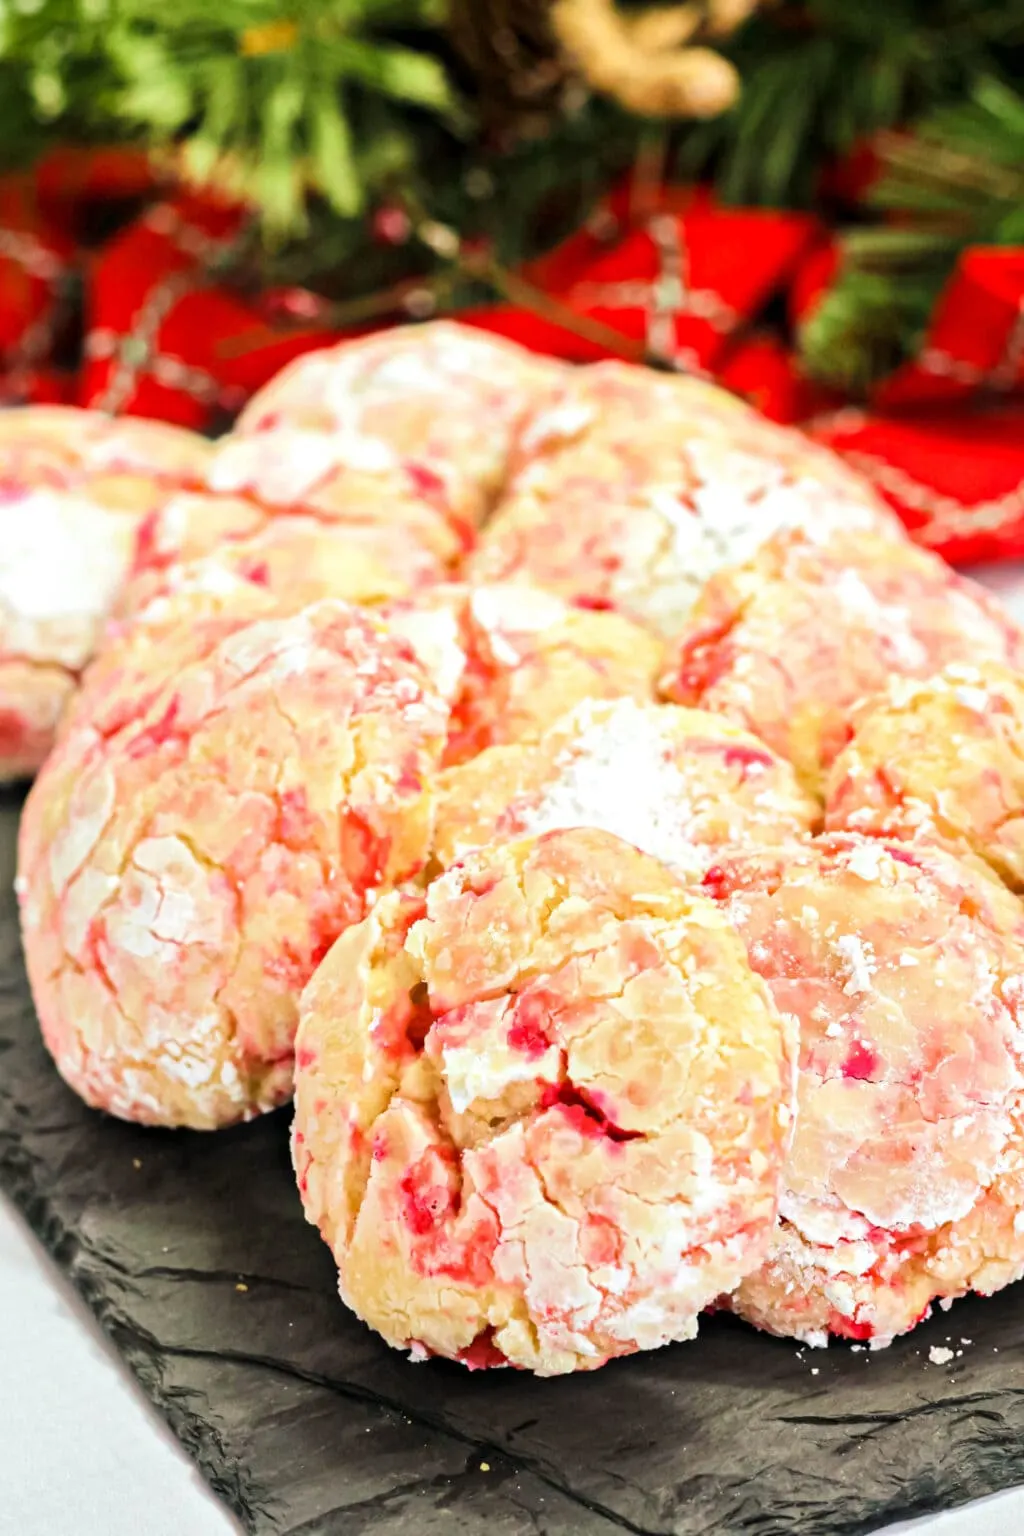
Step 12. Bake on 350 degrees for about 14-16 minutes. (Or until the cookies have become puffed and crackly.) Do not over bake or they will crumble.
Step 13. Once baked, the cookies will be soft in the center and still light around the edges. If you lift the cookies the bottoms will be only lightly browned (that means they are perfect).
Move the cookie sheets to a wire rack allowing the cookies to cool for about 10 minutes.
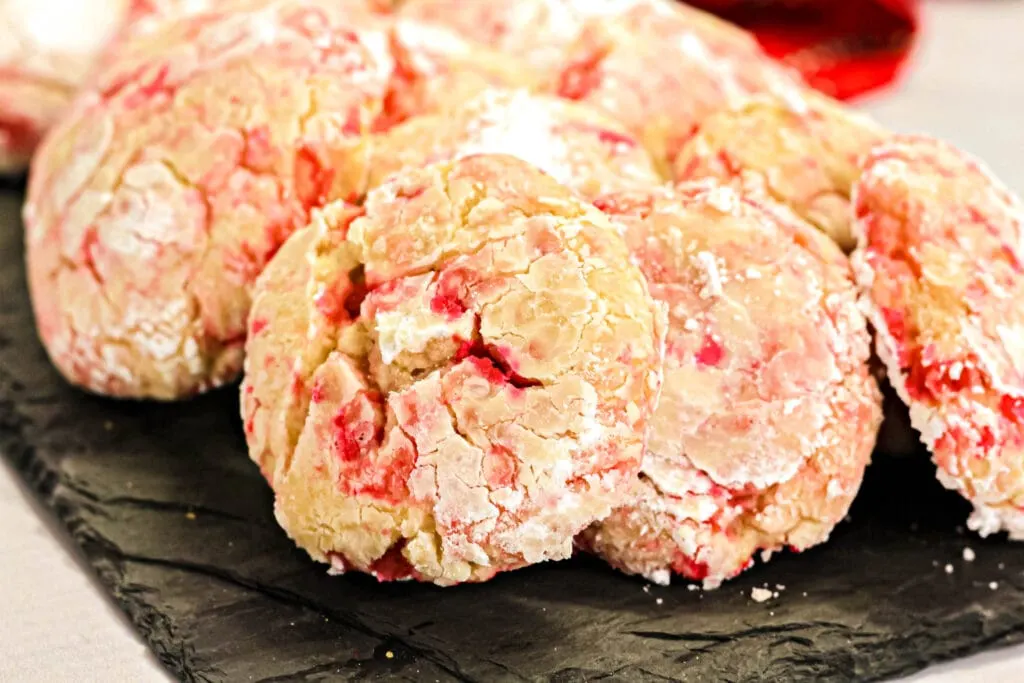
Step 14. While the cookies are still warm, sprinkle small pieces of the peppermint candy on the cookies. Use a toothpick to press the larger pieces of the crushed candy cane into the cracked center of the cookies. Sprinkle each cookie with the powdered sugar and candy cane dust.
Step 15. Set aside to cool completely. Transfer the cooled cookies to an airtight container to store or serve immediately.

Candy Cane Crinkle Cookies
Ingredients
- 2 ½ cups flour
- 2 teaspoons baking powder
- 8 oz 1 package cream cheese (softened)
- ½ cup unsalted butter softened
- 1 ½ cup sugar
- 2 ½ teaspoons vanilla
- ¼ teaspoon peppermint oil
- ½ teaspoon sea salt fine-grain
- 1 large egg + 1 large egg yolk
- 1 ½ cup powdered sugar
- Red gel food coloring
- 1 bag small candy canes or crushed candy cane pieces
Instructions
- Crush candy canes or use store bought candy cane pieces and sift to remove any small shards or sharp pieces.
- In a bowl, combine the flour and baking soda and set aside
- Cream the cream cheese and butter together using the electric mixer. Continue to work with the cream cheese and butter until they are well blended, creamy, and smooth.
- Slowly add in the sugar, vanilla, peppermint oil, and salt. Mix until all of the ingredients are well combined, light, and fluffy.
- Beat, on medium speed, while adding in the egg and egg yolk. (About 2 minutes). The mixture should be creamy and light. This step develops the base structure of the cookies.
- Reduce the mixer speed to low. Slowly begin to add in the flour mixture from step 2. Mix until all ingredients are combined. (The dough will be sticky.)
- Take out 1/4th of the cookie dough and place it in a small bowl. Add several drops of the red food coloring stirring to blend the color throughout all of the dough. Cover this bowl and the other bowl of cookie dough with plastic wrap. Put in the refrigerator overnight or at least several hours to allow the dough to set before baking.
- Once your cookie dough has set and you are ready to bake, preheat oven to 350 degrees.
- Using the mini-cookie scoop measure out the non-colored dough. With your hands roll each scoop of dough into an equal sized ball. (This step will ensure that all cookies are the same size).
- With your thumb push an indent into each ball of dough. You can also use the backend of a spoon, you want a nice indent because we will be “filling” the indent with the red colored dough.
- Using a small measuring teaspoon, measure out equal sizes of red colored cookie dough and place them in the indented area in the non-tinted dough. With your finger press the tinted dough further into the hole in the cookie.
- On each cookie, one at a time, squeeze some of the non-colored dough to the top of the cookie. Smooth this over the red colored dough. Enclose and seal it closed. (If necessary take a small amount of extra dough and add just a small amount to the top of the cookie. Follow the previous steps to seal the hole in the cookie).
- Immediately after this process roll the cookie dough into a ball. Roll each completed dough ball in the powdered sugar to coat. Transfer the coated cookie balls to the prepared cookie sheets leaving 2 inches between each.(If you have a problem with rolling the dough into balls after working with 4-6 cookies wash your hands.)
- Bake on 350 degrees for about 14-16 minutes. (Or until the cookies have become puffed and crackly.) Do not over bake or they will crumble.
- Once baked, the cookies will be soft in the center and still light around the edges. If you lift the cookies the bottoms will be only lightly browned (that means they are perfect).
- Move the cookie sheets to a wire rack allowing the cookies to cool for about 10 minutes.
- While the cookies are still warm, sprinkle small pieces of the peppermint candy on the cookies. Use a toothpick to press the larger pieces of the crushed candy cane into the cracked center of the cookies. Sprinkle each cookie with the powdered sugar and candy cane dust.
- Set aside to cool completely. Transfer the cooled cookies to an airtight container to store or serve immediately. Enjoy!
Notes
- Medium bowl
- Whisk
- Electric mixer w/ mixing bowl
- Rubber spatula
- Cookie sheets
- Parchment paper
- Small bowl
- Mini cookie scoop
- Wire cooling rack
- Metal spatula
- Airtight storage container
NUTRITION
Nutrition information is a rough estimate only; actual values will vary based on the exact ingredients used and amount of recipe prepared.