

This No Churn Cotton Candy Ice Cream recipe is the frozen treat that will bring out that inner kid!


I have to admit, homemade ice cream used to intimidate me. I always thought that you needed a fancy ice cream maker in order to make delicious ice cream at home.
Now I know, that couldn’t be farther from the truth.
This homemade cotton candy ice cream is proof that you can have creamy cotton candy ice cream without the need for an ice cream machine or any special equipment. It’s sweet, delicious and the best part, a no churn ice cream recipe.
I am confident the entire family is going to love it and it would be perfect for a birthday party!


How to Make No Churn Cotton Candy Ice Cream
Ingredients:
- Heavy Whipping Cream
- Sweetened Condensed Milk
- Vanilla Extract
- Pink and Blue Cotton Candy – any brand
- Pink Food Coloring Gel
- Blue Food Coloring Gel
- Cotton Candy Flavoring
- Ice Cream Cones (such as a waffle cone)


Directions:
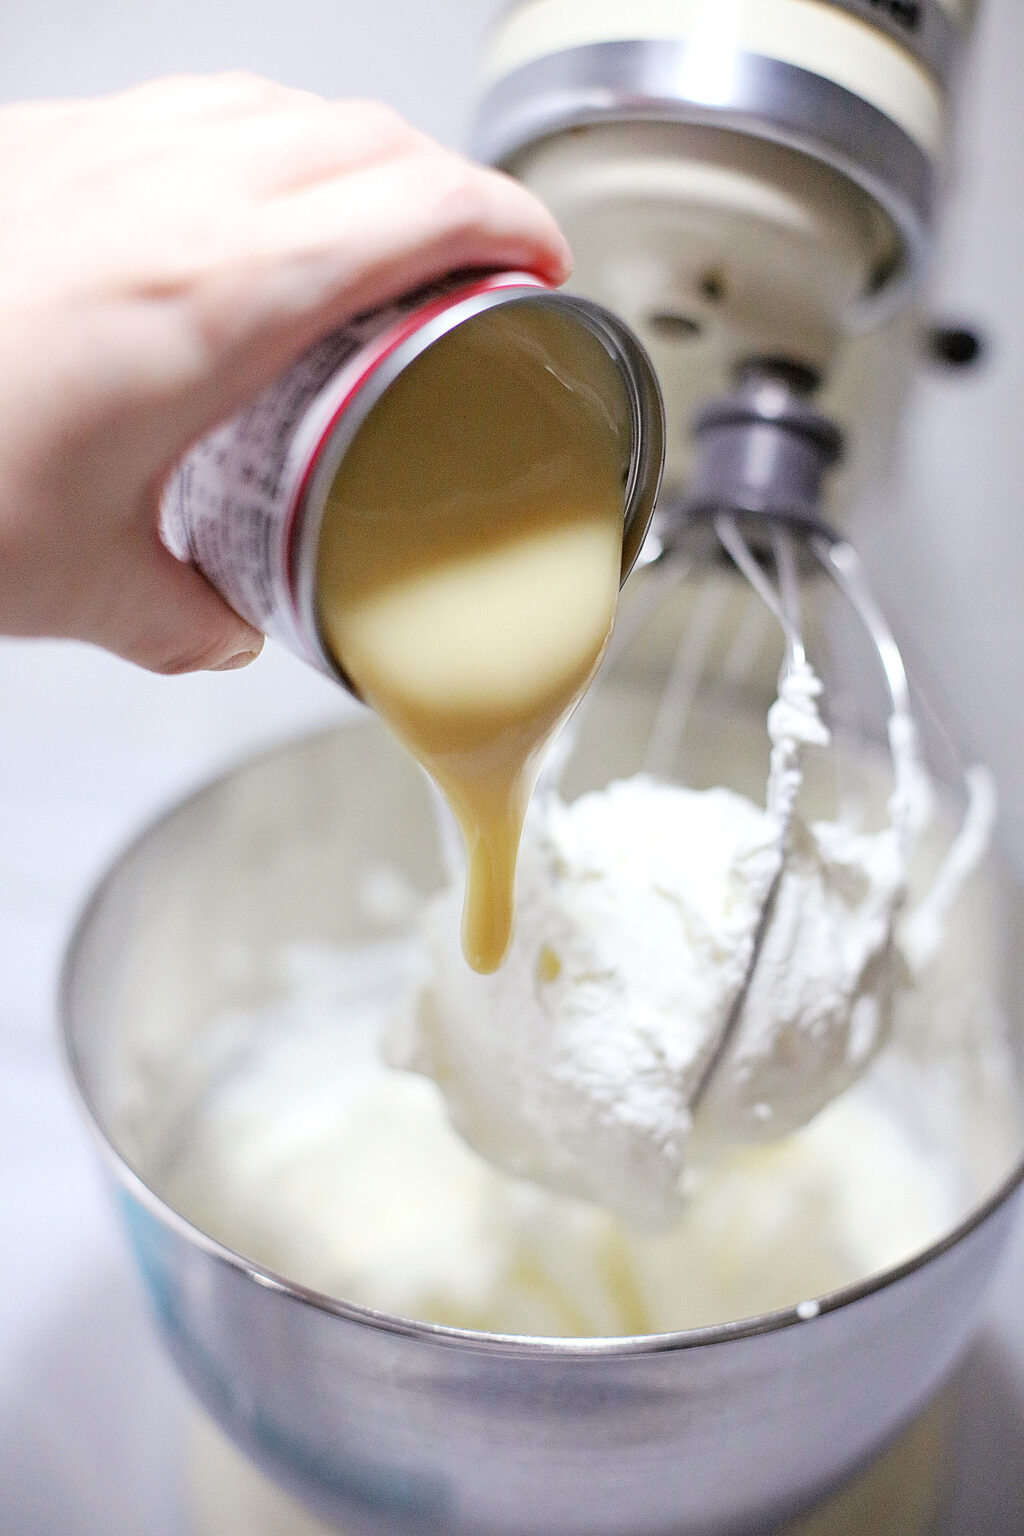
In the mixing bowl of a stand mixer, add the heavy cream, and whip until thick, and stiff peaks have formed.
Add the sweetened condensed milk, vanilla and cotton candy extract and blend until smooth and creamy.

Divide the ice cream mixture into separate bowls and drop 2-3 drops of pink food coloring gel in one bowl, and 2-3 drops of the blue food coloring gel in the other bowl.
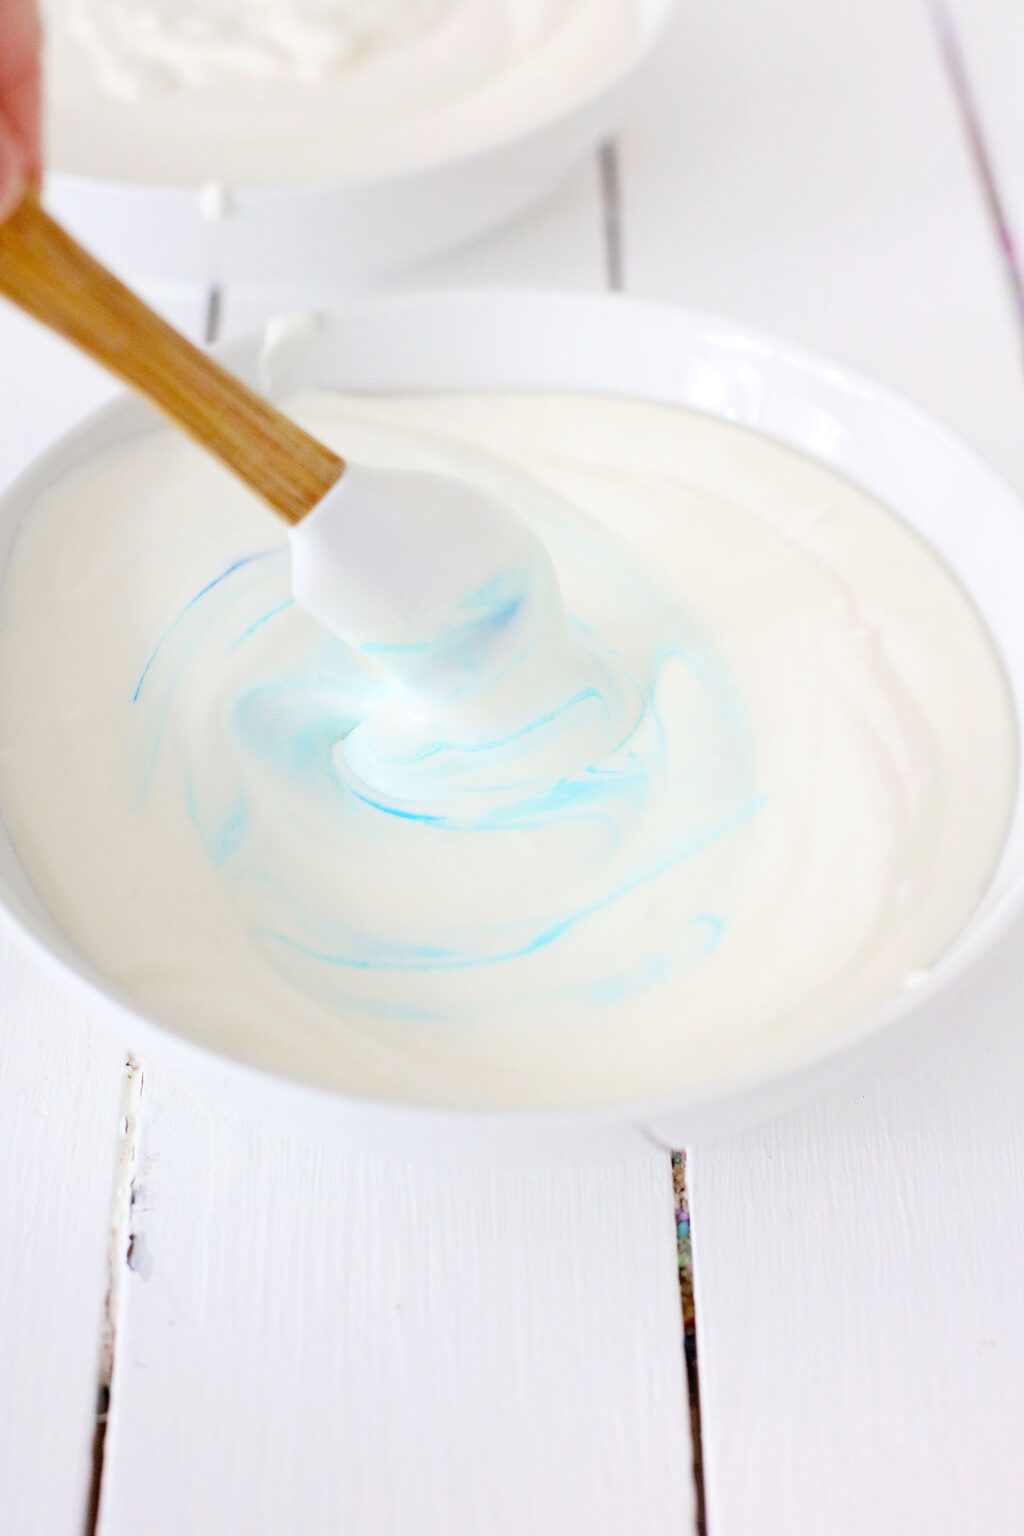

Add a handful of pink cotton candy to the pink bowl, and a handful of blue cotton candy to the blue bowl, and stir until it dissolves.
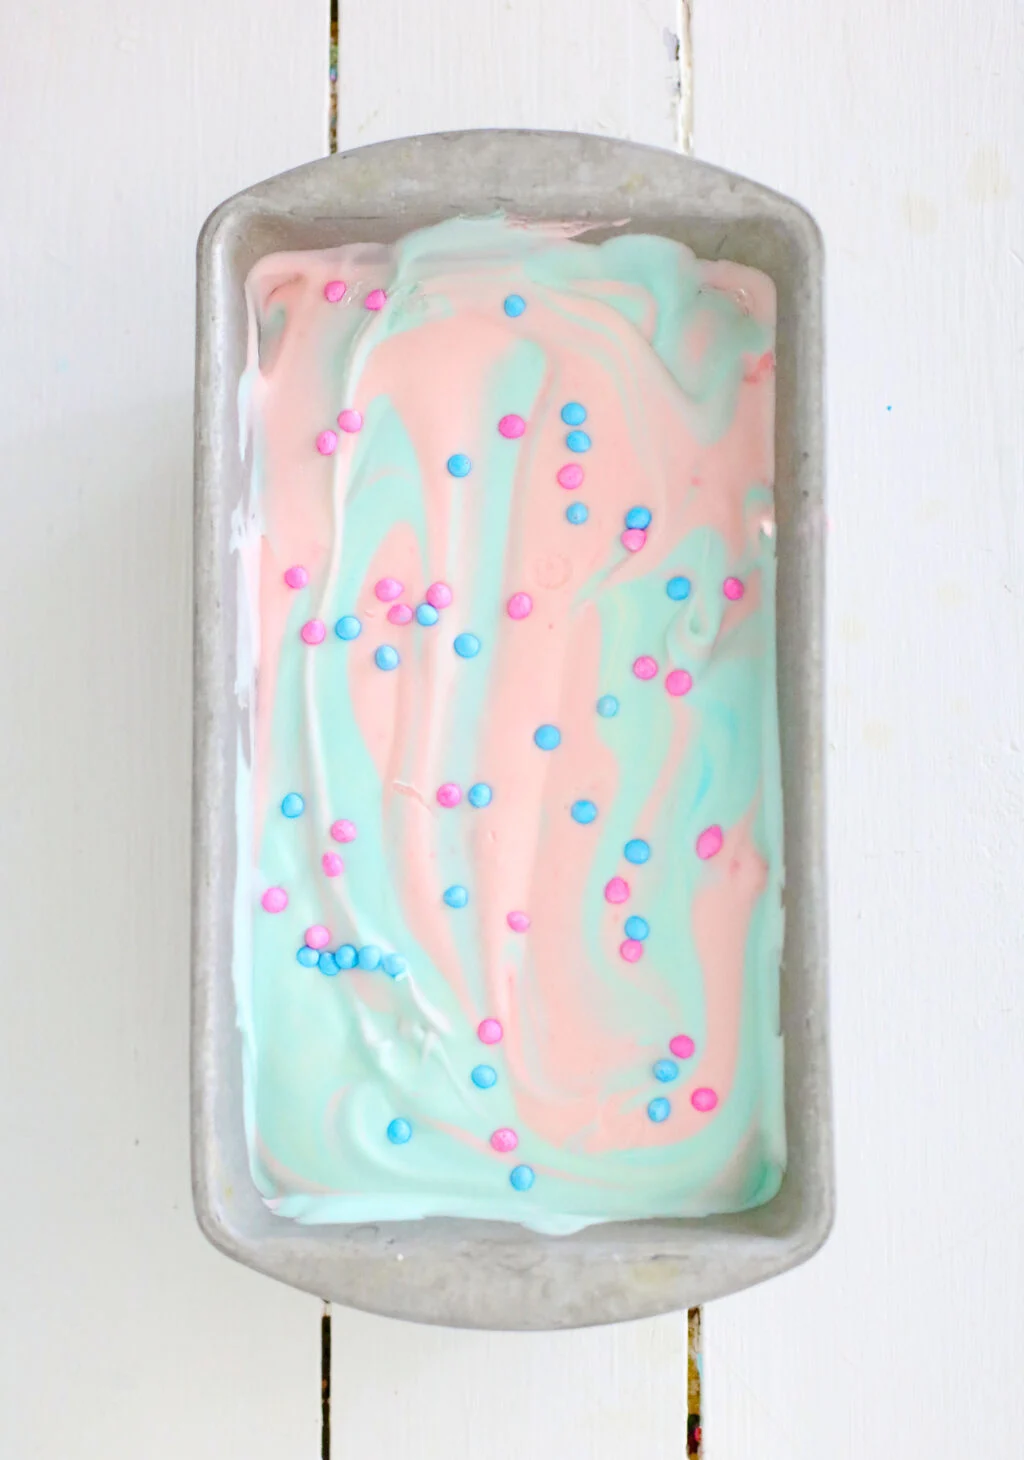
Pour the bowls of ice cream into a loaf pan (alternating colors) and place in the freezer overnight.
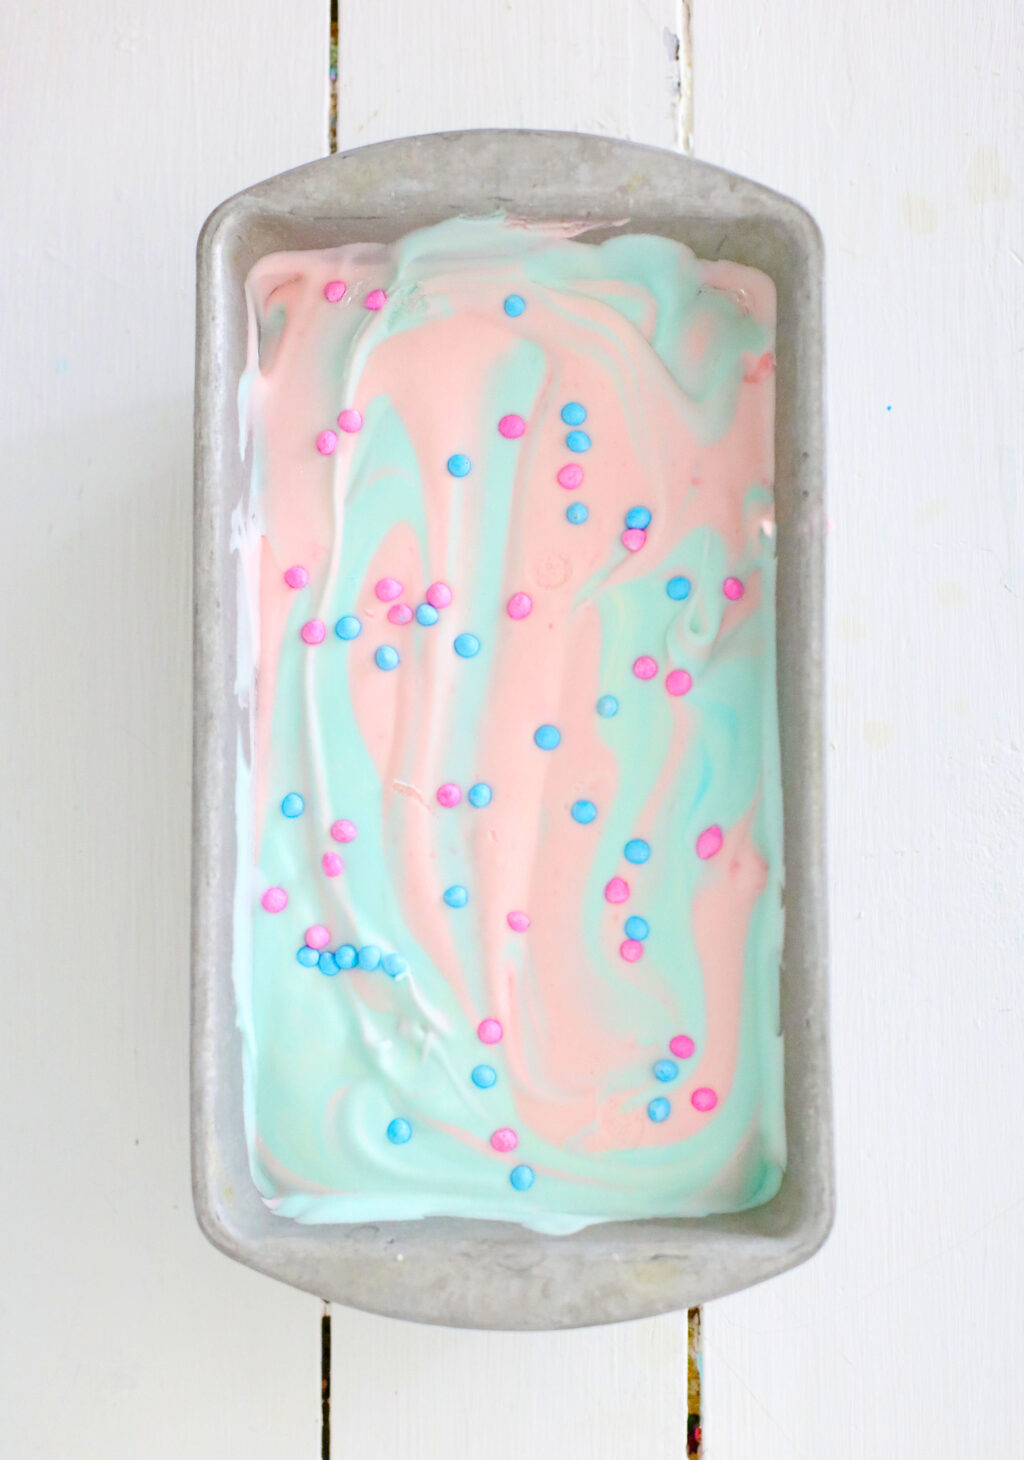
When ready to serve, scoop the ice cream into cones or dishes and place small pieces of cotton candy on the top of the ice cream.
Serve, and Enjoy!
I sure hope you enjoy making your own cotton candy ice cream!


Things to note:
- Use gel food coloring since it is easier to mix and will give a more vibrant color.
- You don’t have to make the ice cream different colors if you don’t want to. If you want one solid color, just skip the step that makes you divide mixture.
- If you don’t want the ice cream too sweet, you can skip the cotton candy artificial flavor.
- Store any leftovers in an air-tight container.
Want another No Churn Recipe? Check out this Black Ice Cream and Grinch Ice Cream.


No Churn Cotton Candy Ice Cream
Ingredients
- 2 Cups of Heavy Whipping Cream
- 1 can of Sweetened Condensed Milk
- 1 Tablespoon of Vanilla Extract
- 1 tub of Pink and Blue Cotton Candy – any brand
- Pink Food Coloring Gel
- Blue Food Coloring Gel
- 1-2 drops of Cotton Candy Flavoring
- Ice Cream Cones such as a waffle cone
Instructions
- In the mixing bowl of a stand mixer, add the heavy cream, and whip until thick, and stiff peaks have formed.
- Add the sweetened condensed milk, vanilla and cotton candy extract and blend until smooth and creamy.
- Divide the ice cream mixture into separate bowls and drop 2-3 drops of pink food coloring gel in one bowl, and 2-3 drops of the blue food coloring gel in the other bowl.
- Add a handful of pink cotton candy to the pink bowl, and a handful of blue cotton candy to the blue bowl, and stir until it dissolves.
- Pour the bowls of ice cream into a loaf pan (alternating colors) and place in the freezer overnight.
- When ready to serve, scoop the ice cream into cones or dishes and place small pieces of cotton candy on the top of the ice cream.
- Serve, and Enjoy!
Nutrition information is a rough estimate only; actual values will vary based on the exact ingredients used and amount of recipe prepared.