I love decorating for Spring and Easter but don’t like to break the bank doing it. These DIY 3D Paper Eggs are a cute and an inexpensive way to show off your Easter spirit while adding a bit of color to the space!
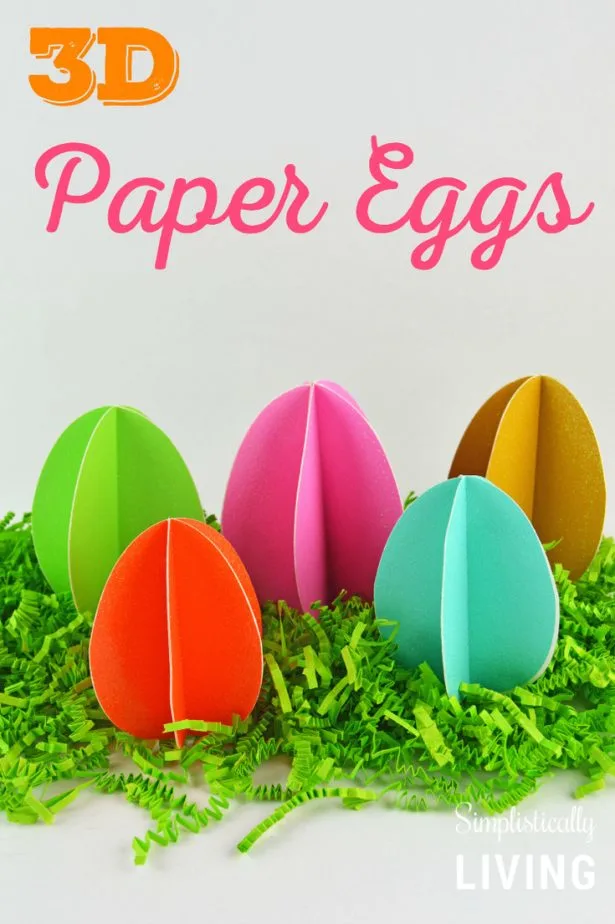
If are a crafter like myself, chances are you already have craft paper or cardstock lying around your house just begging to be used. Fortunately, that is the main item you need behind this craft and the biggest reason it’s so inexpensive to make! These 3D Paper Eggs will look great as a table decoration, door decor, and more!
Now before I share how to make these, I want to point out that you have to be very precise on your measurements to get these to look right. You want to ensure all pieces of paper are the exact same and they are folded down the middle in the exact place. I will explain this more in detail below but want to point out it might take a bit of time if you are not using a Silhouette or Cricut cutting machine. Ready to make your own? Check out the tutorial below!
DIY 3D Paper Eggs
Supplies Needed:
- DCWV Cardstock Stack
(I used the glitter kind)
- Silhouette Electronic Cutting Machine
or Scissors
- Tacky Glue
or Kids White Glue will work as well
Directions:
- Start by finding an image of an egg you want to cut. I used the 3D egg template in the silhouette store and it was amazingly easy to cut and assemble! The Design ID is #40405.
- Trace and cut your image out in your cardstock. For the larger eggs my dimensions were 4.5″ x 3.5″ (which is the default size of the file mentioned above). You can adjust this size to anything less and cut and make different sized eggs.
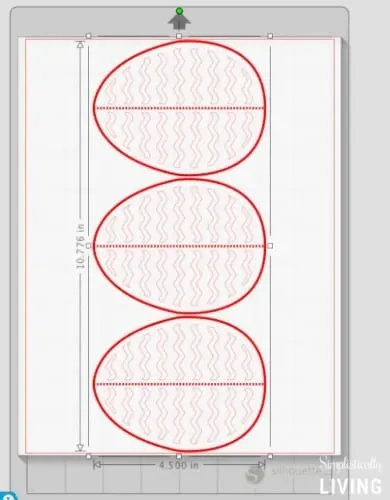
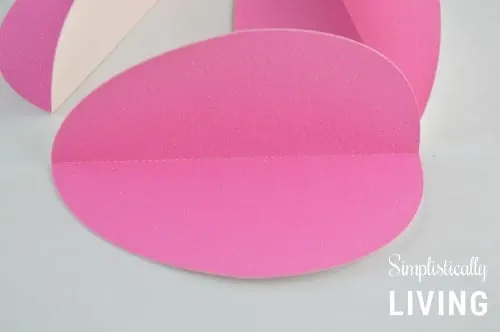
- Once all your eggs are cut you need to fold the eggs exactly in half with the pattern on the inside. For example, if you are using glitter carstock with a white backing, you will fold the glitter in so the white is exposed. The nice thing about using the design from the silhouette store is it includes a perforated fold line to make things so much easier for you!
- To complete one 3D egg you need 5 pieces. Start by gluing 2 pieces and add one piece onto each egg until you have all 5 pieces glued together.
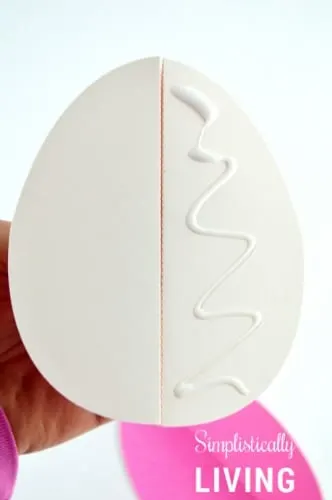
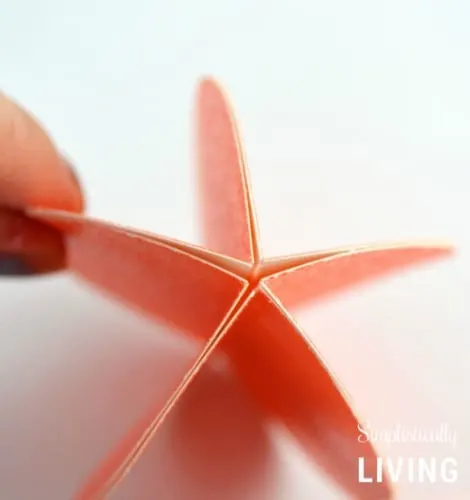
- Once all pieces are glued the top will look like a starfish. Do not worry if there is extra white showing on the sides because you can clean it up with scissors.
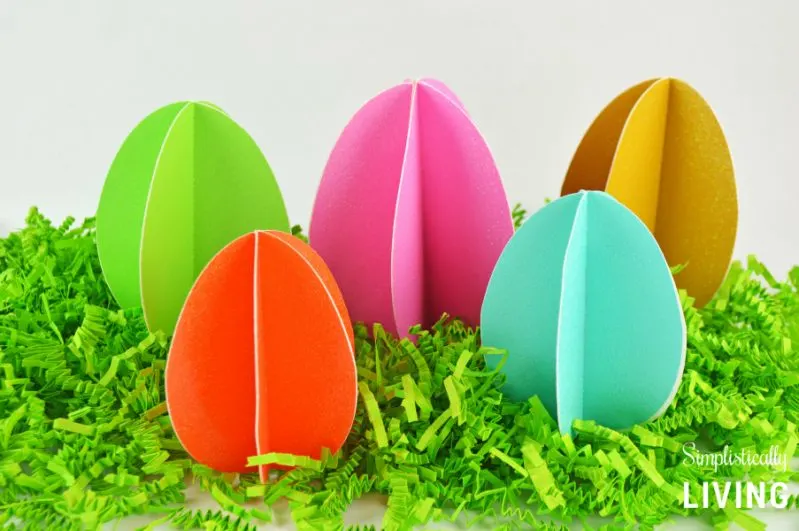
- When completed you will have your 3D Paper Egg! Repeat these steps to create eggs in different colors, patterns, and sizes!
 Disclosure: DCWV was kind enough to provide me with supplies to help facilitate this craft. They are truly great to work with and that is my personal opinion! 🙂
‘Egg-cellent’ Easter Crafts Kids Will Love | Land Tejas
Tuesday 21st of March 2023
[…] want to decorate real eggs this year? No problem. Break out the colored paper and make these bright 3D eggs. Find some egg-shaped rocks and let the kids go wild with acrylic paint. Preschoolers will love […]
How To Make Easter Card – Almazrestaurant
Sunday 12th of December 2021
[…] via […]
35+ Easter Crafts for Kids That Are Super Easy and Fun
Tuesday 6th of July 2021
[…] Image and Tutorial by simplisticallyliving […]
Ursula
Monday 30th of March 2015
Hello! Your Easter eggs are adorable! Visiting from A Night Owl link party.
Ursula @ http://kraftmint.com {lovely, quick crafts}
Brittanie
Monday 30th of March 2015
Thanks for stopping by Ursula and so glad you like my egg craft! :)