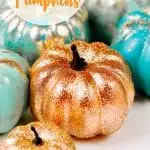
Fall is the perfect time to start holiday crafts. With pumpkins being the highlight of the season, I thought it would be fun to create Fall Glitter Pumpkins that are not only easy to make but look great with any Fall decor!

I absolutely love everything about Fall and as soon as see the pumpkins available in-store, I may make a little squeal sound because it is officially Fall.
Fall marks the time when it’s warm enough outside to enjoy a nice hike or walk around the park without having pools of sweat dripping in places we don’t want sweat to drip.
With that being said, it’s also a great time for whipping up crafts and that’s where I got the inspiration for these.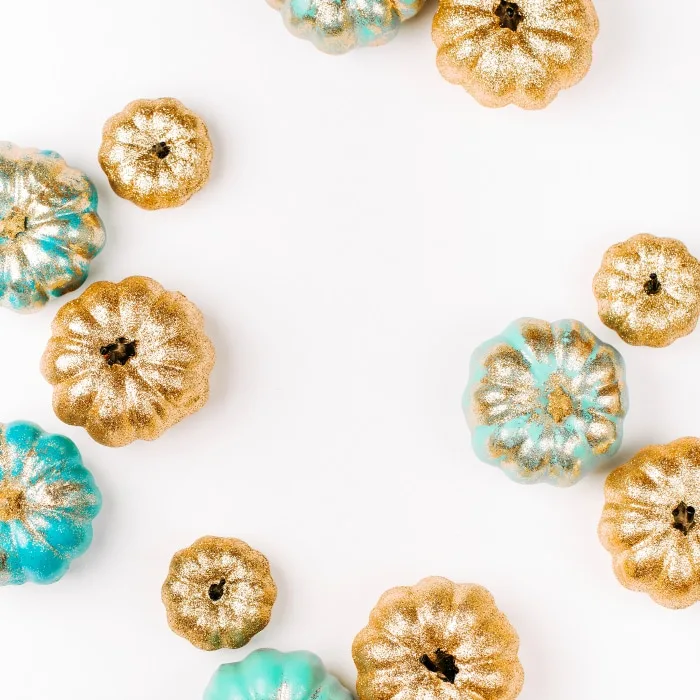
Now, if you ask my husband, he isn’t a big fan of this craft but only because he loathes glitter. He calls it “the herpes of the art world”. HA!
I get it, it’s messy but the end result is so pretty! 😉
For this craft, I made my glitter pumpkins with orange glitter which really made the orange pumpkins pop but you can certainly paint and glitter your pumpkins with any color you like.
Side Note: Work in a well ventilated area. The spray adhesive is going to make everything around you sticky so I suggest working outside such as on your deck or porch. I also suggest moving any items you don’t want to get sprayed by the glue.
Supplies Needed to Make Fall Glitter Pumpkins:
- Pumpkins (I used pie pumpkins found at the grocery store and plastic pumpkins, you can use either)
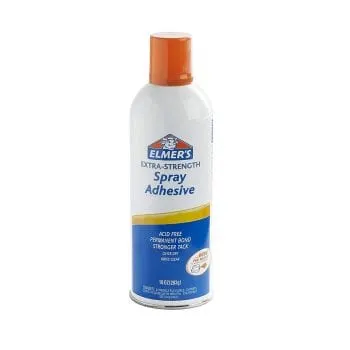
- Clear Spray Adhesive (I used the Elmer’s brand found at Hobby Lobby)
- Orange Glitter (quite a bit is needed for a fully covered pumpkin)
- Wax or Parchment Paper
- Gloves (I will say these are a must-have to prevent getting the glue and glitter on your hands)
Update: I’ve been asked what the glue looks like so I’ve attached an image of the correct one below.
How to Make Fall Glitter Pumpkins:
Begin by washing and drying your pumpkins thoroughly. You want to get off the dirt and any rough edges so you have a smooth surface (like in the image below). This will ensure you have a smooth look to the finished pumpkins.
If you are using plastic pumpkins, you can skip the step above.
Next, lay down the wax or parchment paper onto a flat, leveled surface. This will capture the excess glitter and serve as a place to store your pumpkins while they dry.
Starting at the top of your pumpkins (near the stem), work your way down spraying small sections of the spray adhesive. Make sure you are several inches away from where you are spraying or you will get clumps of adhesive on your pumpkin.
Take your glitter and dump it over the section you sprayed the adhesive on. The adhesive dries in about 15 seconds so you will want to work fast.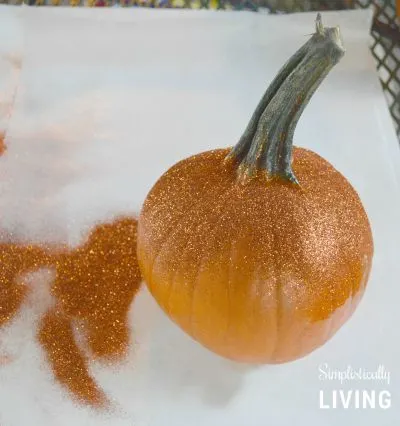
Tap off any excess glitter onto the wax or parchment paper then complete steps 3- 5 until your pumpkin is covered entirely.
Once your entire pumpkin is covered in glitter, place it on the wax paper and allow to dry overnight.
You can then roll up the wax paper and dump the glitter back into the bottle and save it for your next project.
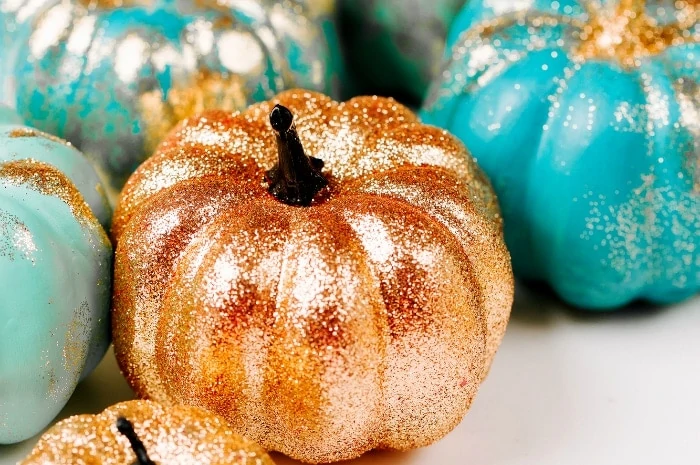
You should now have beautiful Fall Glitter Pumpkins. Place them around your home or even use them on a cute hay bale on your front porch.
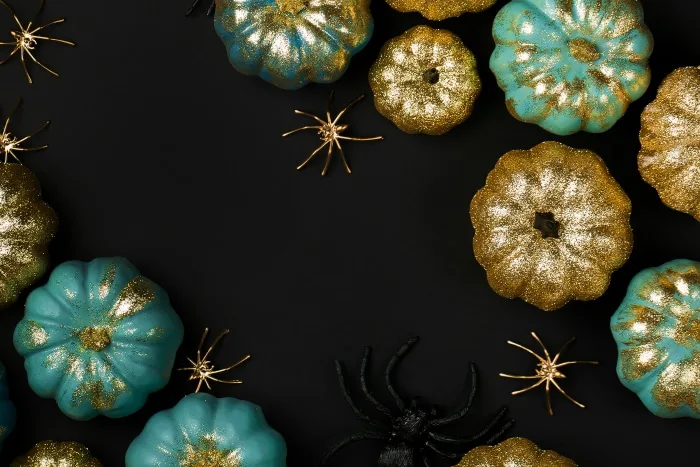
I had to share one more picture of these on a darker background – pretty, right?
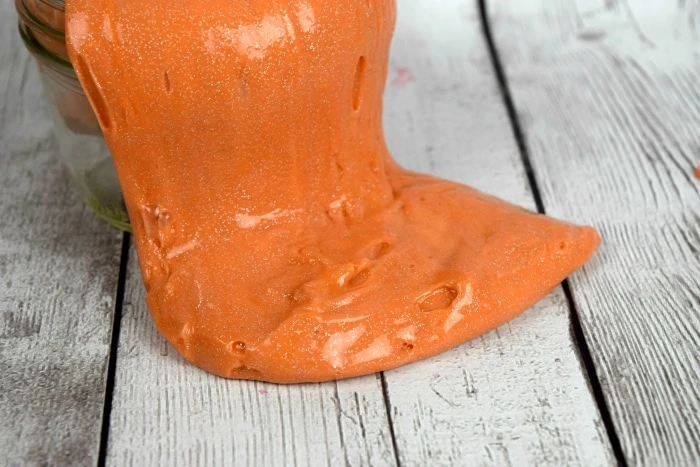
Want another fun craft? Check out this Glittered Orange Slime!
20 Non Carving Pumpkin Ideas | Mamallamallama on the weekly
Monday 17th of October 2022
[…] Glitter Pumpkins […]
DIY Pumpkin Decor Ideas | Fall Decor on a Budget - Making Frugal FUN
Tuesday 26th of October 2021
[…] Glitter is my favorite color. Love these DIY Glitter pumpkins from Simplistically Living. […]
Frugal Fall Decor Ideas - Retro Housewife Goes Green
Sunday 12th of September 2021
[…] Glitter Pumpkins from Simplistically Living […]
Andrea
Thursday 1st of October 2020
Love your ideas! Your glitter seems shinier than others. Is it a special brand?
Brittanie
Thursday 1st of October 2020
I actually just got mine at Hobby Lobby originally! I also like the fine glitter, I feel like it shines more than the larger glitter.
25 Creative Fall Pumpkin Decorations You Want to Have
Friday 23rd of September 2016
[…] Simplistically Living – Fall Glitter Pumpkins […]