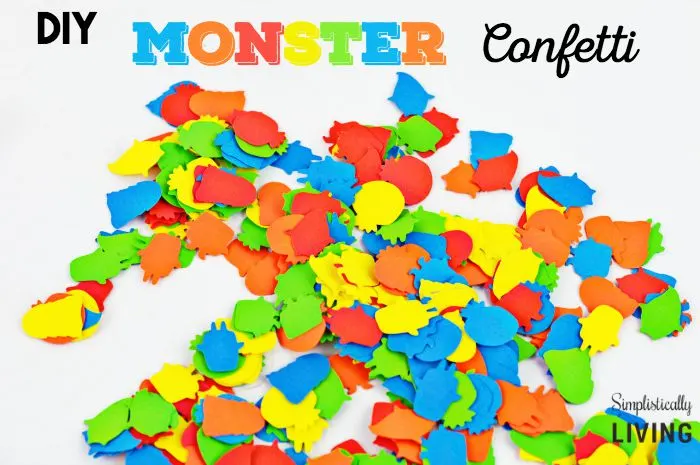
In my opinion, the best part about a birthday is the planning that comes behind it. For both of my boys and my husband, I really enjoy planning parties for them and creating my own party decorations. Today I want to share with you this DIY Monster Confetti I made for my son’s first birthday which we will be celebrating next month!

This Monster Confetti is so easy to make. While I am making it for my son’s 1st birthday, you can actually change up the colors a bit and make this for Halloween too! I am sure it’s going to be a hit and it’s much cheaper to make your own then to buy those tiny little bags of confetti at your local party store!
Supplies Needed to Make Monster Confetti:
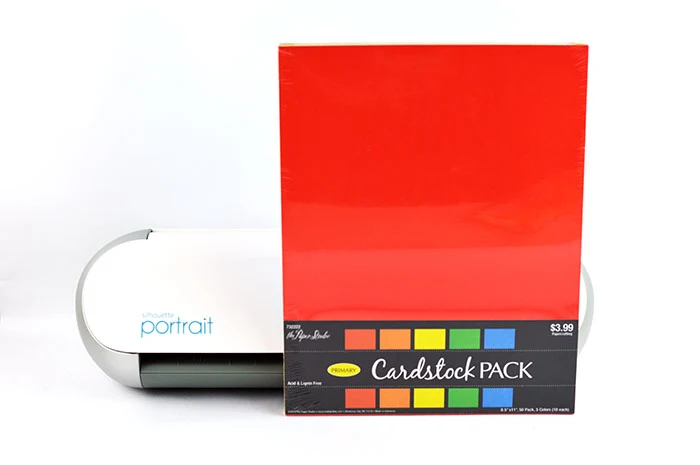
How to Make Monster Confetti:
- Once you have purchased the Monster Digital Creator Kit file, you will want to download it to your computer and open up a monster in your silhouette studio software.
- Open up the rest of the monsters and merge them into the same document. I opened 1 of each monster shape from the digital file.
- select all of the monsters and click “group” this will make resizing them at all once much easier.
- Resize your monsters to the dimensions shown in the image below.

- Click on the trace icon and trace your monsters. Then remove the images so you just have the traced red lines showing.
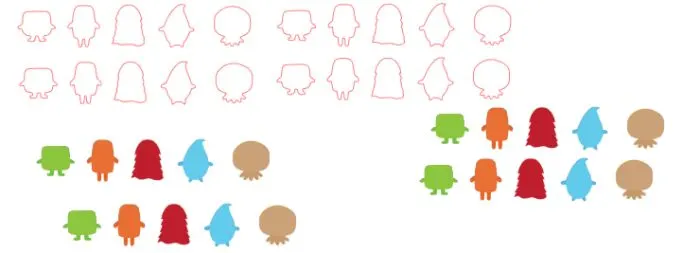
- Copy and paste the traced monsters until you have enough traced monsters to fill an entire page.
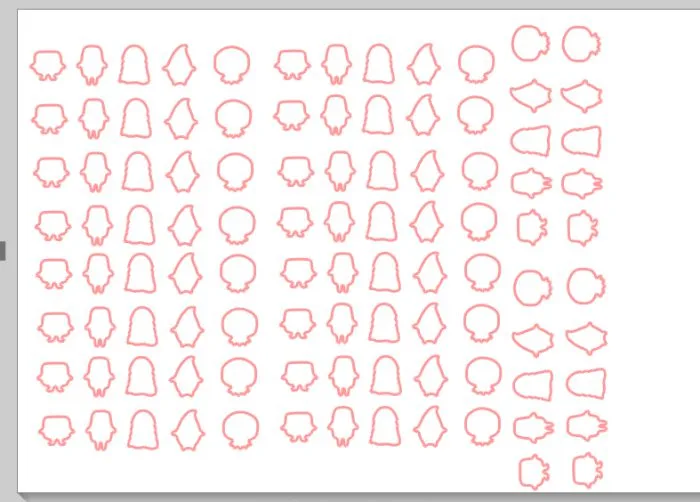
- Cut the monsters out onto your colored cardstock. I did about 3 pages of each color.
- Peel the excess paper away from the monsters and peel the monsters off your mat.
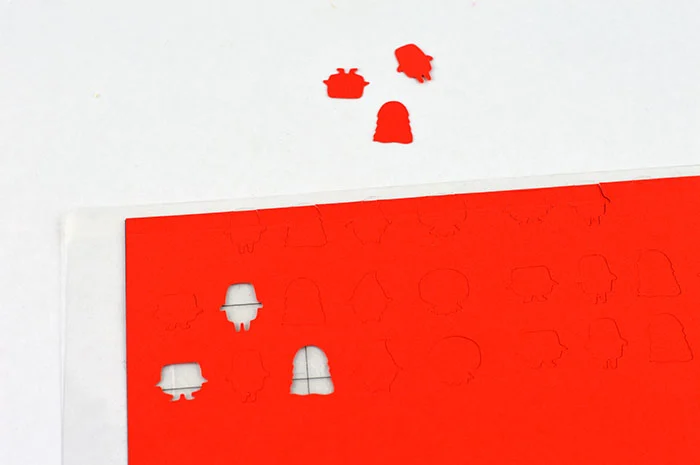
- You will now have your very own Monster Confetti!
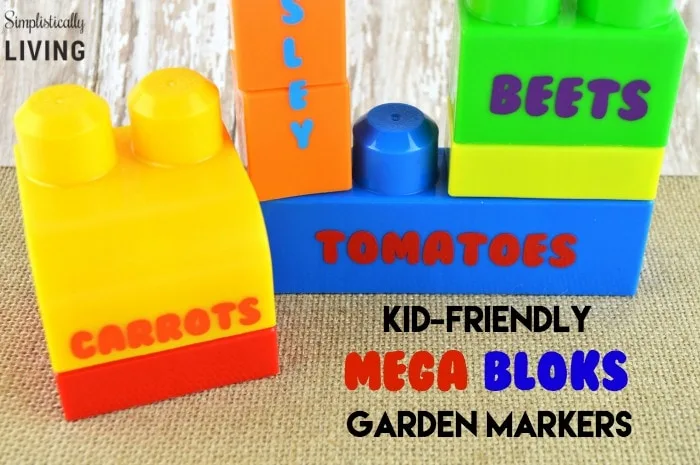
Looking for another Silhouette project? Check out these Kid-Friendly Mega Bloks Garden Markers!
10 Must Make Decorations for Halloween | Manic Mama of 3
Friday 9th of October 2015
[…] DIY Monster Confetti […]
DIY Moster Eyeball Picture Frame Simplistically Living
Wednesday 26th of August 2015
[…] DIY Monster Confetti […]
DIY Monster Wooden Number Prop Simplistically Living
Wednesday 5th of August 2015
[…] DIY Monster Confetti […]
DIY Monster Party Invitations Simplistically Living
Friday 17th of July 2015
[…] with you all my son’s 1st birthday party theme: Monsters! With that, I shared how to make Monster Confetti. Today I want to share with you how you can make your own Monster Party Invitations inexpensively […]