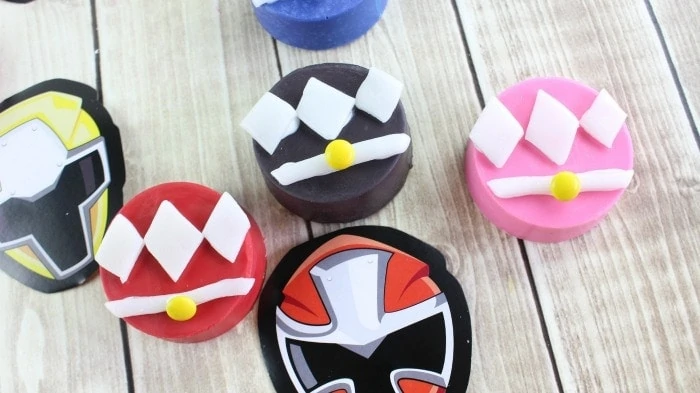
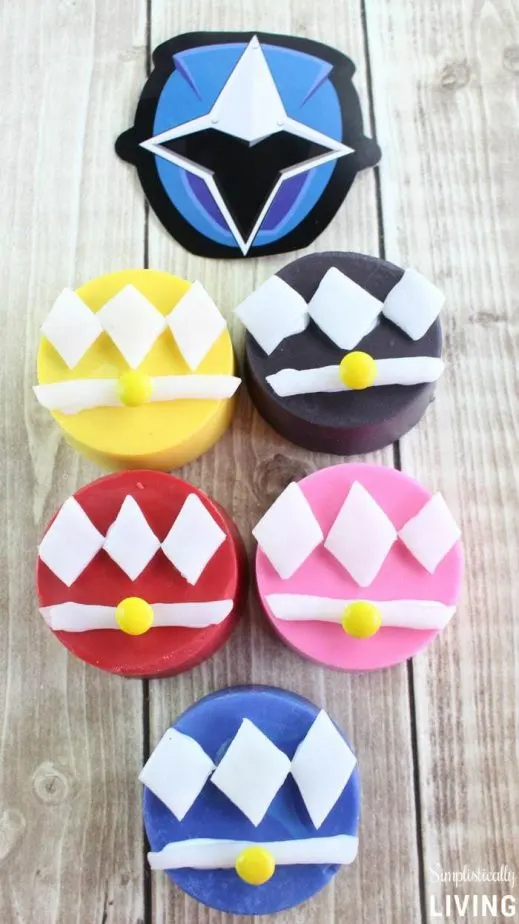
I finally saw Power Rangers and it was just as glorious as it was as a teen watching Power Rangers Go–Go–Go! By the way, I am dibs on being the pink ranger! Now that is out of the way, here are some Power Rangers Oreos you can make for when you buy the DVD!

What You Need to Make Power Rangers Oreos:
- 2 (6 ct.) cookie molds
- 12 regular Oreo cookies
- 1/2 cup Wilton red candy melts
- 1/2 cup Wilton bright pink candy melts
- 1/2 cup Wilton yellow candy melts
- 1/2 cup Wilton black candy melts
- 1/2 cup Wilton royal blue candy melts
- Wilton white decorator icing
- 6 large white Airhead candies
- 12 yellow mini M&M candies

How to Make Power Rangers Oreos:
- First start by lining a baking sheet with wax or parchment paper and set aside.
- Next, in a small microwave-safe bowl, microwave the red candy melts for 45 seconds. Remove from microwave and stir until completely melted and smooth.
- Now, fill 2 of the cookie molds with 2 tablespoons of the melted red chocolate. Place an Oreo cookie on top and then spoon additional melted red candy over the Oreos, up to the top of each mold.
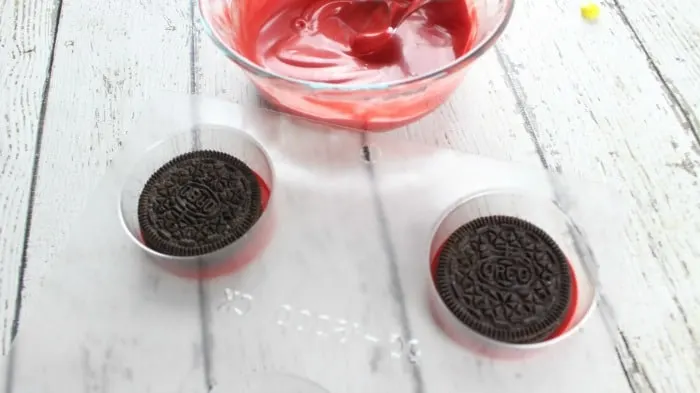
- Repeat step 2 & 3 with the remaining Power Rangers Colors.
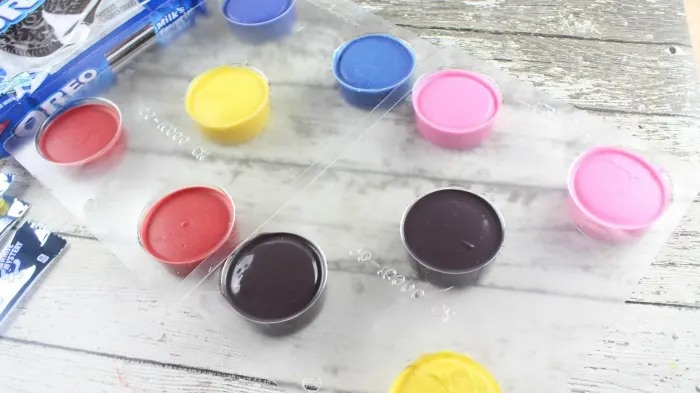
- Place the molds in the refrigerator and chill for 30 minutes to allow the chocolates to harden.
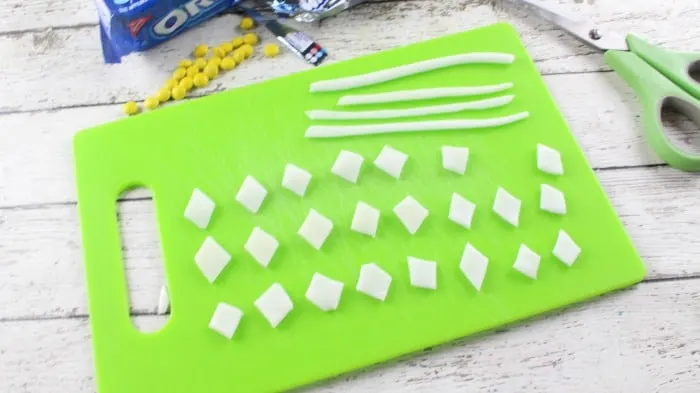
- Unwrap the 6 white Airhead candies. Cut a thin strip off the top of each Airhead, lengthwise for the “belts.” Cut each strip in half for a total of 12.
- Cut out 6 diamond shapes from each Airhead piece for a total of 36 pieces.
- Gently pop out the chilled Oreos from their molds and place on the lined baking sheet.
- With the white icing tube, pipe a thin layer of white icing across the bottom 1/3 of each Oreo. Then place a thin white Airhead strip over the icing on each cookie and press down gently.
- Place 3 diamond shapes above the “belt” on each cookie. Apply with icing and press down gently to hold in place. The icing is basically the “glue” for the details.
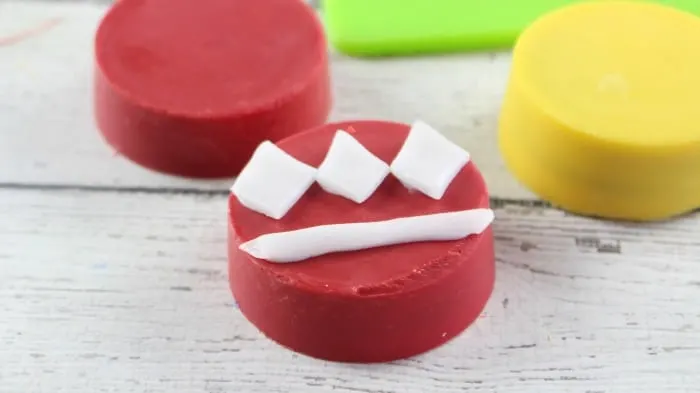
- Apply a dab of white icing to the back of each yellow mini M&M and place on the middle of each “belt.”
- Serve and enjoy!
Oreo Poke Cake | Simplistically Living
Monday 5th of April 2021
[…] Power Ranger Oreos […]
Melissa Smith
Thursday 18th of May 2017
These are soooooo adorable! Omg! I'm definitely going to make some of these this weekend to surprise my kids. They'll love it, for sure!
Brittanie
Saturday 20th of May 2017
I am so glad you like it! Cannot wait to hear what your kids think!