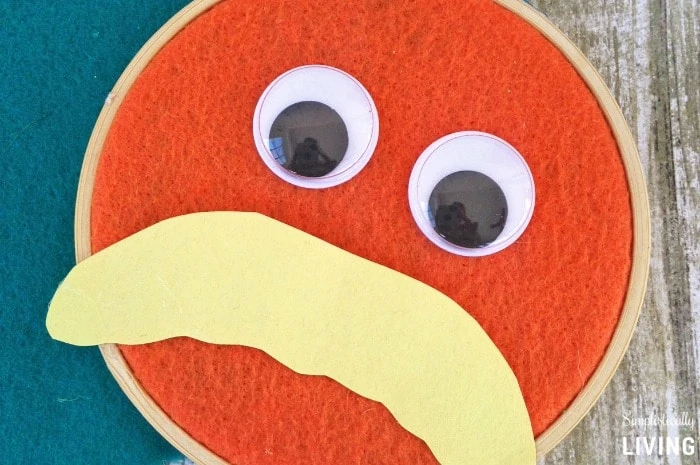
Dr. Seuss Day is March 2nd and in our house, things are starting to look colorful, whimsical, and crazy! After all, Dr. Seuss knew how to make things fun and interesting. So today I wanted to share our newest creation with you; a DIY The Lorax Wall Hanging.

What You Will Need to Make a DIY The Lorax Wall Hanging:
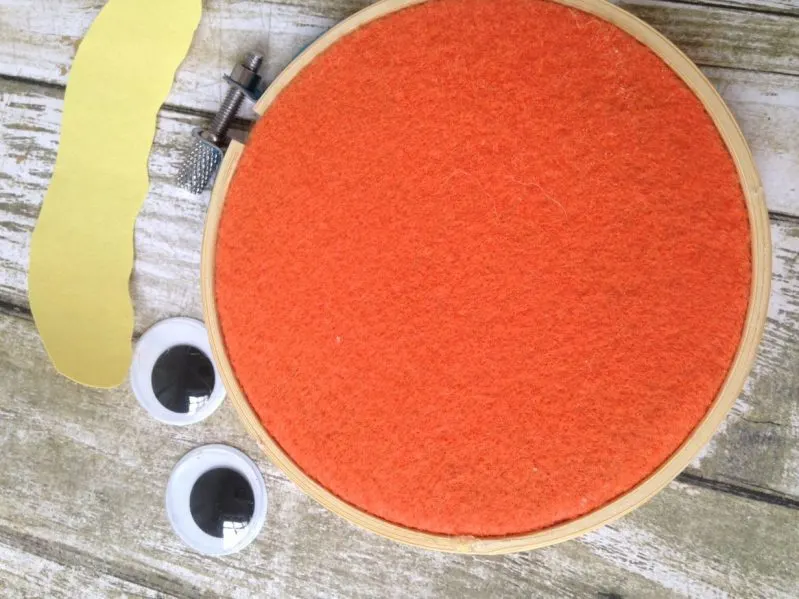
- Orange Craft Felt
- Yellow Craft Paper or Felt
- 1 Pair of Large Googly Eyes
- Scissors
- Craft glue
- Small Wooden Embroidery Hoop
How to Make a DIY The Lorax Wall Hanging:
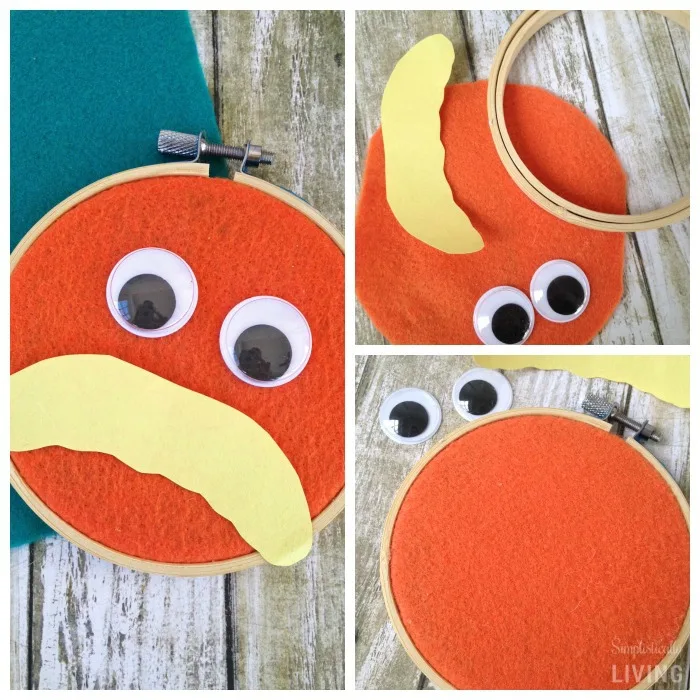
Begin by pressing the piece of orange felt in between the wooden embroidery hoops. Pull tightly and make sure the fabric is wrinkle and gap free.
Next, cut off any additional fabric so the area around the sides of the hoop is clean.
Now using your yellow felt or paper, cut out a mustache shape. I just free handed ours and trimmed it until it was the look we wanted but you can also Google an image to trace and cut.
 Next, glue the pair of googly eyes to the upper half of the hoop. Hold into place until secure.
Add a dab of glue to the back of your mustache and place directly underneath the eyes.
Allow your embellishments to dry. Your wall hanging is now ready to be displayed!

This is such an easy and fun craft that even the kids can help make it!
Make sure you snag The Lorax on DVD and even the book so you are all ready to celebrate Dr. Seuss Day!


Dr Seuss For Baby - Babycare21
Tuesday 27th of September 2022
[…] But little ones can definitely help when placing the Lorax’s simple felt facial features.The Lorax Wall Hanging from Simplistically […]
Dr Seuss Clothes For Baby - Babycare21
Tuesday 27th of September 2022
[…] But little ones can definitely help when placing the Lorax’s simple felt facial features.The Lorax Wall Hanging from Simplistically […]
Truffula Tree Wall Hanging Simplistically Living
Wednesday 2nd of March 2016
[…] Looking for another fun Dr. Seuss craft? Check out this DIY The Lorax Wall Hanging! […]