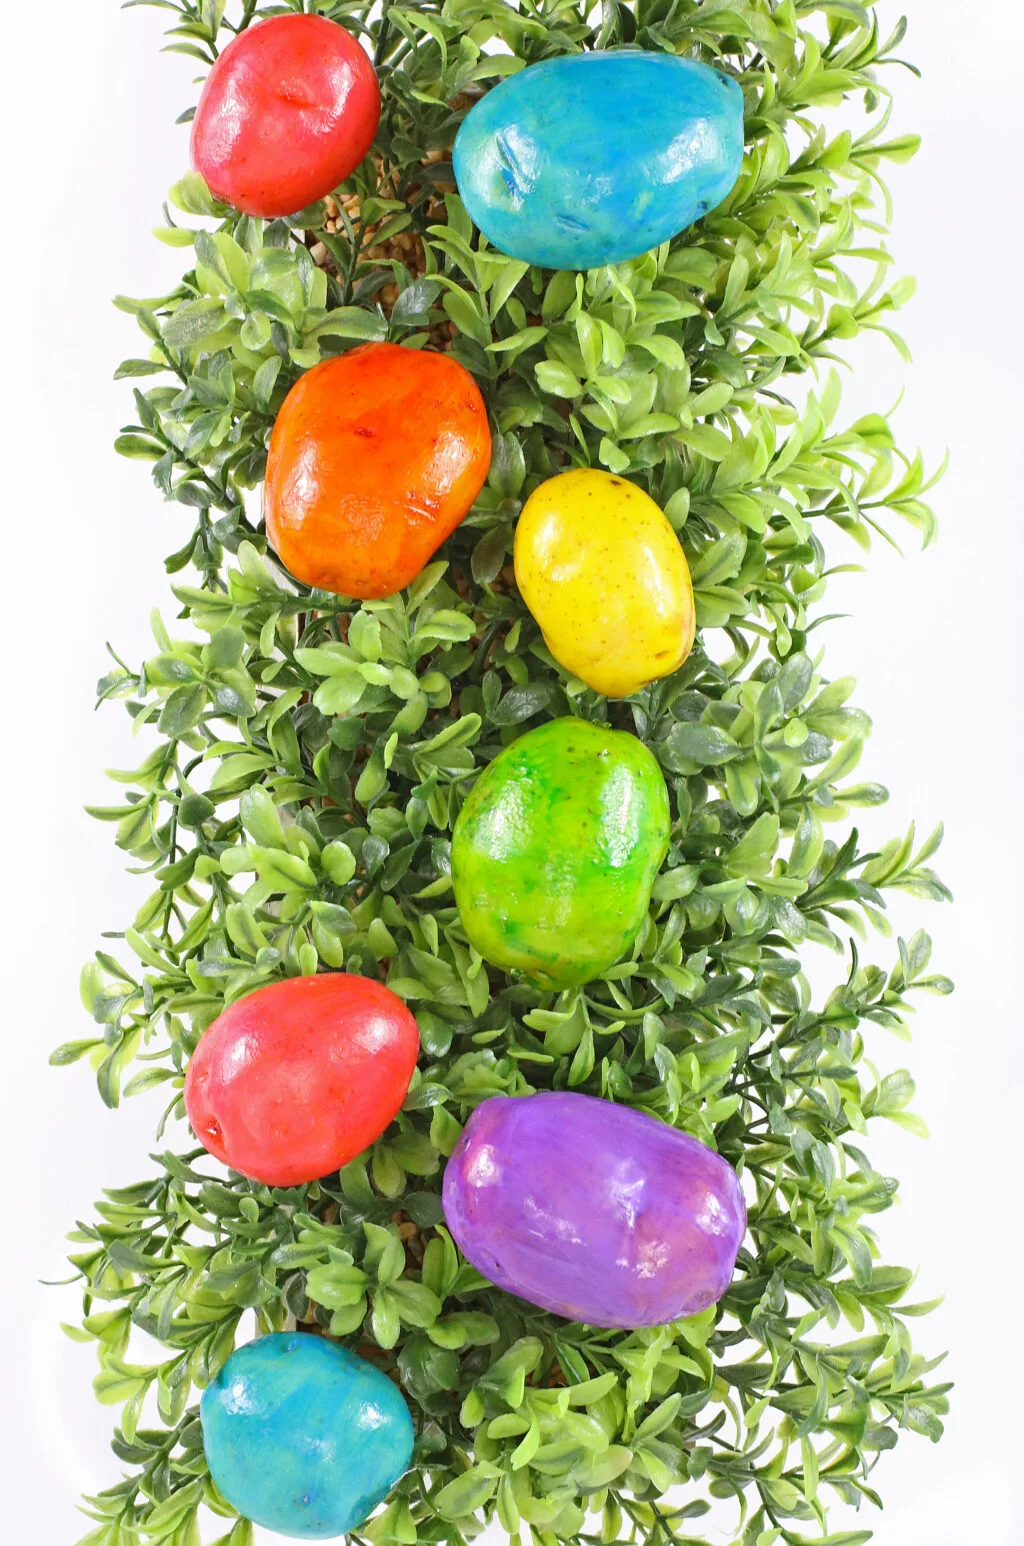
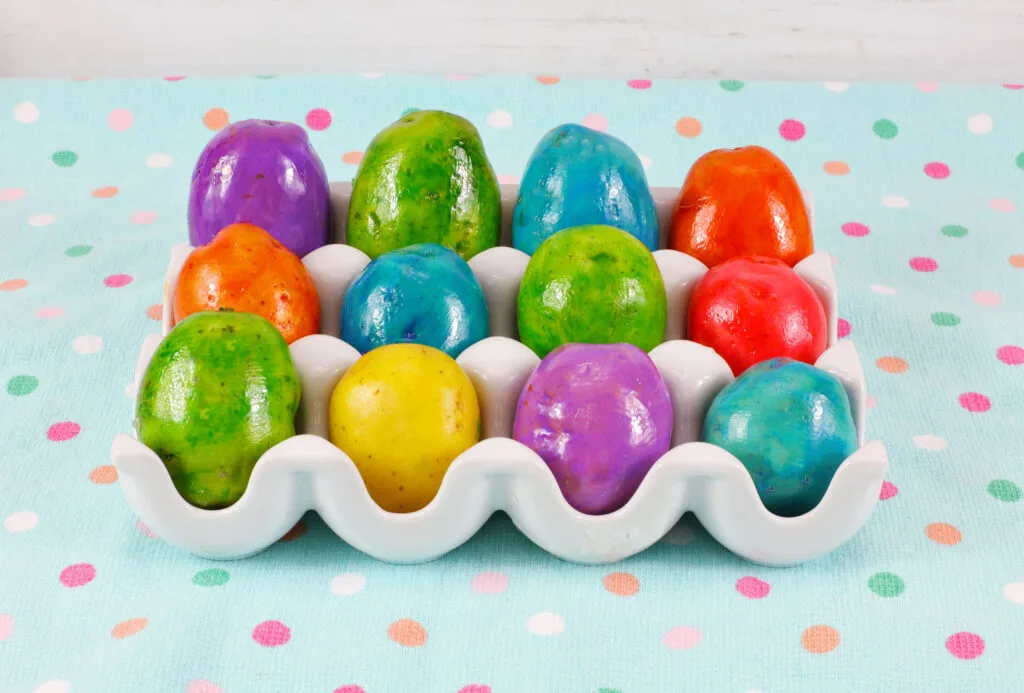
Move over eggs, this year we are doing Easter Egg Dyed Potatoes.
Our How to Dye Potatoes for Easter guide provides a step-by-step process for creating vibrant and eye-catching dyed potatoes in no time. These are a fun, quirky and unique idea for Easter that can help offset the cost of eggs.

When I first saw memes and comments made on social media about people dyeing potatoes for Easter instead of eggs, I laughed. It’s hilarious but honestly, I love the sense of humor.
But then, I decided, why not? If this year we are all dyeing potatoes instead of eggs due to the high cost of eggs right now, who cares? It’s fun and will be some fun memories made with the family.
With that being said, if you’re wondering how to dye potatoes for Easter, look no further. I have all the tips and tricks to make sure your Easter-dyed potatoes are memorable and perfect this year!
Want more fun ways to decorate Easter Eggs? Check out our Natural Yellow Egg Dye Recipe and 33 Creative Easter Egg Designs.
What You Need for Easter Egg Dyed Potatoes
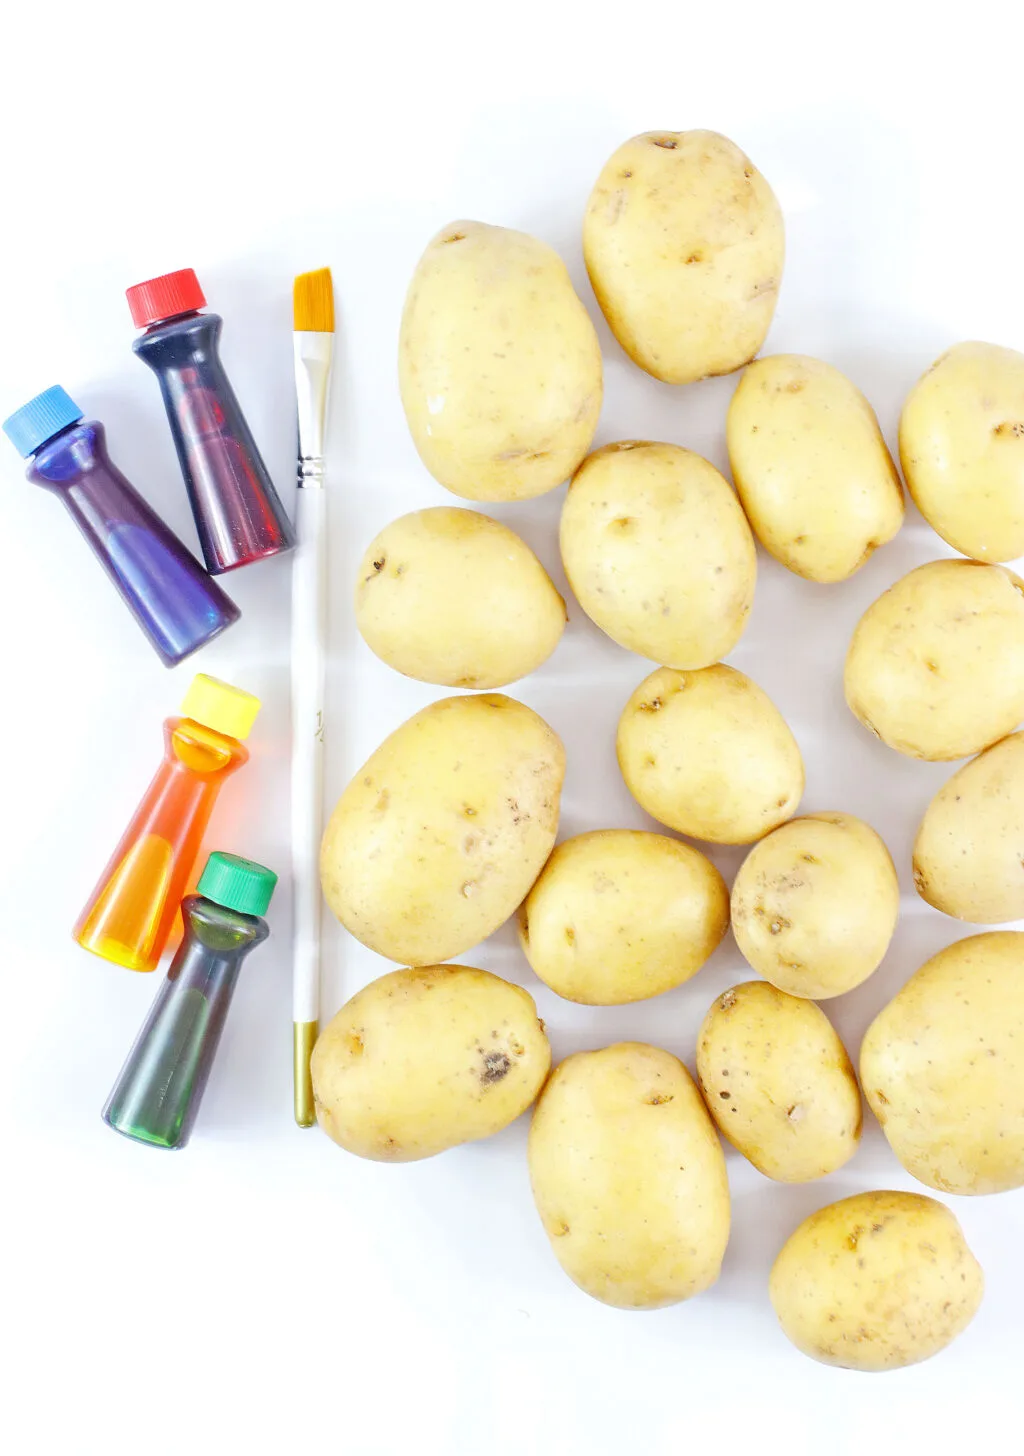
- Potatoes (I prefer the Petite Gold Gourmet Potatoes)
- Food Coloring (either regular water-based food coloring or food coloring gel, see tips below)
- Paper Towels
- Paint Brushes
- Gloves (optional, but great if you have little kids helping)
Choosing the Right Food Coloring to Dye Potatoes With
Water Based Food Coloring
If you plan to use water-based food coloring, do know that this is probably the easiest and less time-consuming method. It typically dries fast and you likely already have this type of food coloring on hand. It does require a few drops of food coloring if you want to achieve a more vibrant color. Just add and paint until you achieve your desired color.
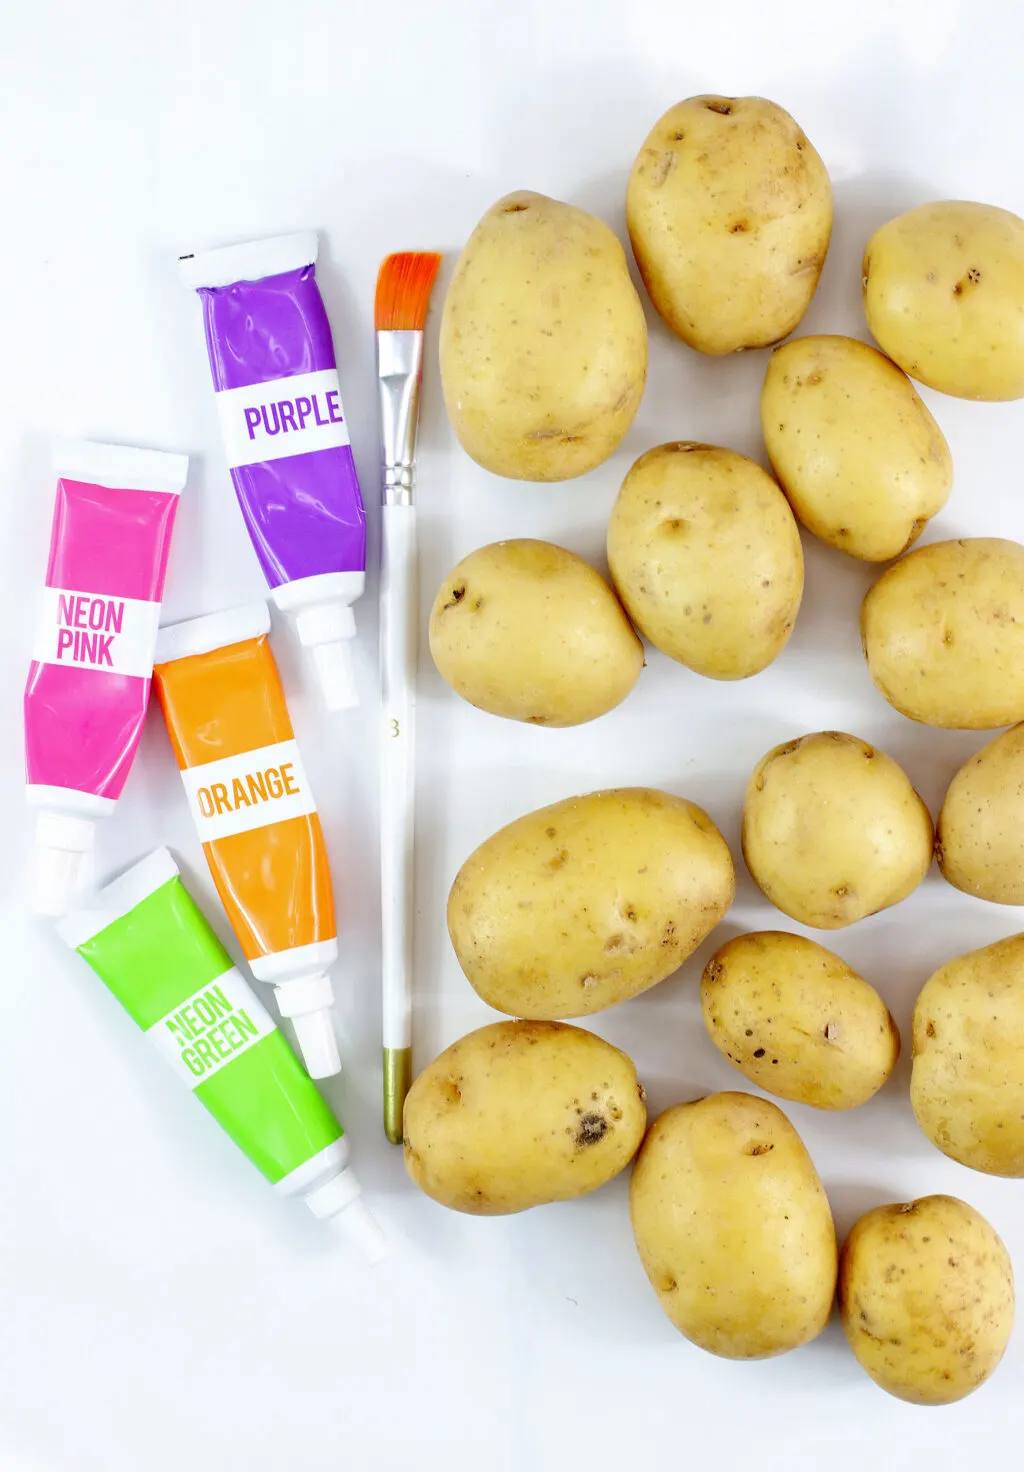
Gel Based Food Coloring
Gel food coloring always gives a more vibrant look but in the case of potatoes, it does require extra drying time. You only need a little to go a long way so start small and paint the potato and allow to dry for several hours or overnight for best results.
Frequently Asked Questions
Why dye potatoes instead of eggs?
If you are on a tight budget this year due to inflation and don’t want to pay the high cost of eggs, potatoes are a fun and cheaper alternative to hard-boiled eggs dyeing. A 1.5 lb bag of petite gold potatoes (has around 25 potatoes) costs around $3.00 while a dozen of eggs costs around $6-$8 where I live.
What type of potatoes can you dye for Easter?
You can dye any type of potato for Easter but if you want vibrant colors that look like colorful easter eggs on white eggs, you’ll want to use the lightest-colored potatoes you can find. I prefer the Yukon Gold Potatoes (larger) or Petite Gold Gourmet Potatoes (smaller) since they have such a light-colored skin, they are easy to dye vibrant colors. Baby dutch yellow potatoes and baby gold potatoes work great too!
Are dyed potatoes edible?
Yes! Dyed potatoes are edible as long as you are only using edible ingredients (if you end up using glitter or other decorative items, they are no longer edible). Obviously, you’ll want to cook the potatoes before eating them but if you are using entirely edible products, (potatoes and food coloring) these are edible. You can rinse and clean the potatoes to get the dye off as much as you can or peel the skin since the dye will mostly dye the outside of the potato skin. You can then dice them up and saute them in a pan or even turn them into mashed potatoes.
Can I dye potatoes with Kool-Aid?
No. Unfortunately, we tried using Kool-Aid to dye potatoes as you can with eggs and it did not work.
Can I dye potatoes with Cool-Whip or Shaving Cream?
No. Unfortunately, dyeing potatoes with cool-whip or shaving cream will not work.
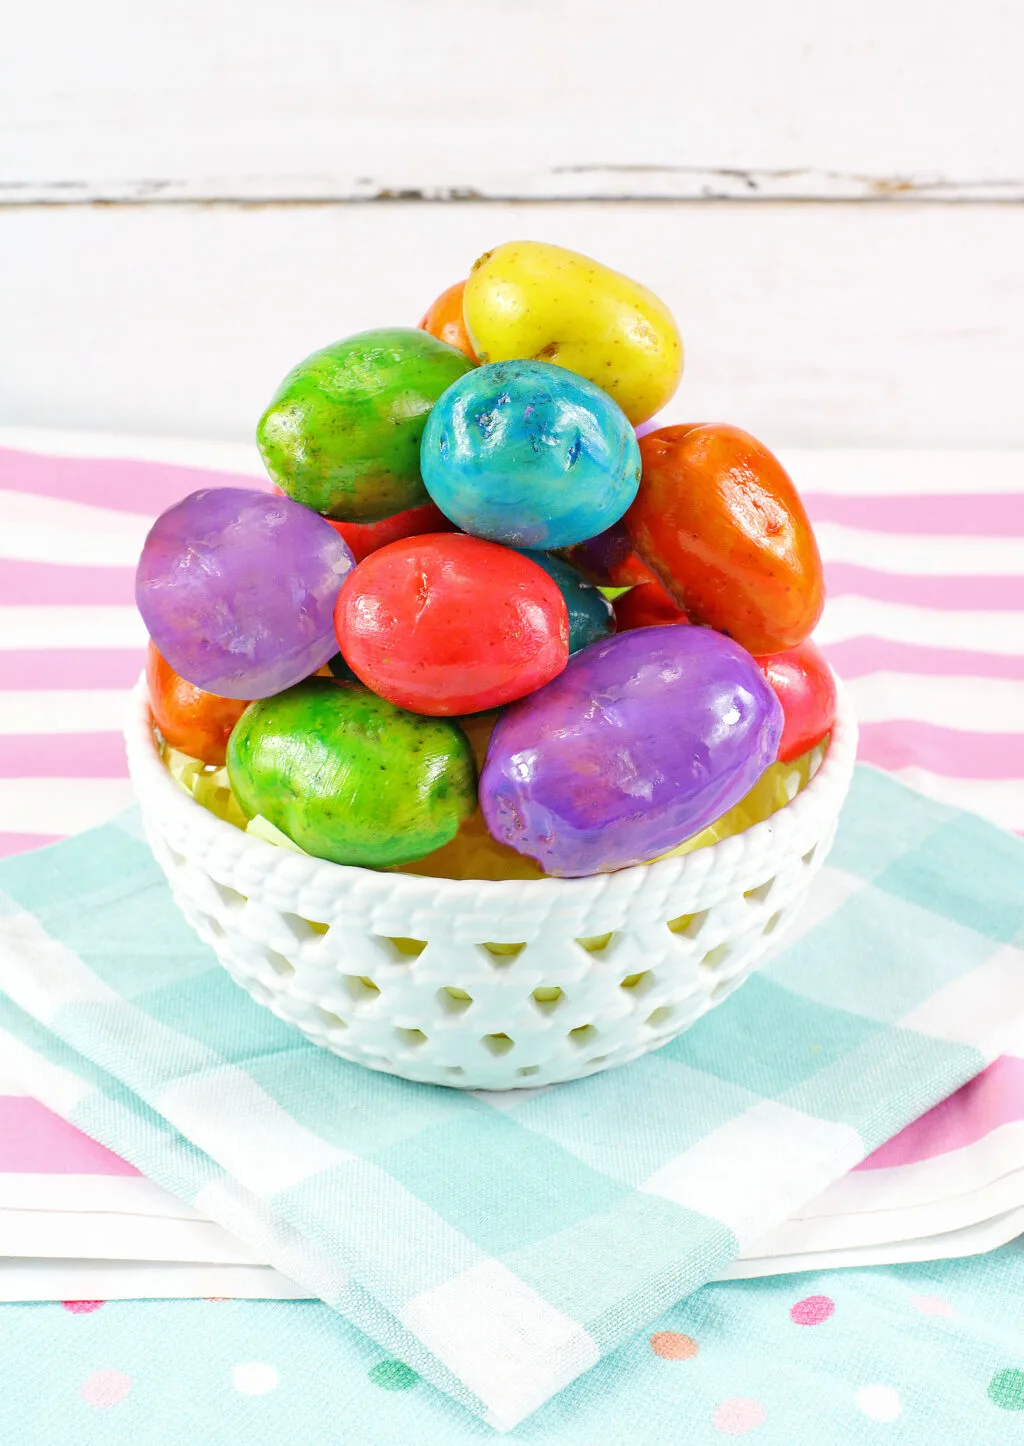
How to Dye Potatoes for Easter
First, make sure your potatoes are clean and dry.
Next, prepare your surface. You can cover your area with newspaper, paper towels or even plastic wrap. Just make sure you are wearing old clothes and working on a surface that is covered to avoid any staining.
Next, lay your potatoes out on paper towels and gather your food coloring and brushes.
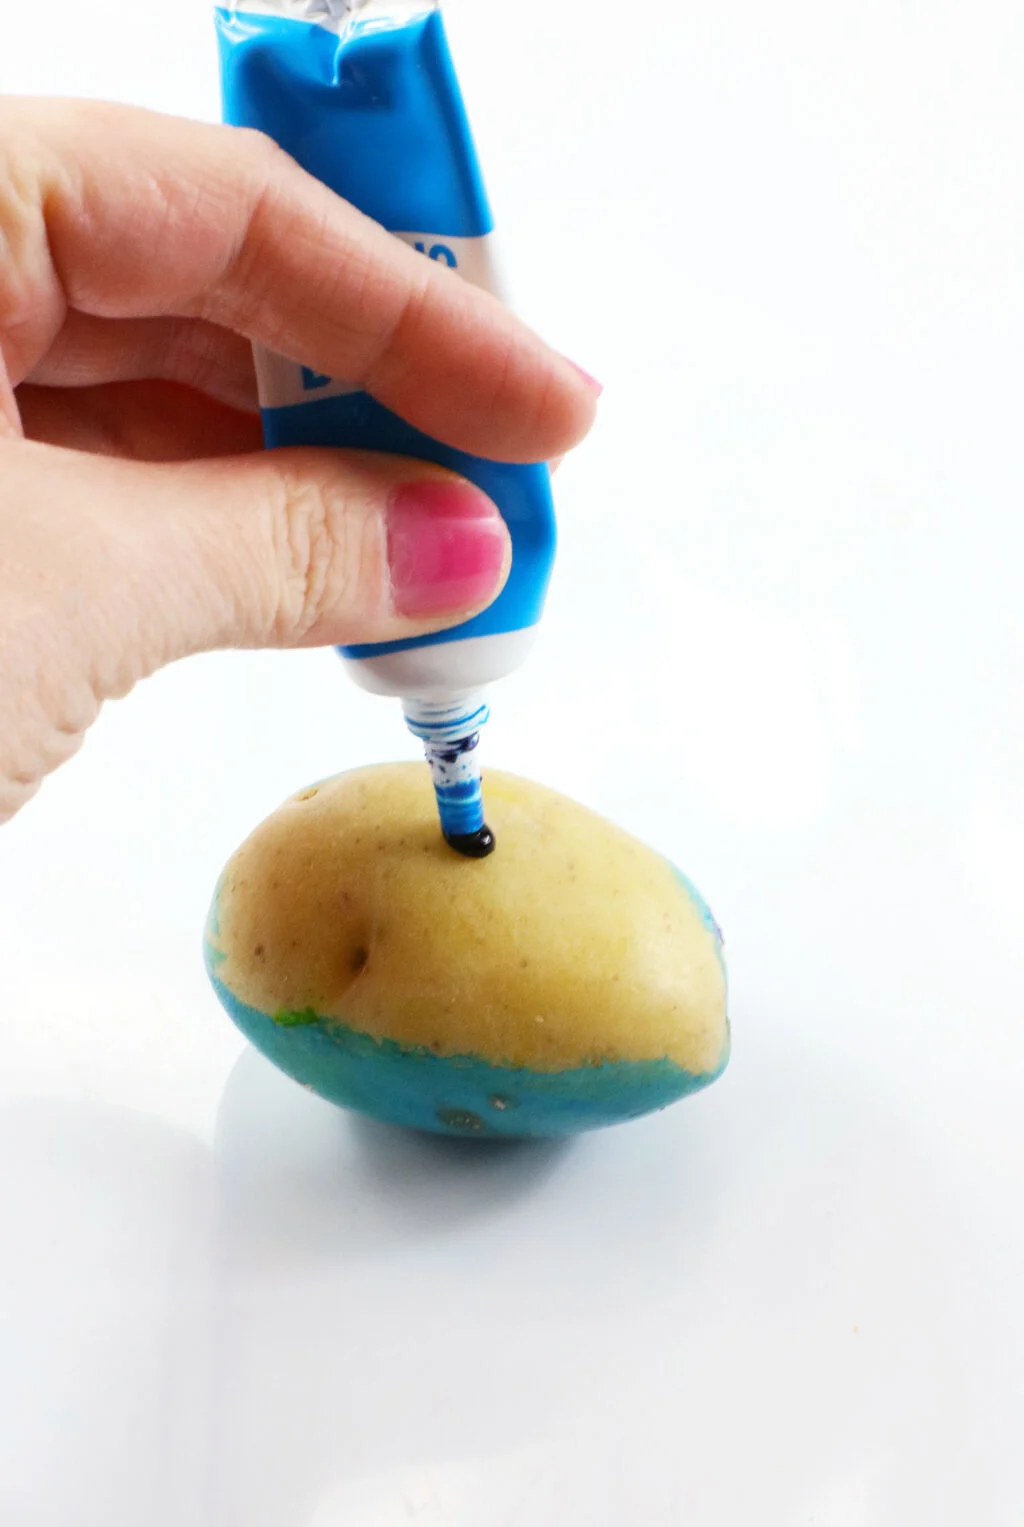
Take a drop of food color, gel or liquid, and drop it on the potato.
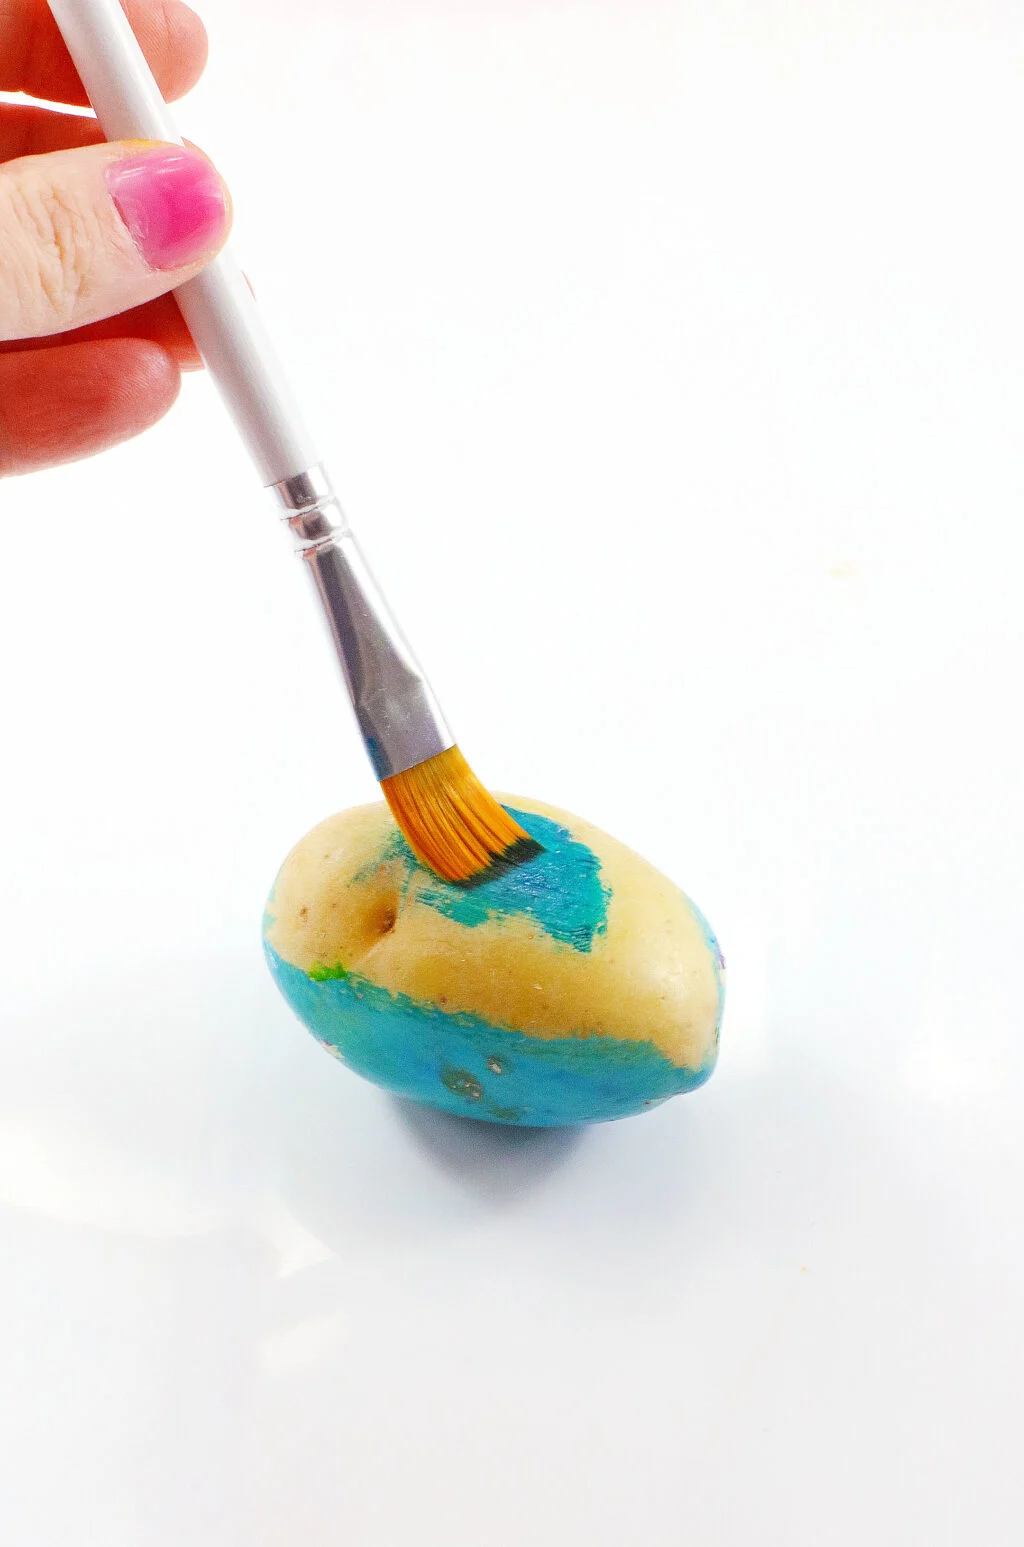
Next, take your paintbrush and paint the food coloring all over the potato, and let dry on the paper towel.
Let the potatoes dry for several hours or overnight is best, before displaying them on your table or windowsill as part of your Easter decorations.
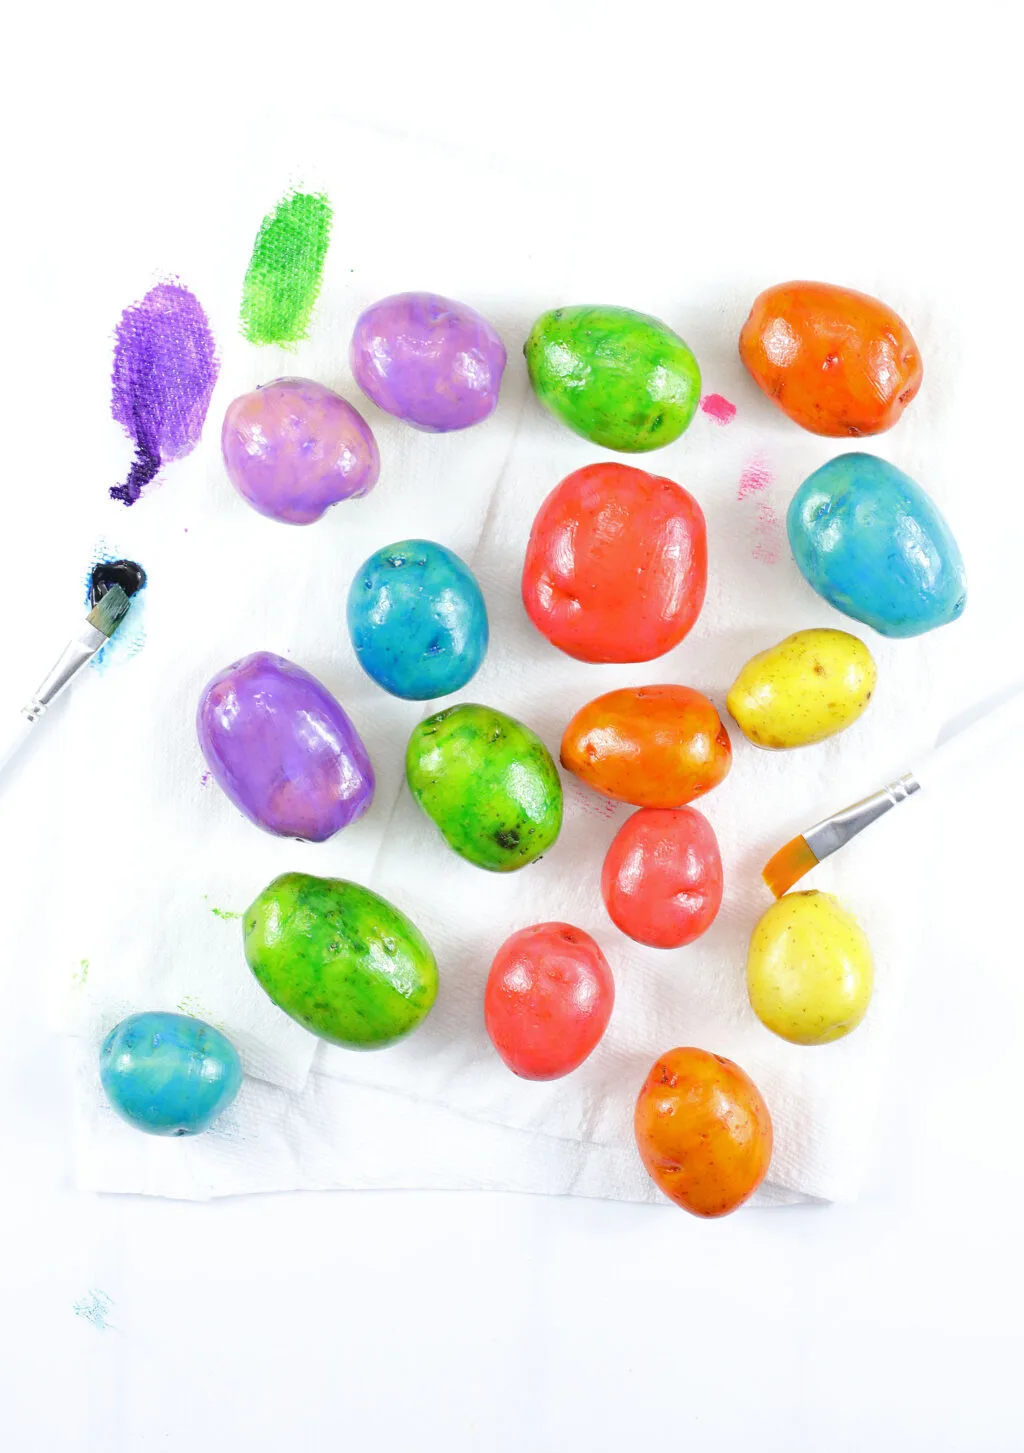
Once your painted potatoes are dry, you can add some finishing touches by adding glitter or other embellishments if desired. You could also write names on each potato so that everyone knows which one belongs to whom!
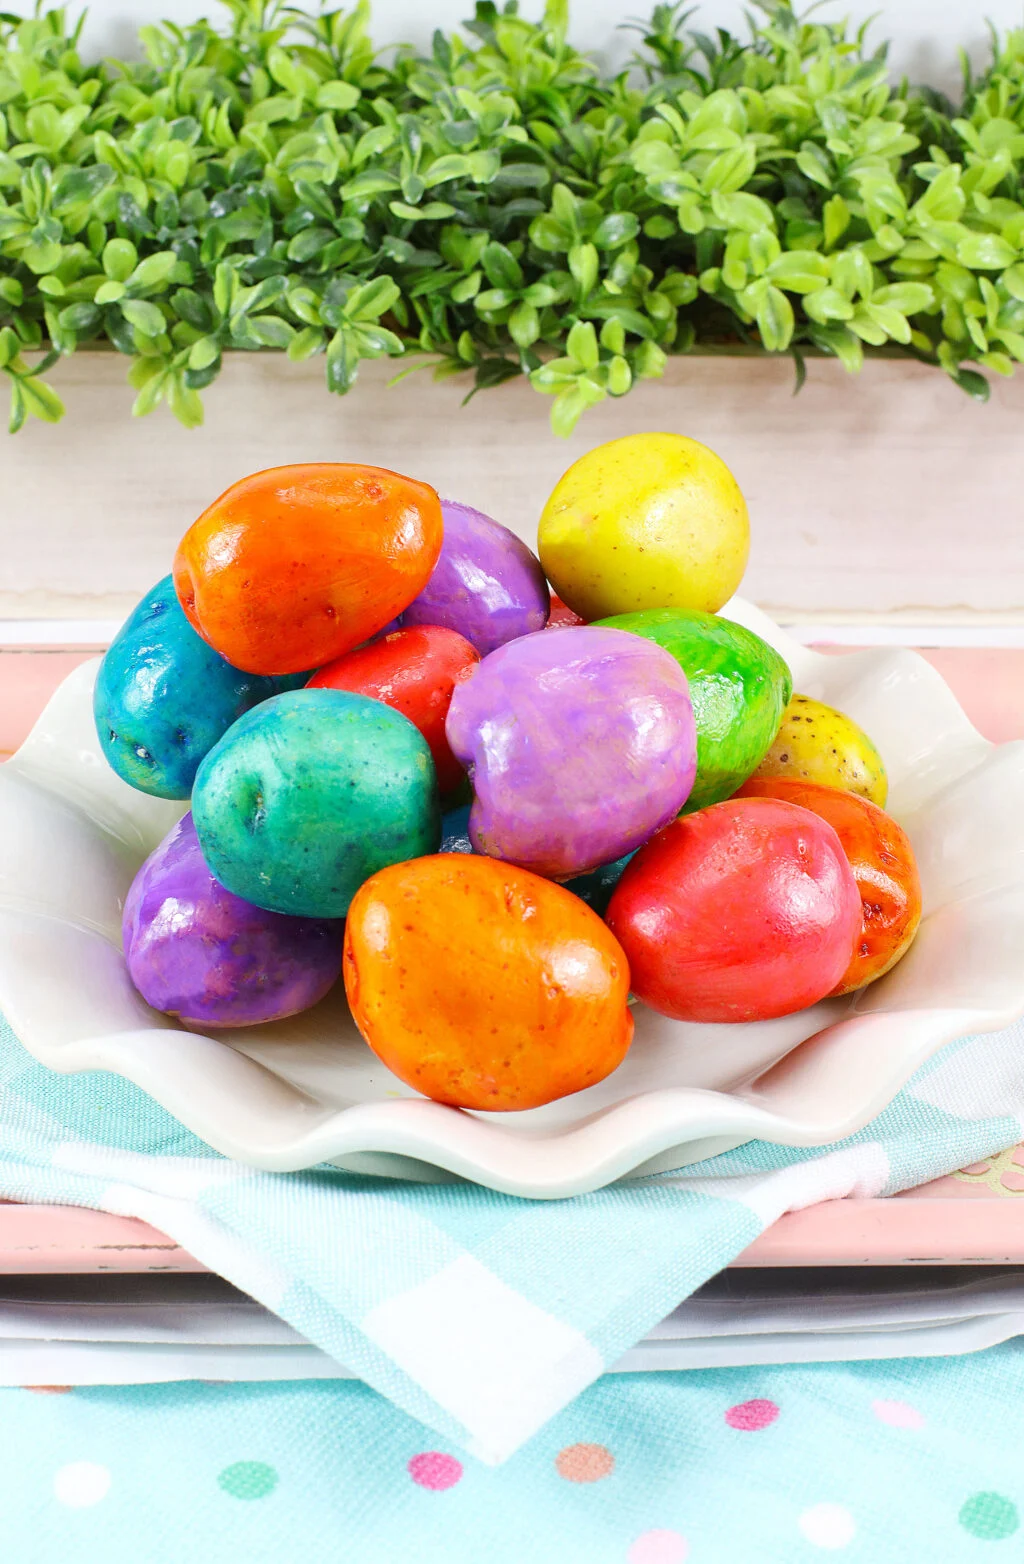
Have fun bringing these painted potatoes to life and showing off your creative skills this Easter season.
Painting potatoes is a great activity for parents and kids alike this Easter season! Use food coloring and paintbrushes (or Q-tips!) to create colorful designs on your potatoes that look just like real eggs.
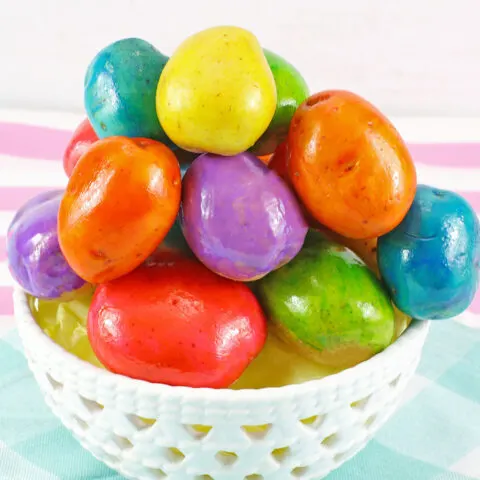
Easter Egg Dyed Potatoes
Equipment
Ingredients
- Potatoes I prefer the Petite Gold Gourmet Potatoes
- Food Coloring either regular water-based food coloring or food coloring gel
- Paper Towels
- Paint Brushes
- Gloves optional, but great if you have little kids helping
Instructions
- First, make sure your potatoes are clean and dry.
- Next, prepare your surface. You can cover your area with newspaper, paper towels or even plastic wrap. Just make sure you are wearing old clothes and working on a surface that is covered to avoid any staining.
- Next, lay your potatoes out on paper towels and gather your food coloring and brushes.
- Take a drop of food color, gel or liquid, and drop it on the potato.
- Next, take your paintbrush and paint the food coloring all over the potato, and let dry on the paper towel.
- Let the potatoes dry for several hours or overnight is best, before displaying them on your table or windowsill as part of your Easter decorations.
- Once your painted potatoes are dry, you can add some finishing touches by adding glitter or other embellishments if desired. You could also write names on each potato so that everyone knows which one belongs to whom!
Nutrition information is a rough estimate only; actual values will vary based on the exact ingredients used and amount of recipe prepared.

Teresa
Tuesday 28th of March 2023
Do you dye them while they are raw? Does it also color the white part of the potato?
Teresa Douglas
Friday 31st of March 2023
@Brittanie, Thank you. I can see serving them cooked in a bowl with parsley butter on the side. It would make a lovely Easter dinner presentation.
Brittanie
Tuesday 28th of March 2023
You can dye them while they are raw or when they are cooked and then cooled. It doesn't dye the inside at all. :)
Bex
Sunday 12th of February 2023
Did they come out shiny like the picture or did you add something to them after? And do you need a different brush for every color? Eggs are porous so they suck the color in quickly, potato skin I wouldn’t think are quite the same. I am wondering how long each side takes to dry before painting the other? I would assume if you touch the wet food coloring you would leave fingerprints behind? Thank you. They are very pretty.
Brittanie
Monday 13th of February 2023
Hi Bex, they do come out shiny and you don't need a different brush for every color but you will want to at least clean off the brush in between colors. Dry time depends on which method you go with, it is less time using regular food coloring. You can even set up a small fan to help them dry faster. Hope that helps :)