Frozen is super popular this year. Whether you are creating fun favors for the Kids for your upcoming holiday party or you are gathering ideas for your Frozen themed birthday party, this Frozen Inspired Snowflake Wand is sure to be a hit!

These are so great because they are very inexpensive to make. They cost just a few dollars for supplies and the best part is, it’s a craft you can make with your children for some bonding time!
What You’ll Need to Make a Frozen Inspired Snowflake Wand:
- DCWV Silver Cardstock from Glitzy Stack
- Quick Dry Glue
- Wooden Skewer Stick
- Tulle or Ribbon
- Silhouette Cutting Machine
How to Make a Frozen Inspired Snowflake Wand:
- Head over to the Silhouette Online Store and grab the Snowflake Set file for just $0.99. Once you have purchased the Snowflake set head over to your Silhouette Studio Software and go to file->library->and upload snowflakes onto a new screen.

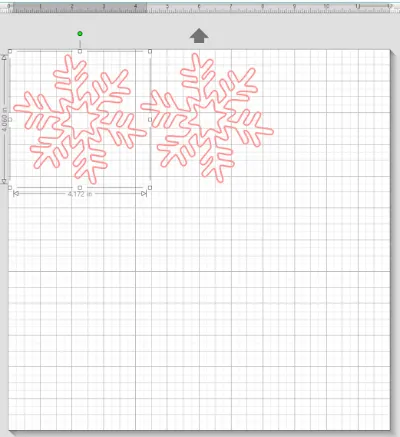
- Once you open the file you’ll notice 3 snowflakes appear on the screen but for this particular project we’re only going to use the one on the bottom. Right click the image and select “release compound path” then right click again and select “ungroup”. Once the images are ungrouped you can delete the snowflakes you won’t be using and that means I deleted 2. Once the snowflakes are deleted move the one you’re going to be using to the top left hand corner and resize to 4.060” length x 4.172” width.
- Once you are happy with the size of the snowflake right click on the image and select duplicate overlay so you have 2 equal snowflakes for this project.
- Now it’s time to head over to cut settings. Make sure you select cardstock as your material and turn your blade to a 5. (Note: The only reason I’m using a 5 blade is because I find this is the lowest setting that will cut through glittered cardstock.)
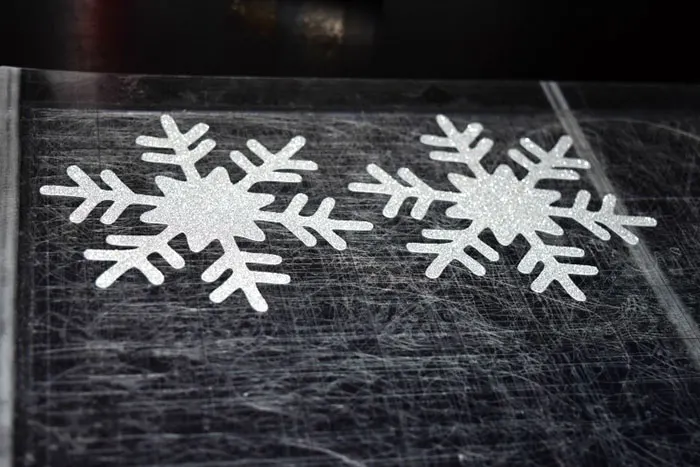
- Apply your glittered DCWV paper to your cutting mat and feed into your machine and click send to silhouette. Once the cuts are complete remove from your mat and it’s time for assembly.

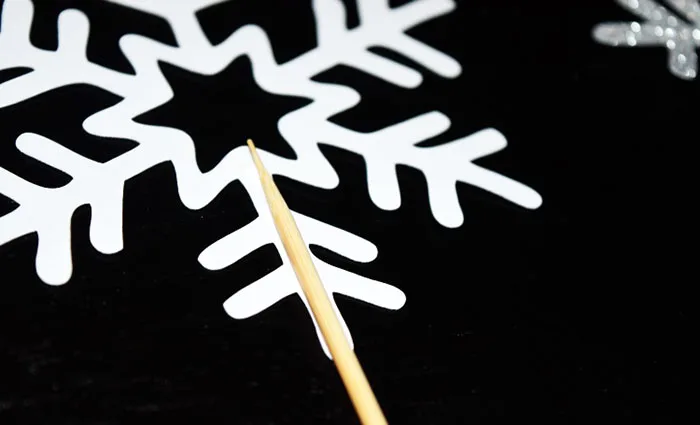
- Lay your snowflake glitter side up and glue the very bottom portion and apply your wooden skewer stick, allow a few minutes to dry.

- Now add glue to the top of the wooden skewer and apply the 2nd snowflake glitter side up and hold until it’s in place.
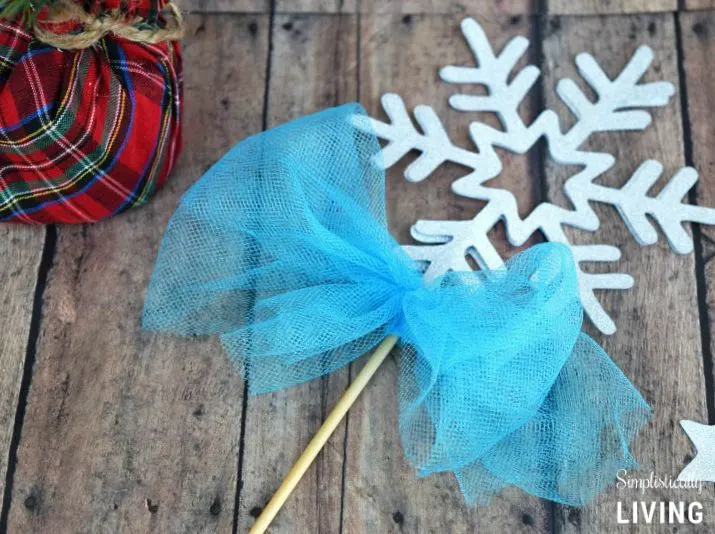
- Now tie a bow with ribbon or tulle in your favorite color and enjoy your Frozen Inspired Snowflake Wand!

Like this idea? Visit the Crafting Corner for more great ideas!
Magical Snowflake Crafts – Cunning Like Granny | My Url 101
Tuesday 8th of February 2022
[…] That is this type of pretty hand-crafted craft. […]
Elsa's Frozen Hot Cocoa Simplistically Living
Saturday 28th of November 2015
[…] Looking for another Frozen idea? Check out this Frozen Snowflake Wand. […]
Rose who's busy being creative at FineCraftGuild.com
Sunday 26th of July 2015
This is such a sweet project. Which girl would not want one. I so recall this birthday party when my girl was 4 and we had the moms and the kids made wands and crowns and they got to dress up and 'perform' on a temporary stage in the garden... It was adorable. ~ Rose, http://www.FineCraftGuild.com
Brittanie
Monday 27th of July 2015
Aw that does sound adorable! I will never know what it's like to have a little girl but I will pretend to know. :)
shannon
Tuesday 12th of May 2015
My Niece is going to LOVE this!! Great project to do with her! thanks! Shannon:)