
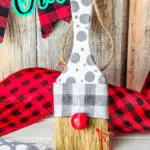
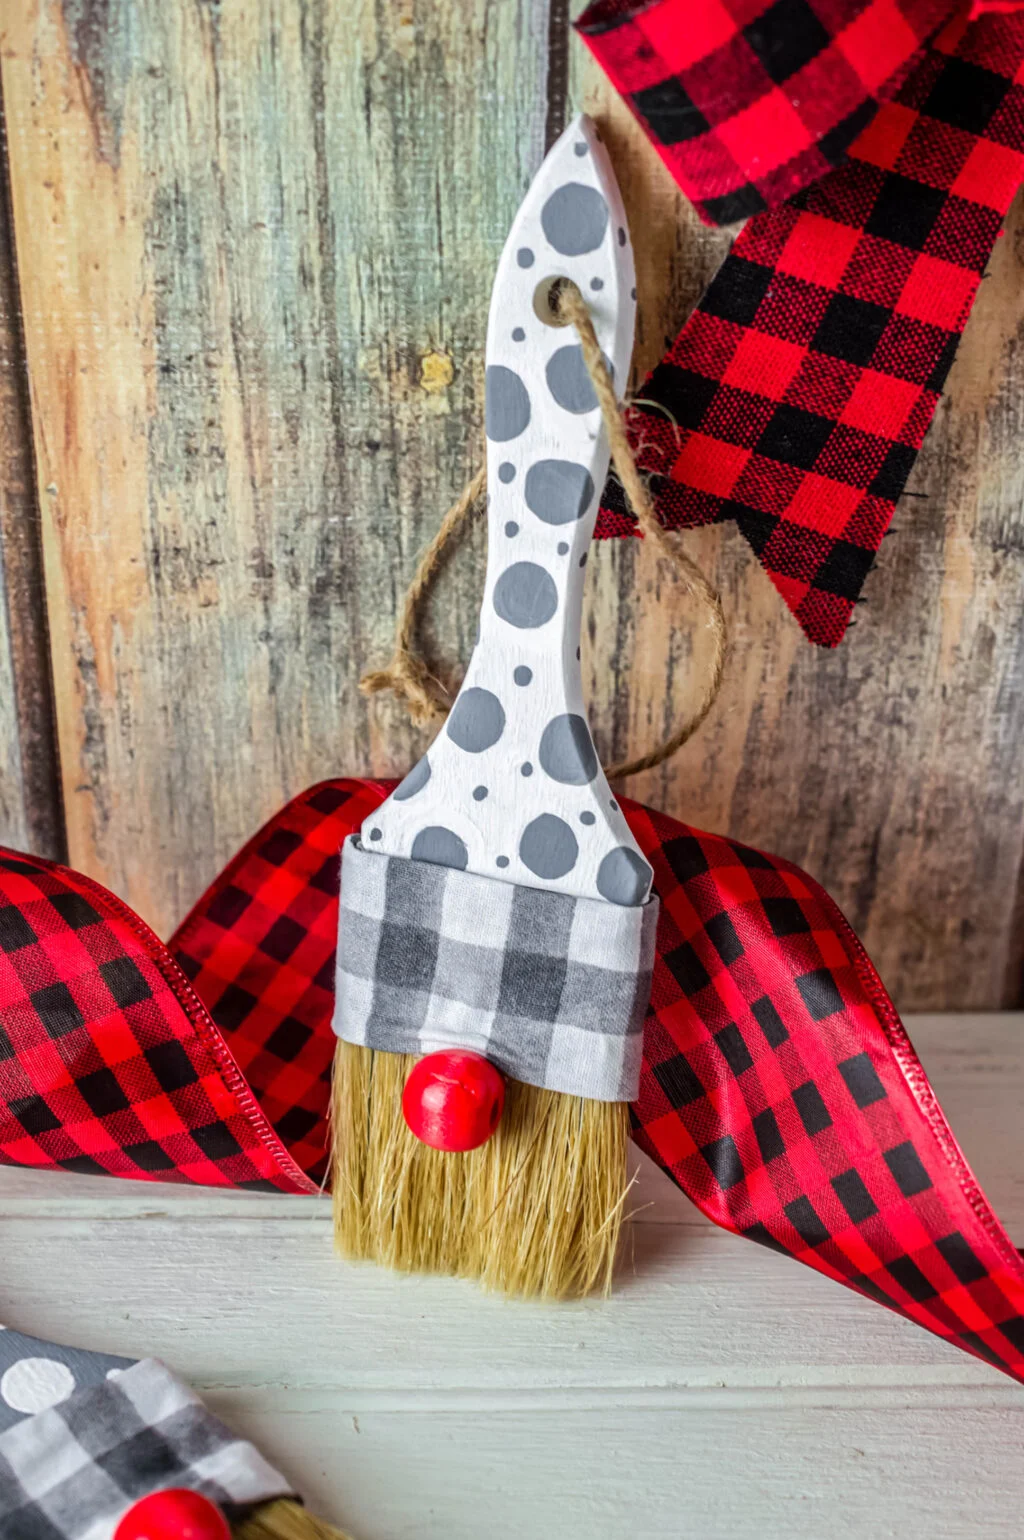
This Gnome Paintbrush Ornament is an easy Christmas Craft you can make using supplies from Dollar Tree! It’s the perfect farmhouse Christmas decoration and would even make a great holiday gift!

I don’t know about you but I LOVE Gnomes. I find them adorable and I’ve become a bit obsessed with them.
That is why I love this craft so much. It’s an adorable gnome and it’s so easy to make, the kids can even help (aside from the hot glue).

Oh, and did I mention that almost everything you need to make these adorable little characters can be found at your local Dollar Tree? Yeah, they are inexpensive too!
If you can paint, glue and hang things, you can certainly make these Paintbrush Gnomes!

Gnome Paintbrush Ornament
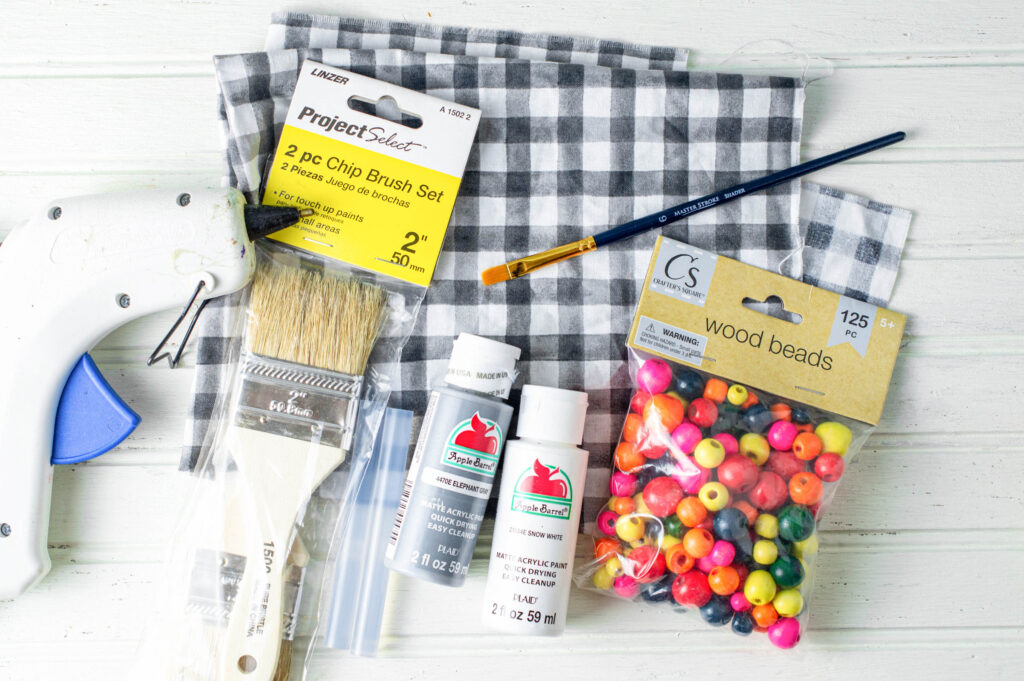
Materials Needed:
- Paint brushes (Dollar Tree 2” Chip Brush 2pc Set)
- 2 Red beads (Largest size of the Dollar Tree 125pc multi colored wood beads)
- Fabric (used fabric quarter from Walmart, but they have fabric at Dollar Tree)
- Elephant Gray acrylic paint (Apple Barrel brand)
- Snow White acrylic paint (Apple Barrel brand)
- Twine or ribbon
- Hot glue gun
- Small paint brush
- Foam paint brush* (from Dollar tree – optional)
- Scissors

How to Make A Gnome Ornament Using A Paintbrush
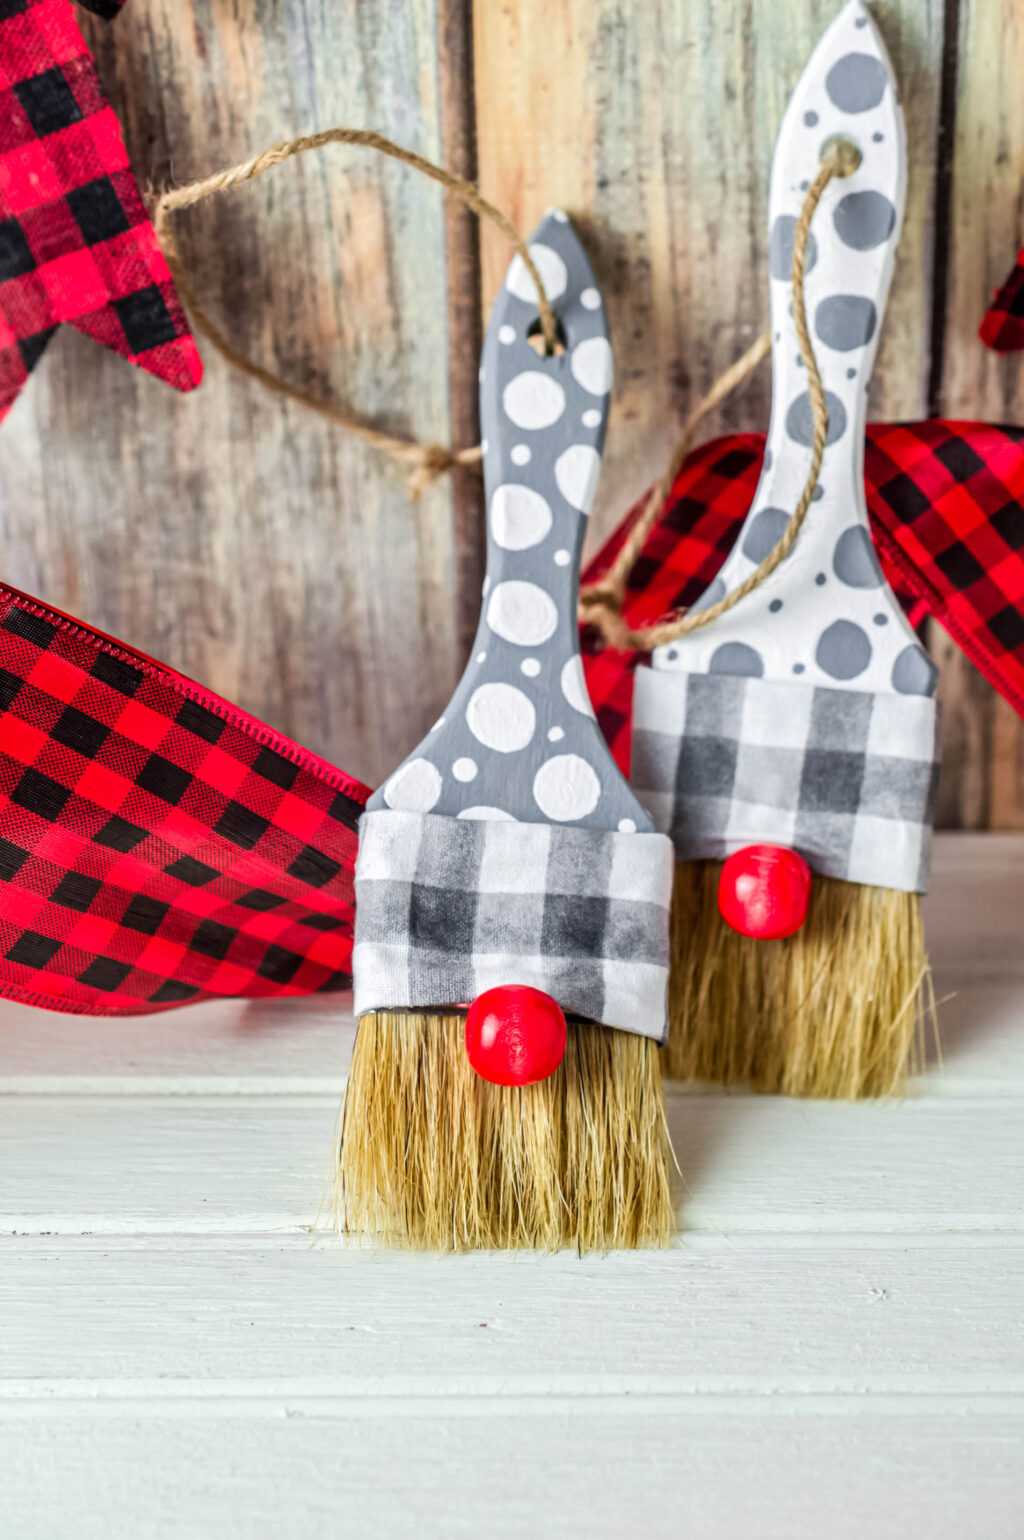
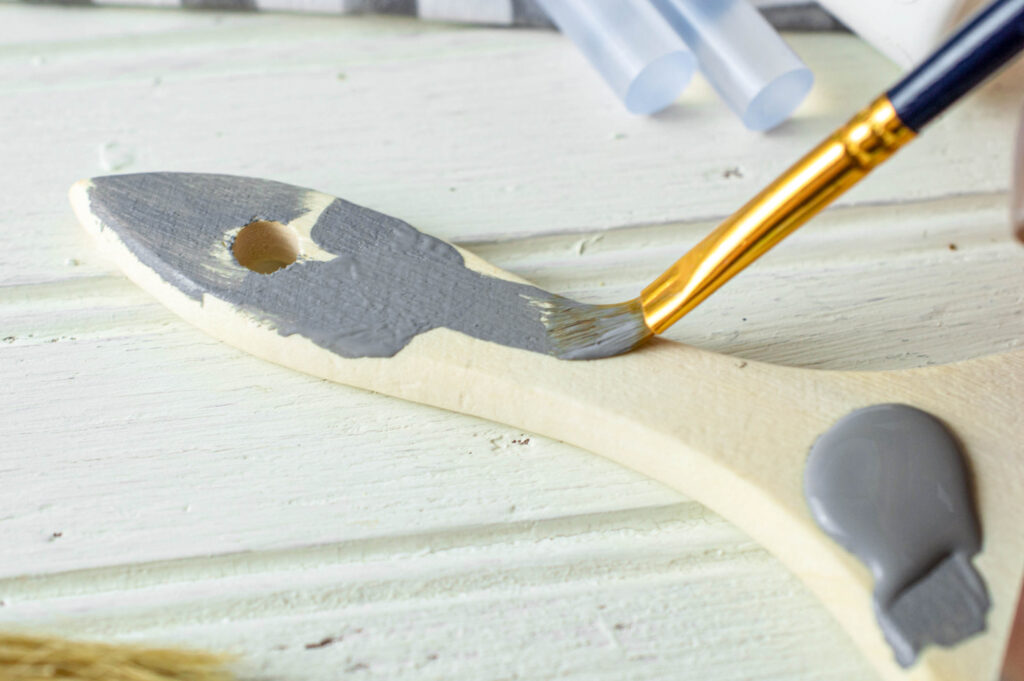
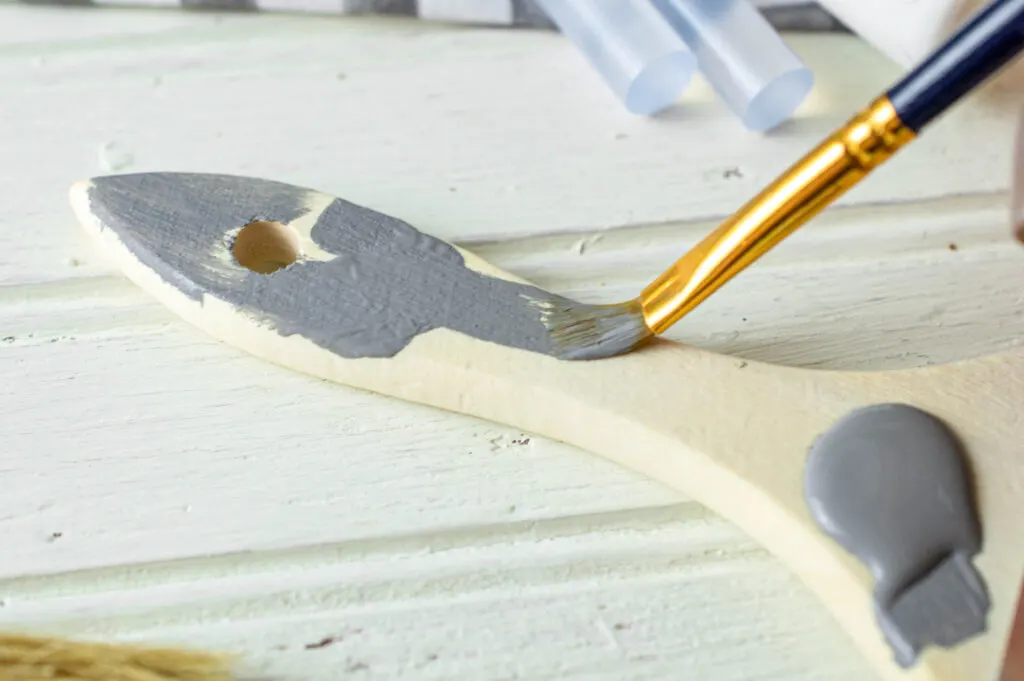
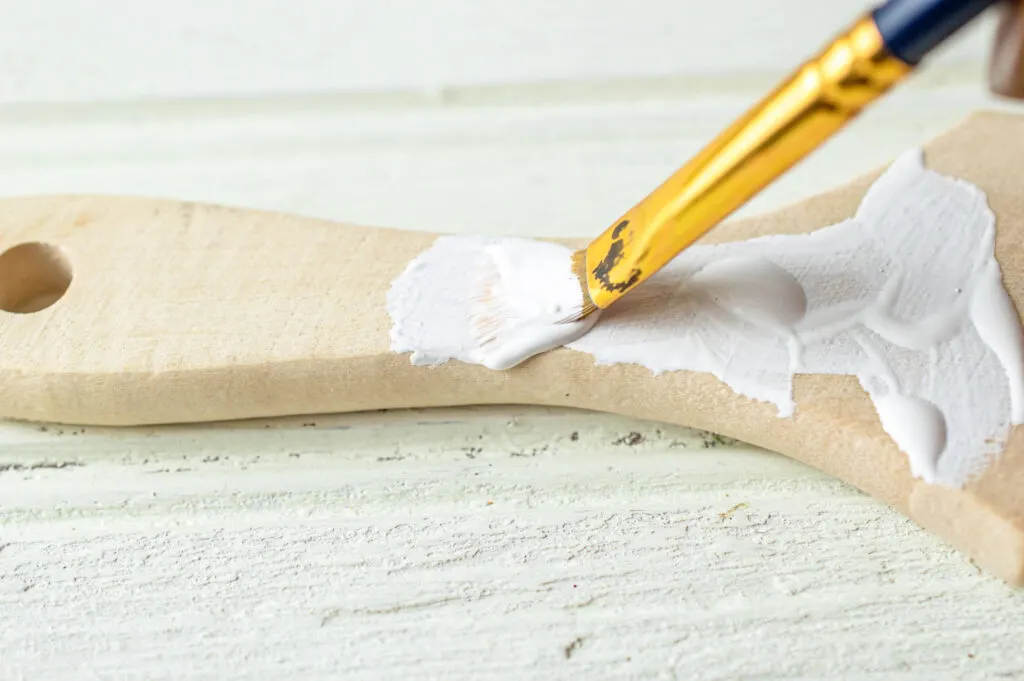
Start by painting one paintbrush gray and the other white. Set aside and let dry.

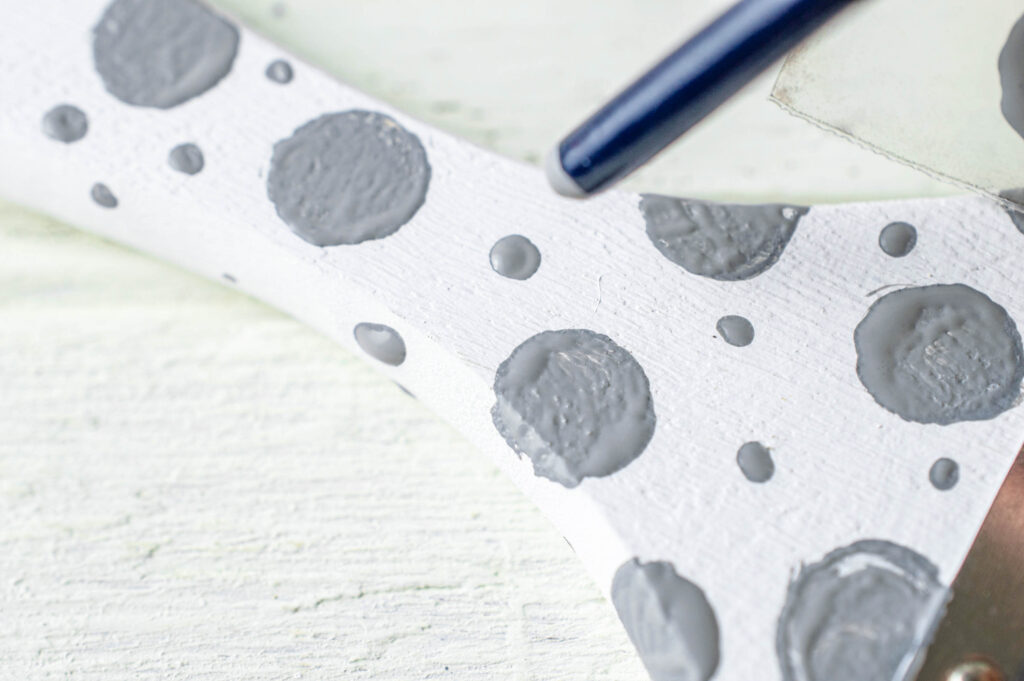
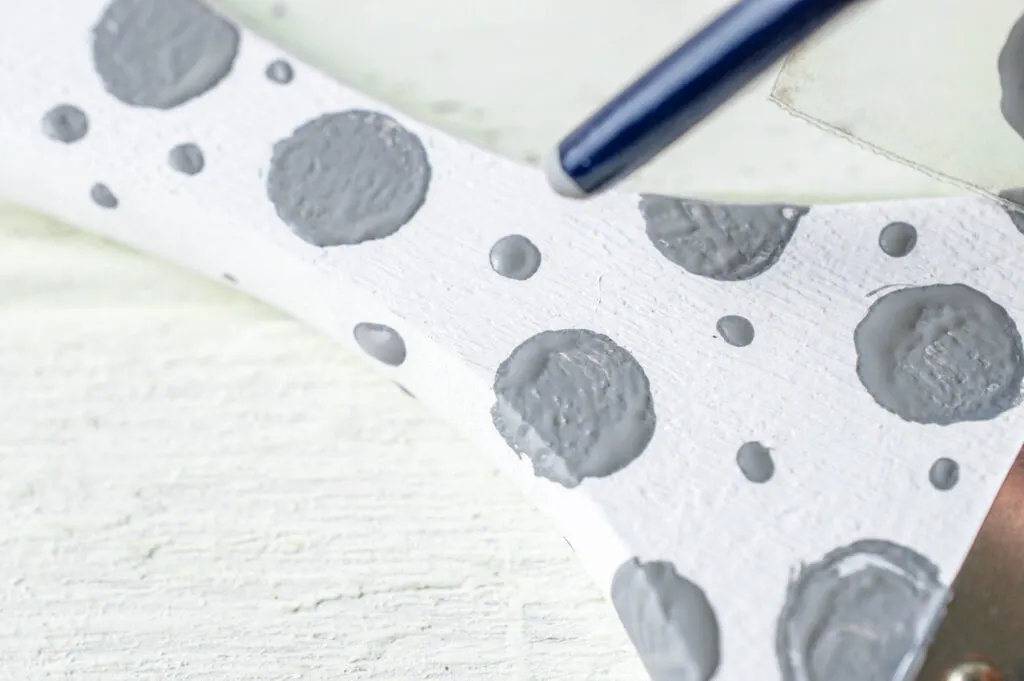
Once dry, paint circles on each paintbrush with the opposite paint color. You can use the back of a foam brush to make circles by dipping the end of the brush into paint and pressing onto the handle, or freehand the circles.


To darken the circles, use a smaller paintbrush.
Use the back of the smaller paintbrush to fill with small dots by dipping end into paint and pushing onto the brush. Set aside and let dry.
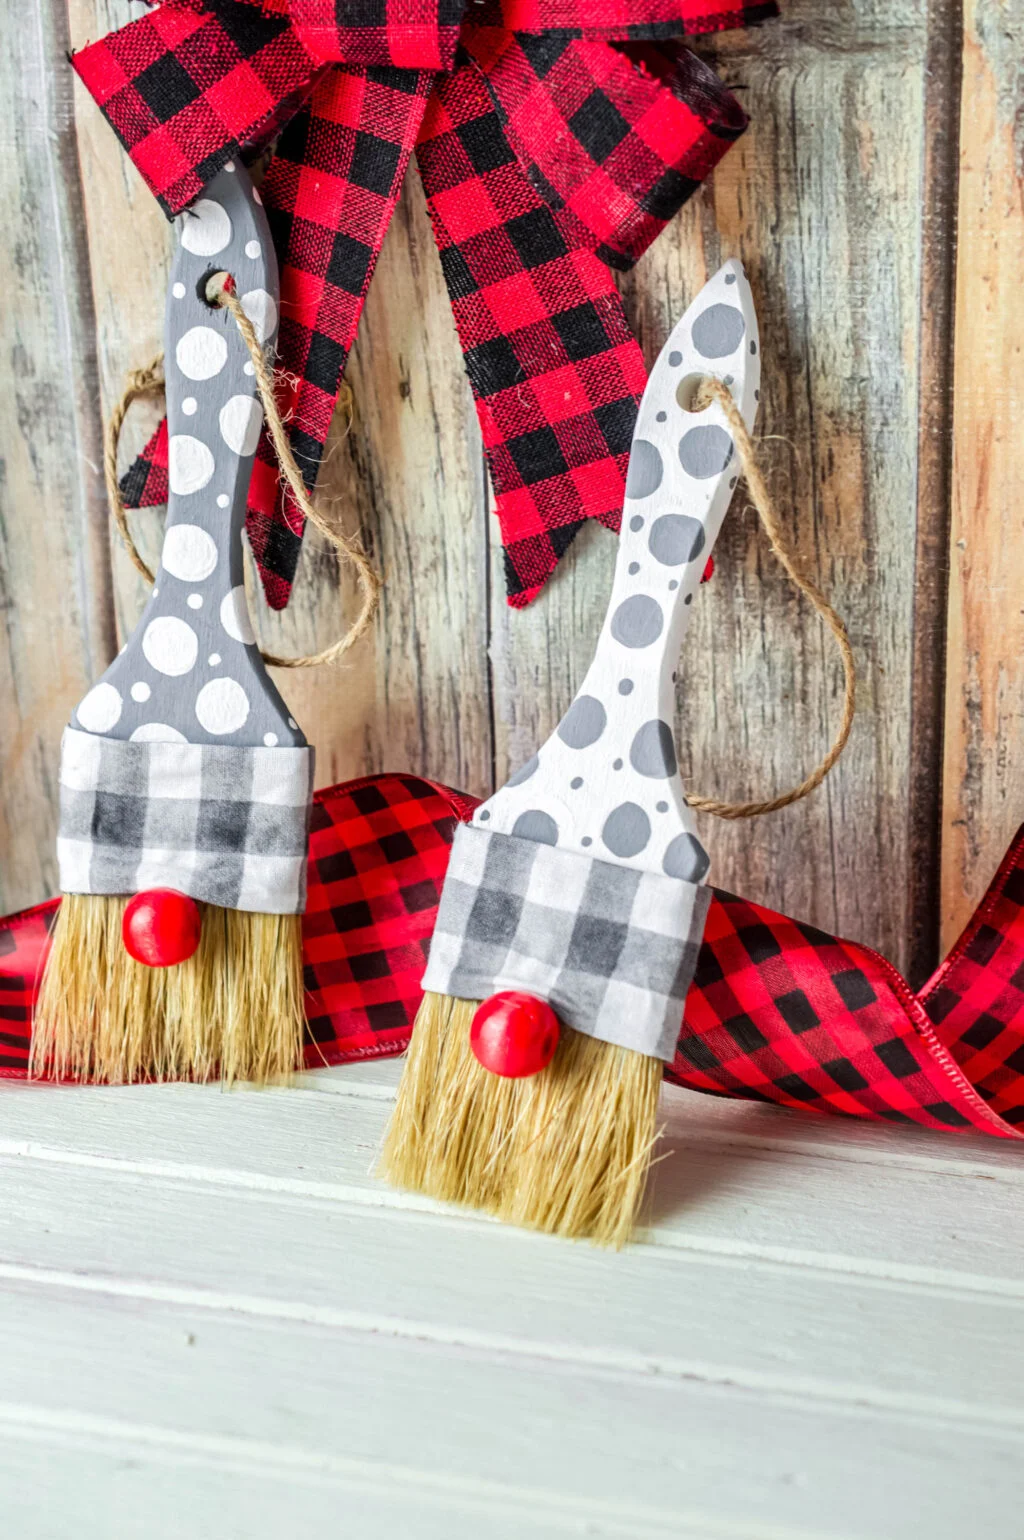
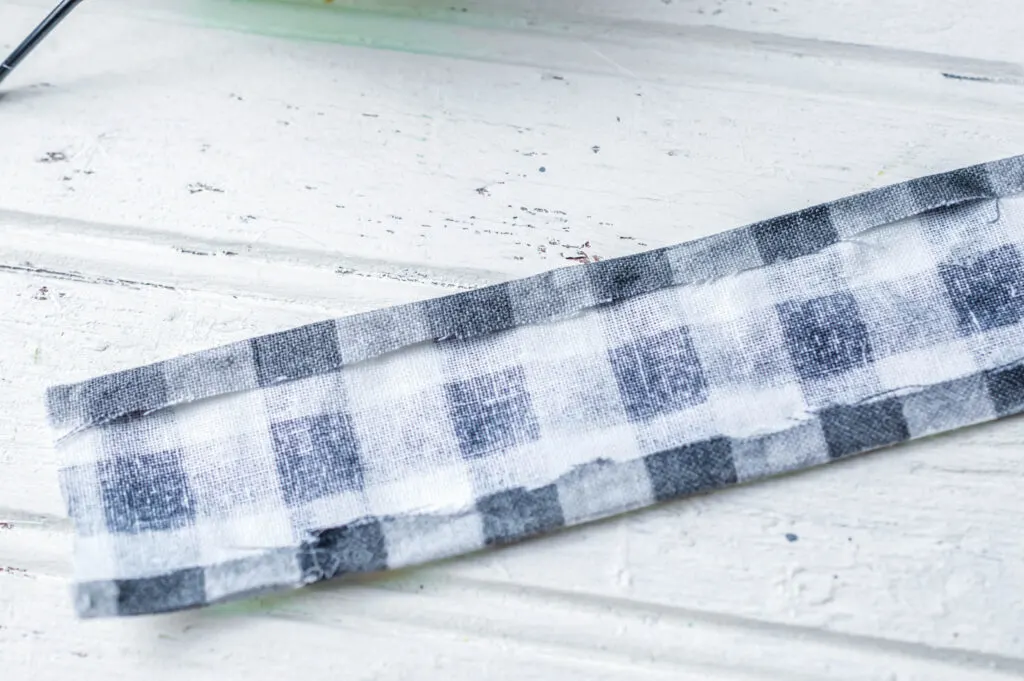
While they dry, cut two pieces of fabric. Wrap around the metal part of the brush to measure the length. Cut the width a little bit longer than needed, so you can glue the seams so they don’t fray.
Carefully hot glue the top and bottom edges of the fabric and press over to create an even seam. No need to glue the sides, as they will be hidden in the back.

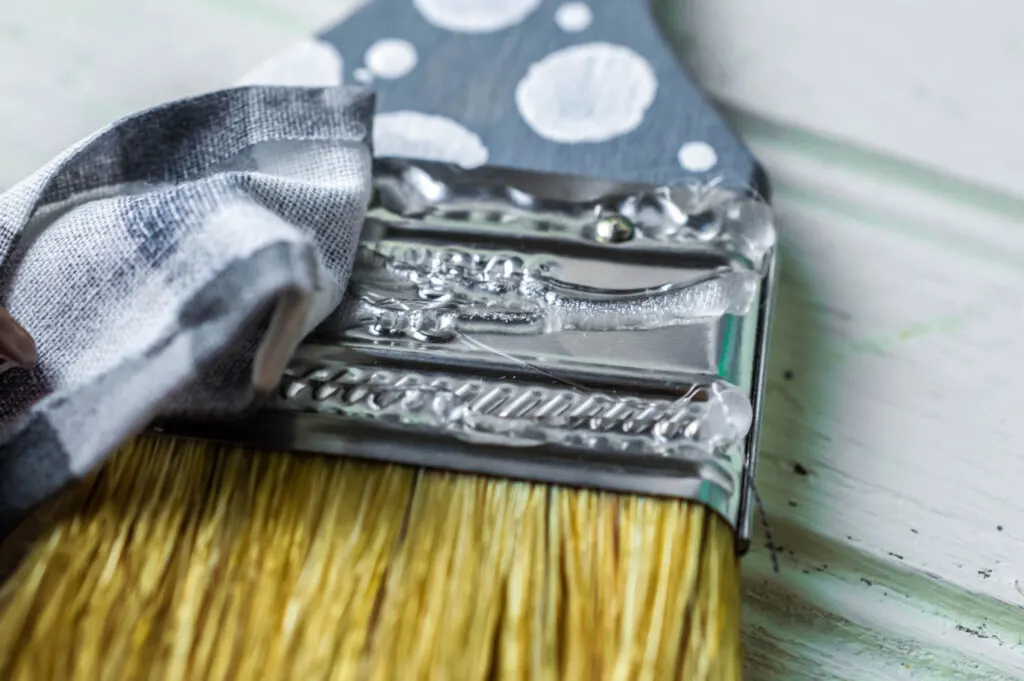
Add hot glue to the metal part of the brush and wrap fabric around, securing the ends in the back with more glue.

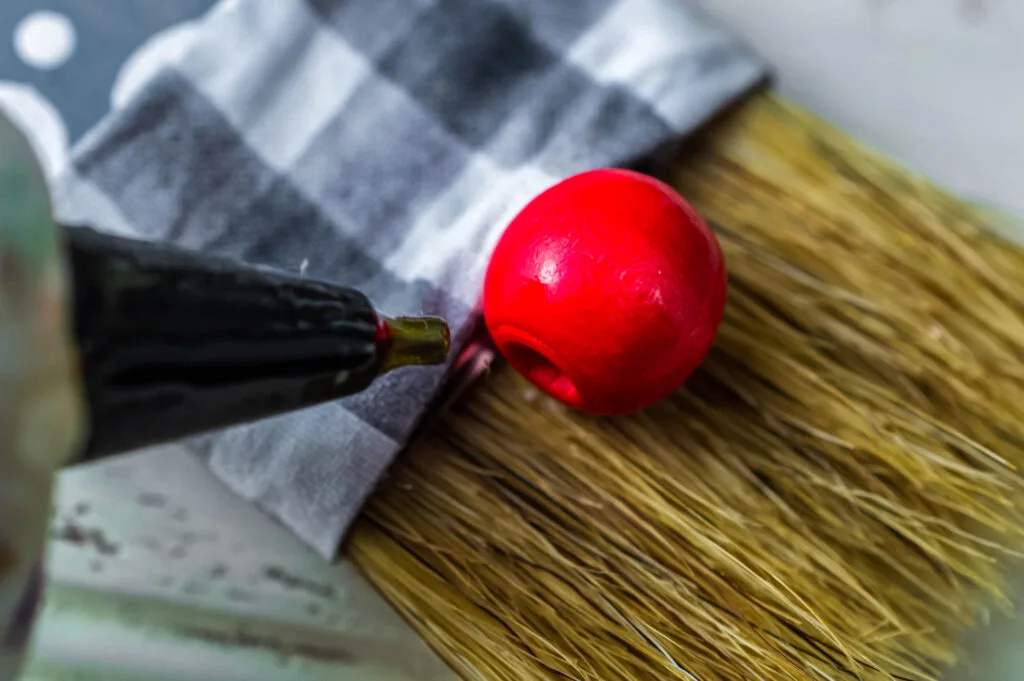
Pull up the fabric a little where the nose is going to go and glue the bead to the center of the brush bristles, holes out to the sides.

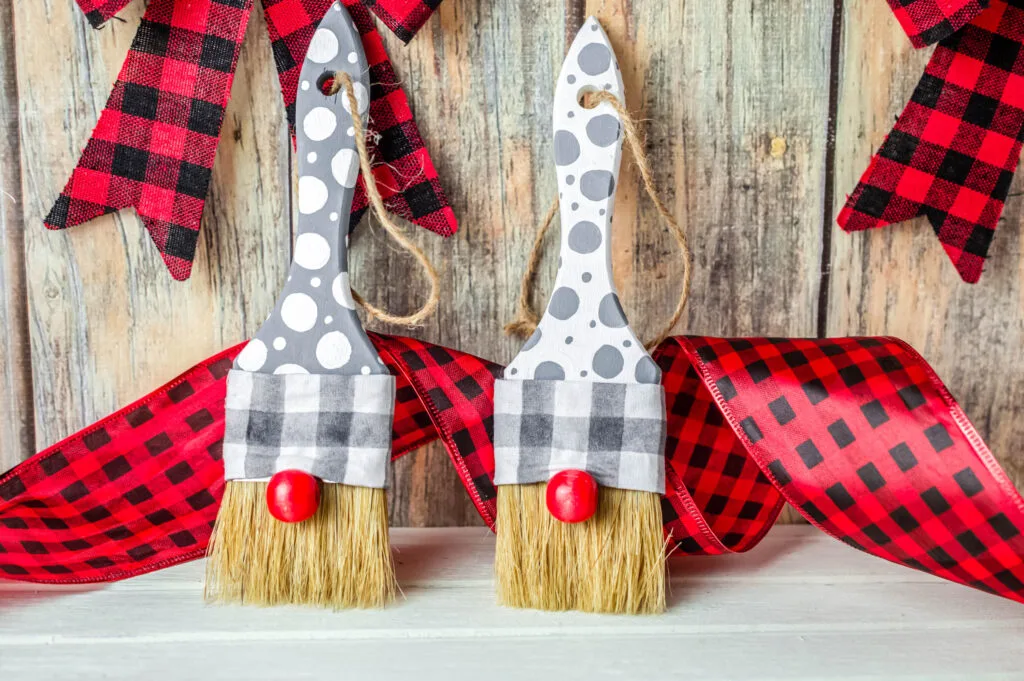
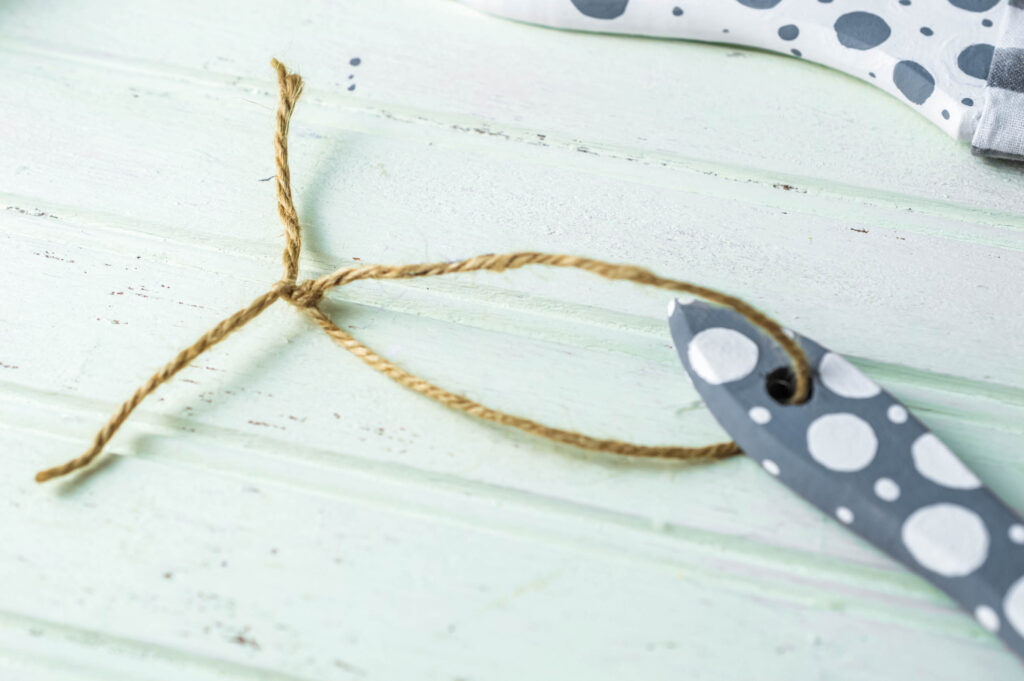
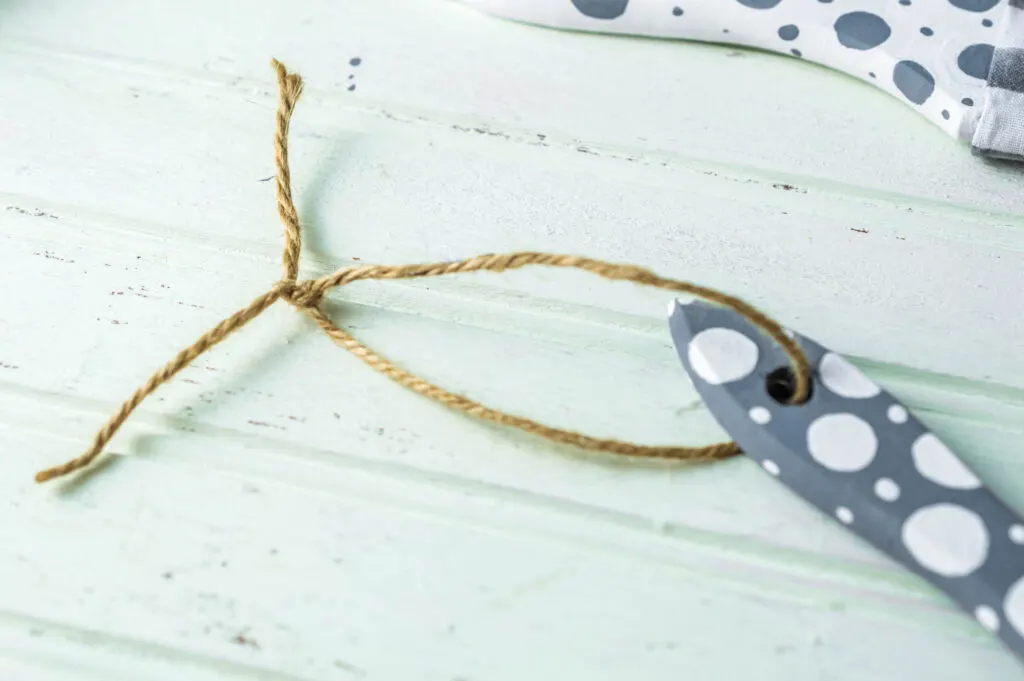
Finally, cut a piece of twine 8-10 inches, or as long as you want the loop, and tie at the top.
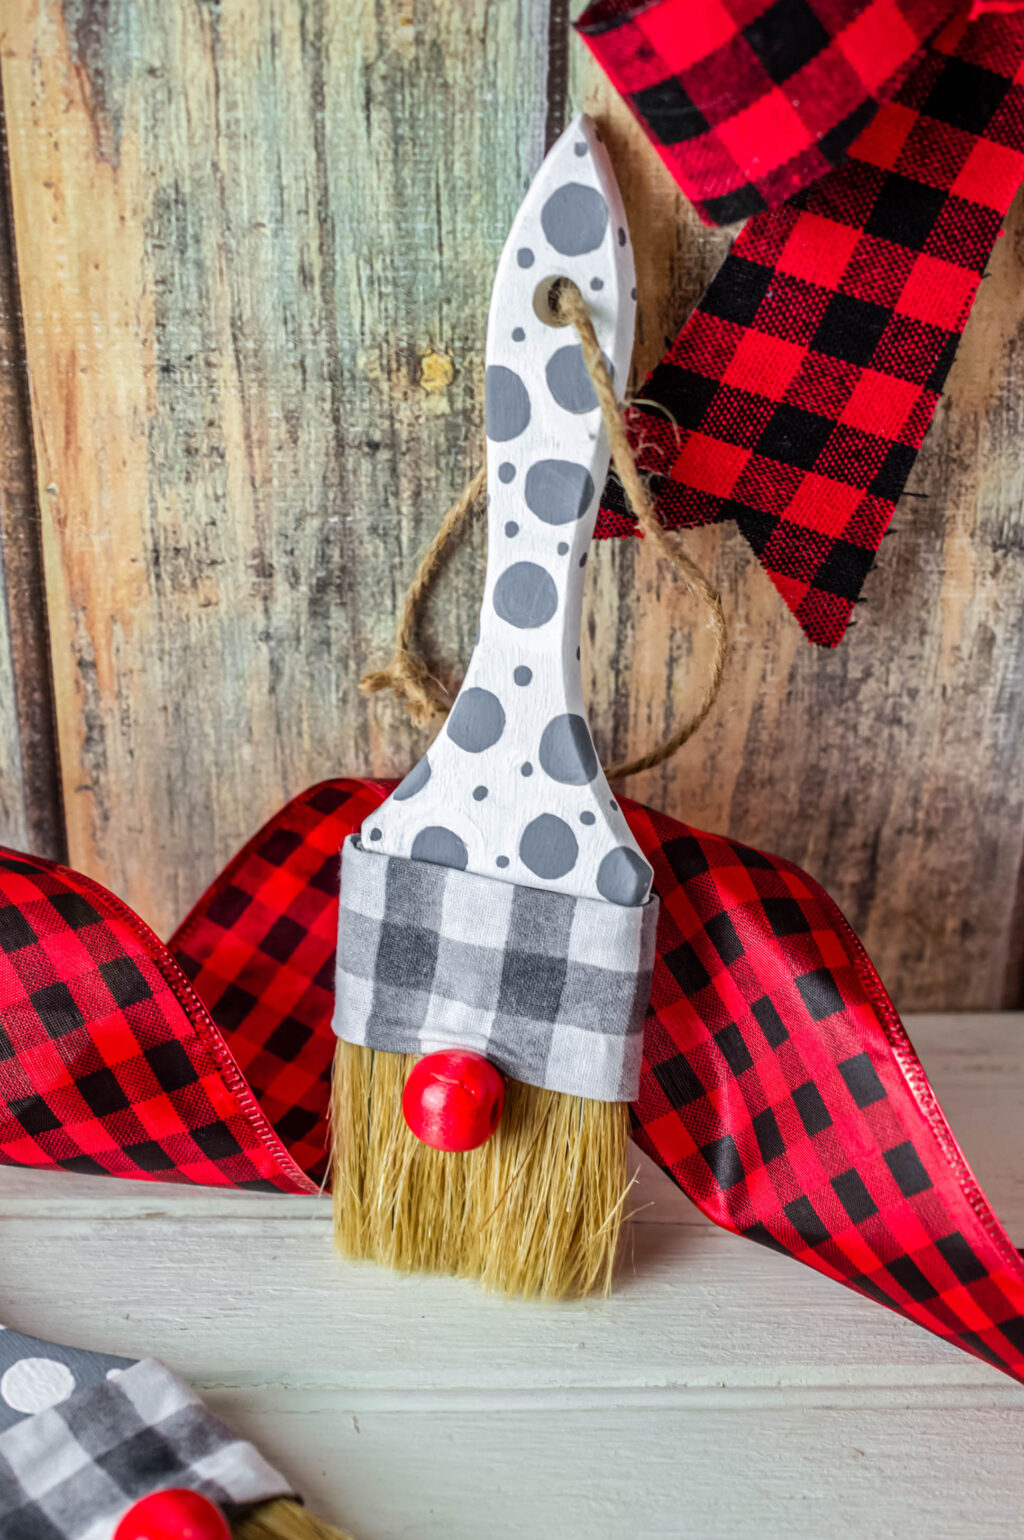
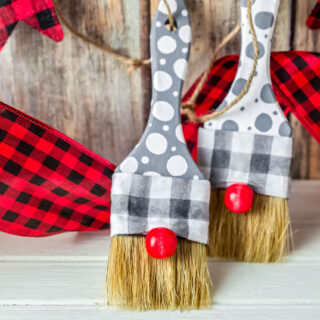
Your Gnome Paintbrush is now ready for hanging on the Christmas tree or even ready to gift!
Want more fun Christmas Crafts? Check out these Farmhouse Style Buffalo Plaid Ribbon Tree Ornaments and this Slow Cooker Holiday Potpourri

Gnome Paintbrush Ornament
Materials
- Paint brushes Dollar Tree 2” Chip Brush 2pc Set
- 2 Red beads Largest size of the Dollar Tree 125pc multi colored wood beads
- Fabric used fat quarter from Walmart, but they have fabric at Dollar Tree
- Elephant Gray acrylic paint Apple Barrel brand
- Snow White acrylic paint Apple Barrel brand
- Twine or ribbon
- Hot glue gun
- Glue sticks
- Small paint brush
- Foam paint brush* from Dollar tree – optional
- Scissors
Instructions
- Start by painting one paintbrush gray and the other white. Set aside and let dry.
- Once dry, paint circles on each paintbrush with the opposite paint color. You can use the back of a foam brush to make circles by dipping the end of the brush into paint and pressing onto the handle, or freehand the circles.
- To darken the circles, use a smaller paintbrush.
- Use the back of the smaller paintbrush to fill with small dots by dipping end into paint and pushing onto the brush. Set aside and let dry.
- While they dry, cut two pieces of fabric. Wrap around the metal part of the brush to measure the length. Cut the width a little bit longer than needed, so you can glue the seams so they don’t fray.
- Carefully hot glue the top and bottom edges of the fabric and press over to create an even seam. No need to glue the sides, as they will be hidden in the back.
- Add hot glue to the metal part of the brush and wrap fabric around, securing the ends in the back with more glue.
- Pull up the fabric a little where the nose is going to go and glue the bead to the center of the brush bristles, holes out to the sides.
- Finally, cut a piece of twine 8-10 inches, or as long as you want the loop, and tie at the top.
- Your Gnome Paintbrush is now ready for hanging on the Christmas tree or even ready to gift!