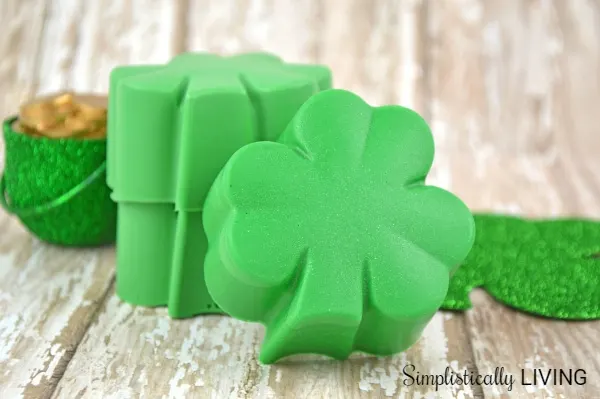
Things are becoming more and more green around our house. With St. Patrick’s Day nearing, it only seemed right to make some Homemade Shamrock Soap!

This year I have been trying to incorporate more homemade products in my life. The thing behind “homemade” is that you know exactly what is being put into the product you are using. When it comes to soap, you can control the additives so you can ensure your skin is receiving only the best. With a few supplies and some fun silicone molds you can make your own homemade soap your skin will love!
Ready to make some? Check out the tutorial below!
Homemade Shamrock Soap
Supplies Needed:
- Wilton Shamrock Silicone Mold
- Clear Glycerin Soap Base
or White Glycerin Soap Base
(clear will have a transparent-like appearance and white will have a deeper color)
- Matte Woodland Green Soap Color Bar
- Oak Moss & Sandalwood Fragrance Oil
- Plastic Transfer Pipette
- Microwave Safe Measuring Cup or Bowl
- Spray Bottle (found at the Dollar Store)
- 91% Isopropyl Alcohol
- Pennies (for embedding in soap if you want)
Directions:
- Cut your soap base into cubes and place into your microwave safe measuring cup or bowl.
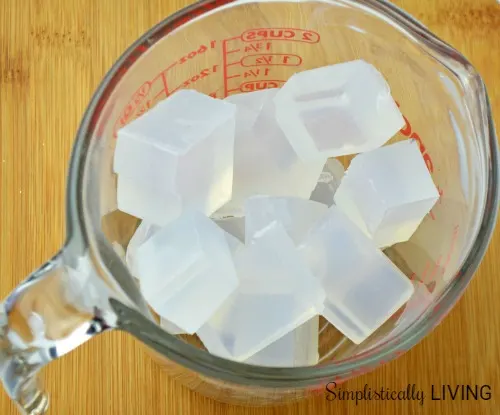
- Place your container into the microwave on high for 30 second increments. Stir in between each cooking session until the soap is completely melted (should take about a minute total). Be careful not too overheat the soap as it can burn.
- Add your soap colorant. You can add little slices of the color block, stir, and repeat until you reach your desired shade of green.
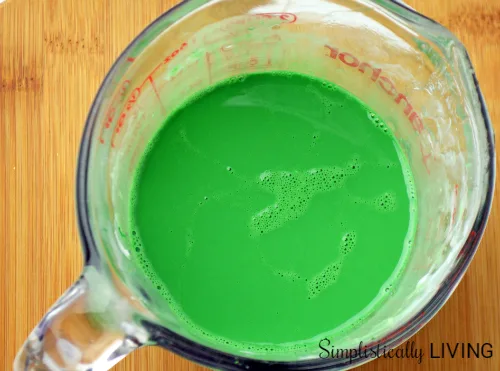
- Using your plastic transfer pipette, place a few drops of your fragrance oil into the melted soap base. Stir well.
- Pour your melted soap into your soap mold until each cavity is completely filled. Note: If you want to place pennies into the soap you will want to put one penny into the bottom of each cavity and pour your soap on top of it.
- You will notice little air bubbles on the top of your soap.
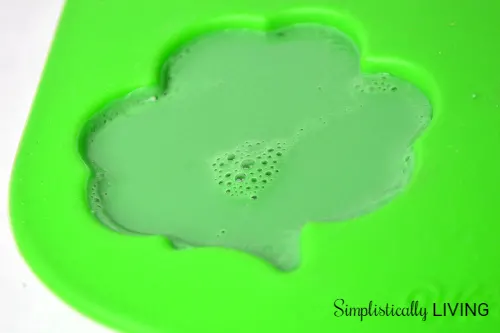
- Spray the top of your soap with a few short bursts of the isopropyl alcohol. This will remove any air bubbles on the surface of the soap.
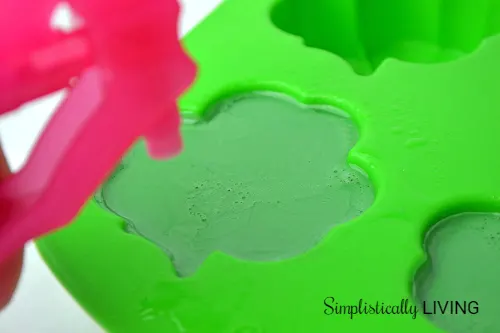
- Allow the soap to harden for 1-2 hours.
- Remove the soap from the mold by gently pressing from the back to release the soap. It should pop out easily.
- Individually wrap your soap in clear plastic wrap. Glycerin soap must be kept covered until it is ready to be used.
Enjoy your Homemade Shamrock Soap that looks neat and smells amazing!
20 Shamrock Crafts for Kids to Enjoy | Just Bright Ideas
Tuesday 2nd of January 2018
[…] Homemade Shamrock Soap – Simplistically Living […]
25 Homemade Kid-Friendly Soaps Simplistically Living
Tuesday 28th of July 2015
[…] Feel a wee-bit lucky with this Shamrock Soap! […]
A Little Bit of Everything Link Up Party
Wednesday 18th of March 2015
[…] I also loved the homemade shamrock soap by Simplistically Living. […]
Monday Faves (Link Up Party Picks)
Monday 16th of March 2015
[…] also really like the homemade shamrock soap by Simplistically Living — it’s made with glycerin soap and scented with Oak Moss and Sandalwood Fragrance Oil! […]
20 Super simple shamrock crafts
Saturday 14th of March 2015
[…] Homemade Shamrock Soap – Simplistically Living […]