
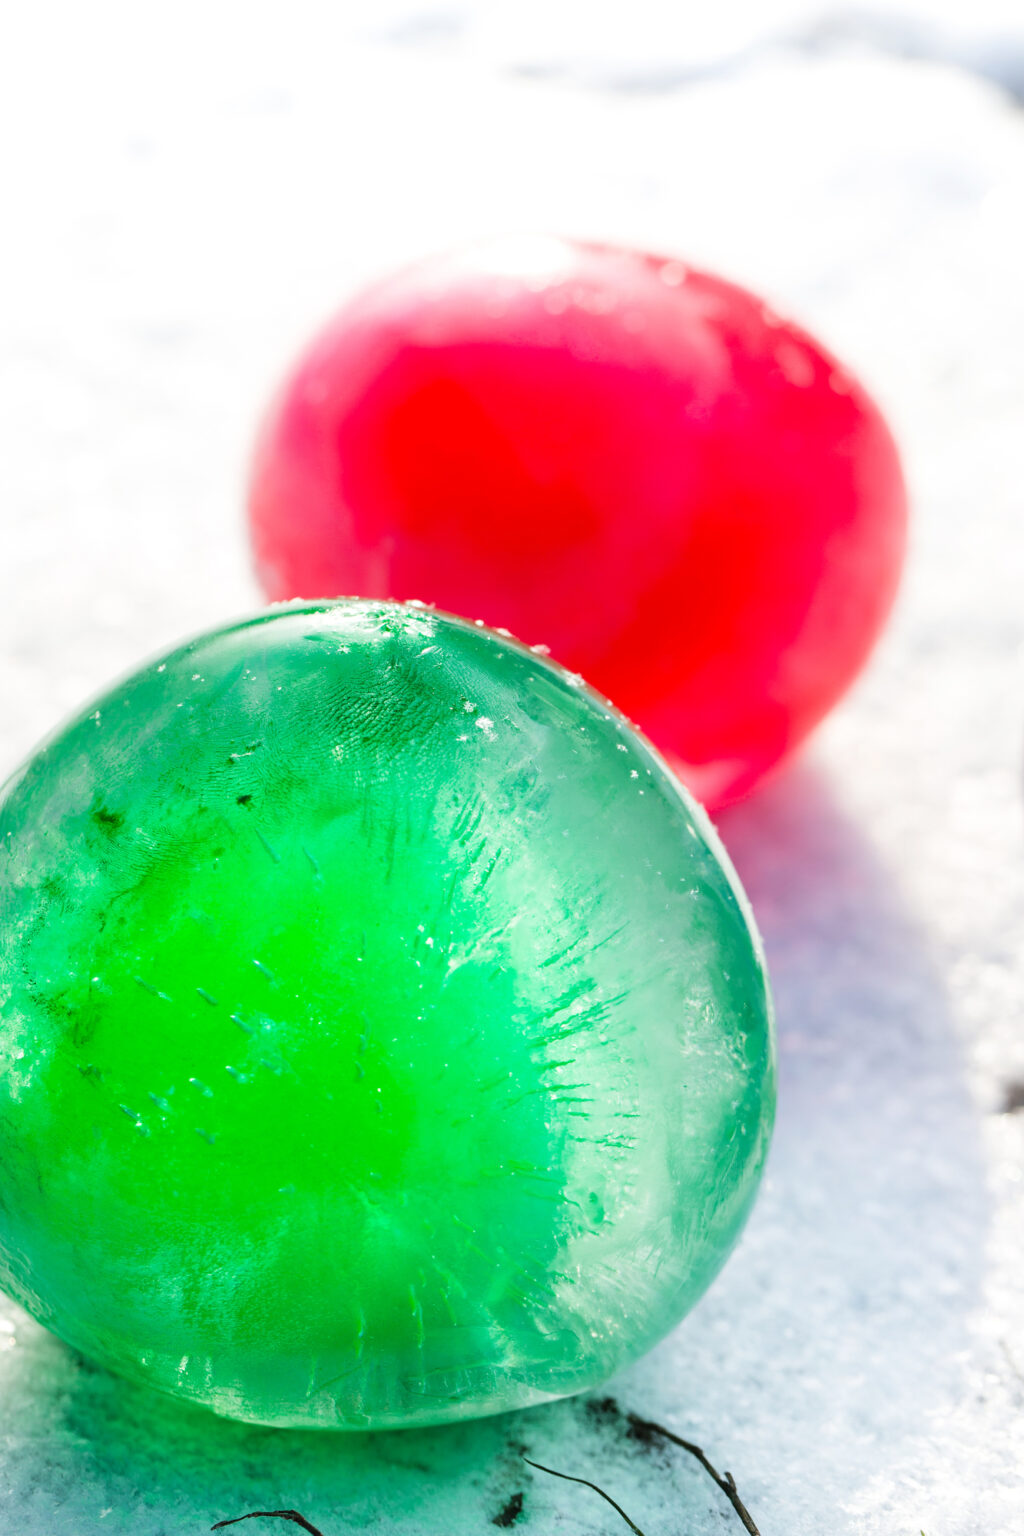
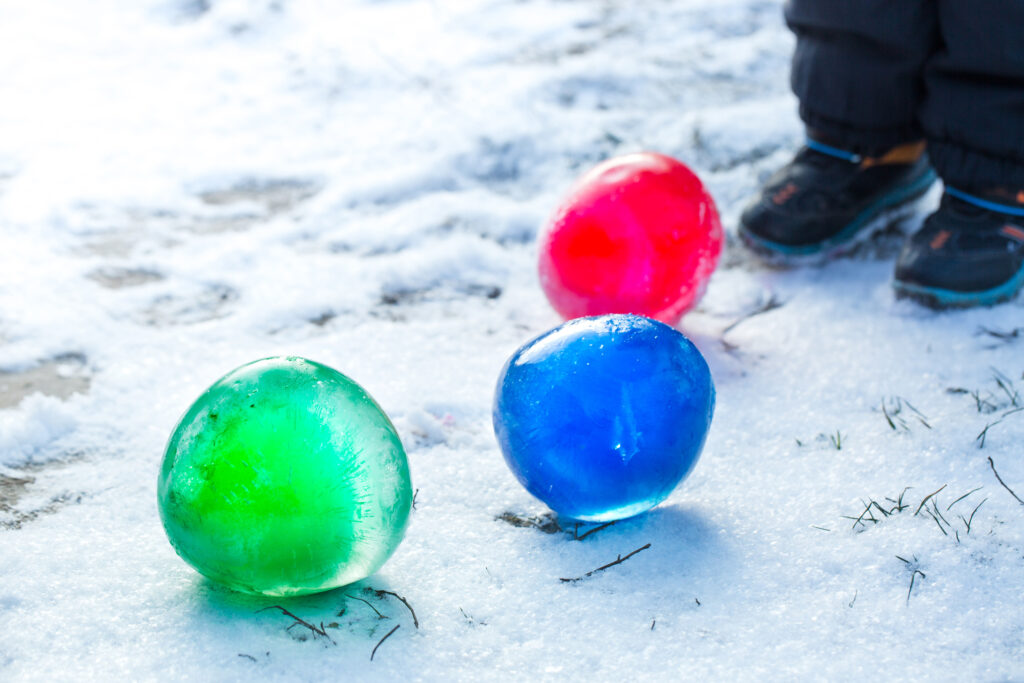
Are you looking for a fun and easy DIY project to do with your kids in the winter? Look no further than ice marbles! With just a few simple materials, you can create beautiful, colorful marbles that will add a touch of magic to any winter landscape.

What You Need to Make Ice Marbles
- Water
- Balloons
- Food coloring
- Glitter (optional)

Want another fun craft to make with the kids? Make these Minecraft Creeper Treat Bags.
Frequently Asked Questions
Can I use eco-friendly balloons?
Certainly! I highly recommend you use eco-friendly balloons that are biodegradable but any balloons you have at home, will do.
Can I use gel food coloring?
I haven’t tried gel food coloring myself. However, I’ve heard the gel may cause the water balloons to not freeze properly so just stick to using regular food coloring that is water-based.
Can I use a lot of food coloring to get a darker color?
So, learn from my mistake – use just a few drops. The first batch of ice marbles we made we tried to use a lot of food coloring and found they didn’t freeze well at all. It seems just a few drops is all you need and they freeze a lot easier.
Can kids make these on their own?
No. Parents should always supervise and help make these ice marbles with kids. The balloons can be a choking hazard and we don’t want anyone getting hurt.

Things to Note:
- Keep the balloons away from small children and animals, they are a choking hazard.
- These ice marbles are not meant to be eaten. Just played with outside and observed.
- Children should always be monitored when playing with balloons.
- Ice marbles are not meant to be thrown. They are fun to look at, make a fun science project and make a fun decoration in the yard for winter.

How to Make Ice Marbles
Start by stretching out your balloons.
Carefully add a few drops of food coloring into a balloon. If desired, add a pinch of glitter to each balloon for a little extra sparkle.
Stretch the top of the balloon over the spout of your faucet and slowly fill the balloon with water about 2/3 of the way full. Tie the balloon into a knot and stick into a large bowl for easy transport to outside.
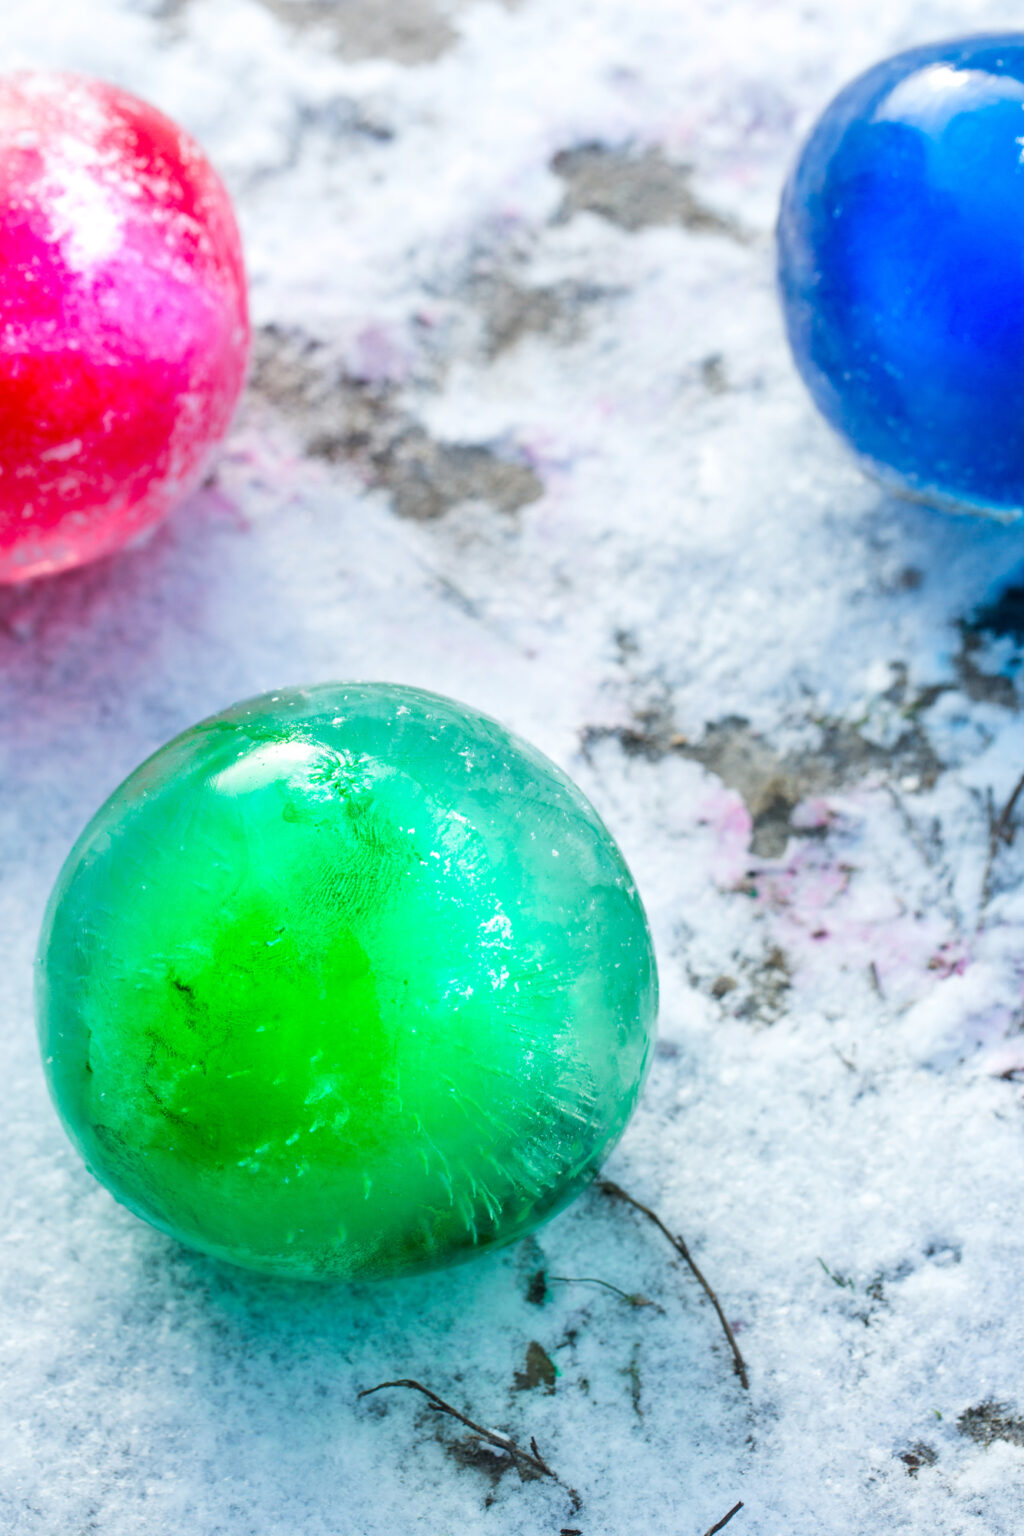
Repeat these steps until you’ve made several balloons (try different colors of food coloring to make a rainbow of colored ice marbles).
Place the water-filled balloons into the snow and let them sit for about 24 hours to allow them to freeze completely.
Once you believe they are frozen, take scissors and carefully cut away the balloon.
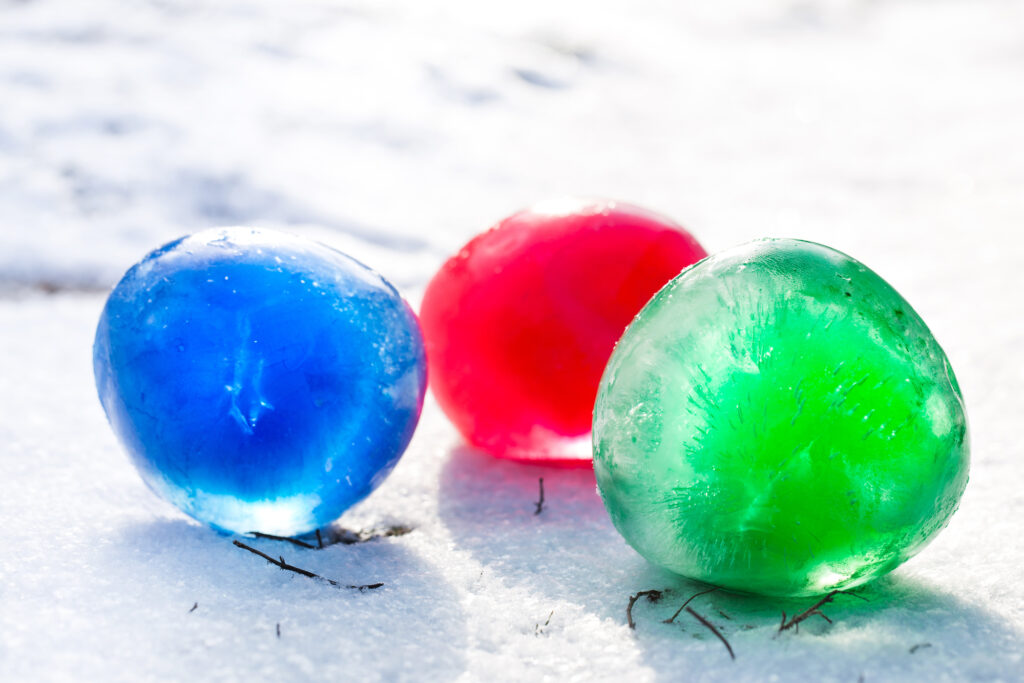
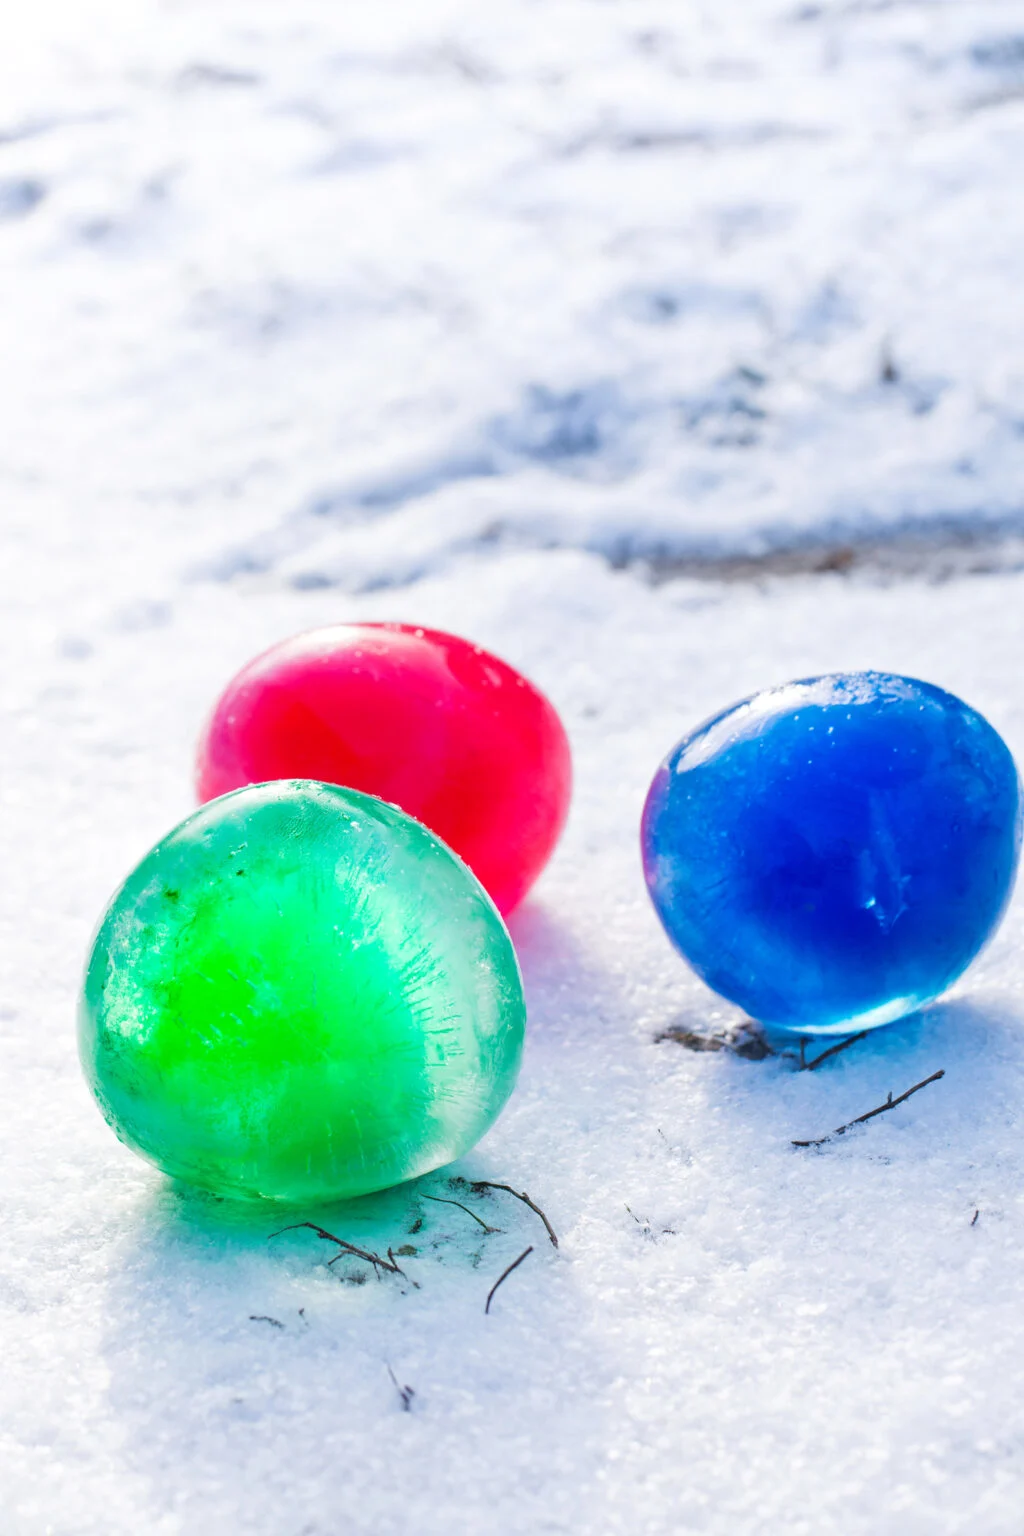
Your ice marbles are now ready to be displayed or used in a winter activity.


Ice Marbles
Materials
- Water
- Balloons
- Food coloring
- Glitter optional
Instructions
- Start by stretching out your balloons.
- Carefully add a few drops of food coloring into a balloon. If desired, add a pinch of glitter to each balloon for a little extra sparkle.
- Stretch the top of the balloon over the spout of your faucet and slowly fill the balloon with water about 2/3 of the way full. Tie the balloon into a knot and stick into a large bowl for easy transport to outside.
- Repeat these steps until you've made several balloons (try different colors of food coloring to make a rainbow of colored ice marbles).
- Place the water-filled balloons into the snow and let them sit for about 24 hours to allow them to freeze completely.
- Once you believe they are frozen, take scissors and carefully cut away the balloon.
- Your ice marbles are now ready to be displayed or used in a winter activity.