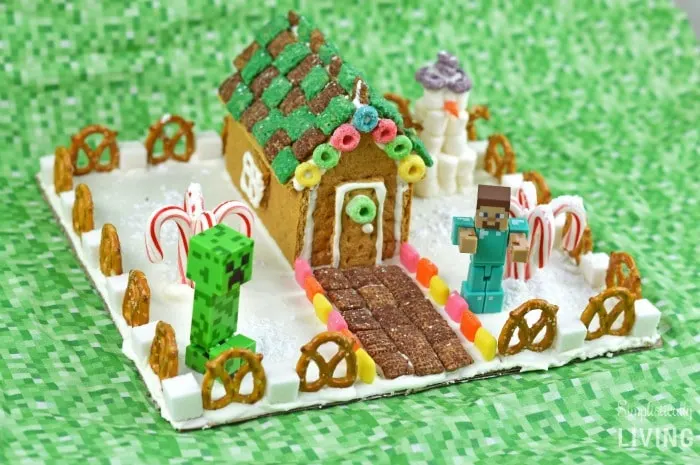
My son loves Minecraft so it’s no surprise that when the holidays roll around, we have to figure a way to incorporate Minecraft into our holiday festivities. Recently, I watched my son roam around in Christmas world (skin) in Minecraft and it inspired me to make this Minecraft Gingerbread House. I think it turned out pretty cool and I am really excited to share it with you all today!

I have to admit, I’ve never been big on making gingerbread houses. Yes, I think they are adorable but they can end up a total disaster if you don’t know what you are doing. Luckily, I have my 5-year-old master builder by my side. He was able to assist me in the building process and put all of those Minecraft building skills to the test.
I love that the majority of the items we used were allergy-free and different than traditional gingerbread houses that typically use all candy. Sure we used a few pieces of candy (because again, it’s a gingerbread house) but it wasn’t made entirely of that. Ready to make your own? Check out the tutorial below.
And if you want a traditional looking one, check out this Gingerbread House Recipe.
Supplies Needed to Make a Minecraft Gingerbread House:
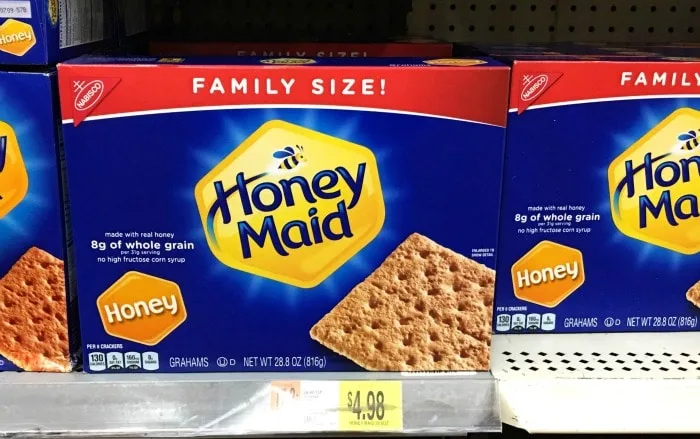
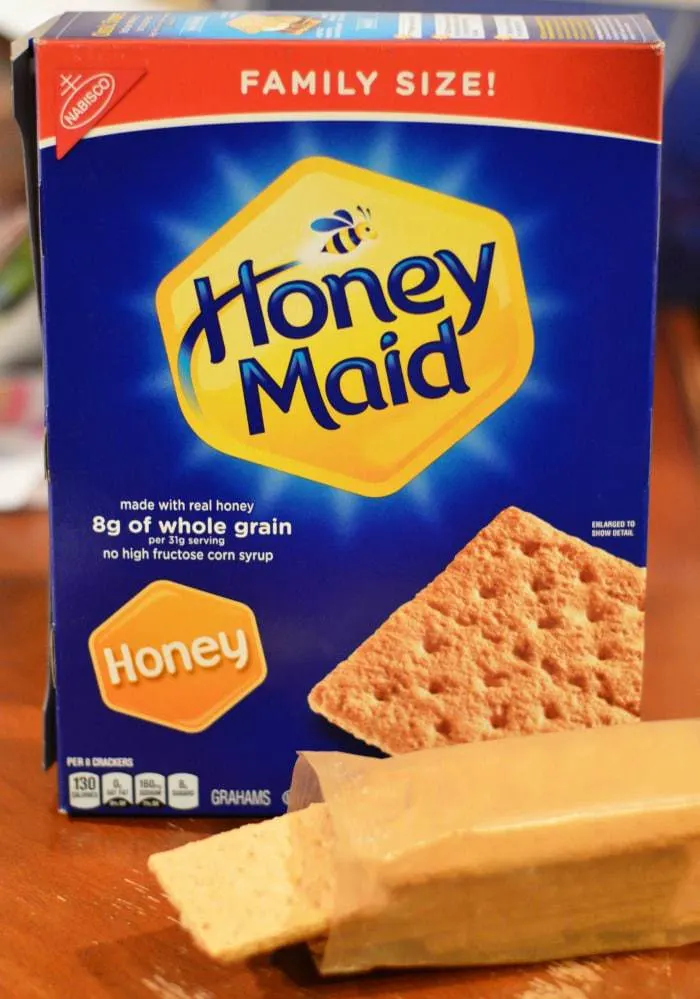
- Honey Maid Honey Grahams
- Rice Cereal (the plain kind)
- Chocolate Rice Cereal
- Pretzel Twists
- Green Melting Chocolate
- Candy Canes
- Marshmallows
- Sugar Cubes
- Fruity Cereal
- Knife
- Piece of Cardboard (to assemble the house on)
- Piping Bags
- #2 Piping Tip
- 1 Teaspoon Vanilla
- 1/2 Cup Powdered Sugar
- 1/2 Cup Yogurt (greek or original is fine)
- 1/2 Cup Cream Cheese
How to Make a Minecraft Gingerbread House:
- Start by cutting out a piece of cardboard that is at least 3 times the size of the house you plan to build. This allows you room to work and make additional details surrounding the house.
- In a large bowl, combine your vanilla, powdered sugar, yogurt, and cream cheese until well blended. This is going to be used as the “glue” to hold the house together. Tip: If your mixture is too thick add a bit more yogurt. If it’s too thin, add a bit more powdered sugar. You want a glue-lick consistency. Allow this to set for a few minutes.
- In the meantime, grab a few pieces of your Honey Maid Graham Crackers and cut them into the shape of a house. You can take a long piece and cut off the top to form a triangular shape. The rest will be fine as rectangles. This is also a good time to sort of play around with the shape of your house before using any glue.

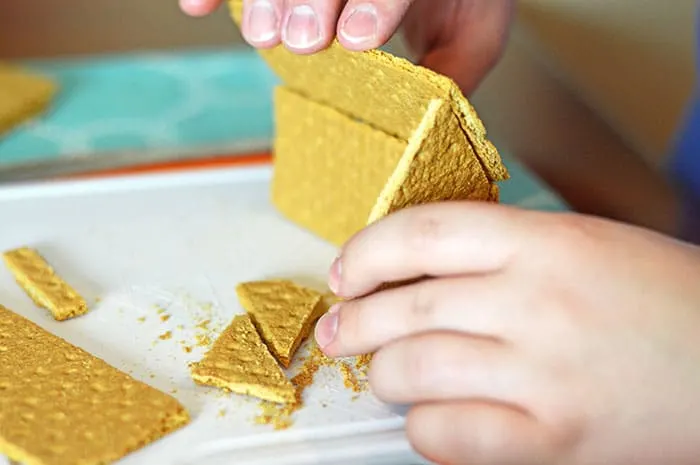
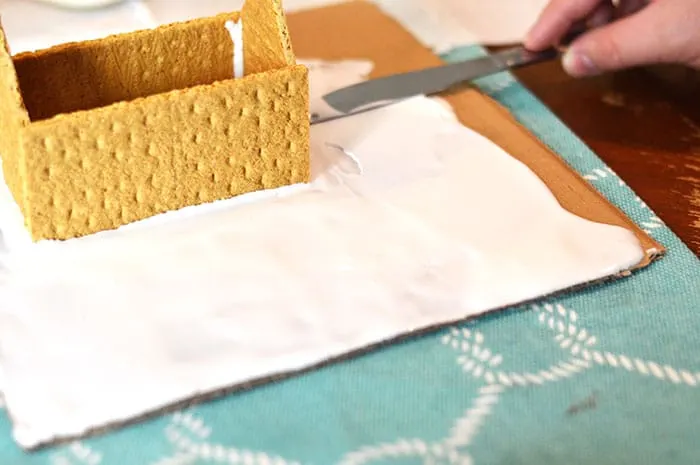
- Start spreading the frosting across the entire area where you will be assembling your house. This will start to set and help hold up the house.
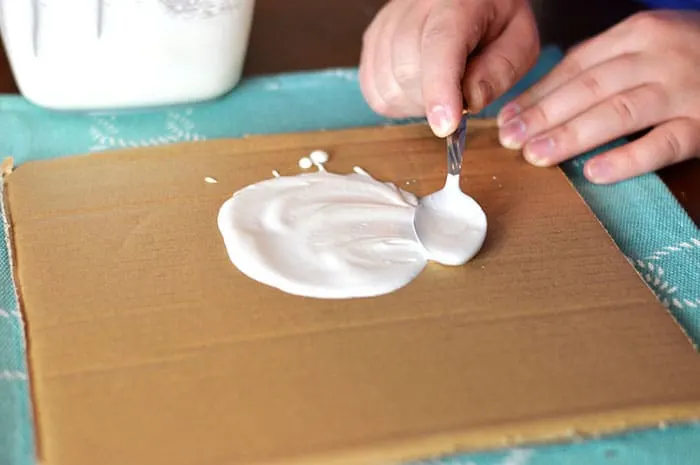
- Place some of the frosting into a piping bag with your piping tip. Tip: put your piping bag into a large cover and fold over the sides to fill it.
- Apply a small amount of the frosting on the edges of the graham crackers and start to assemble the walls. This may require 2 sets of hands. Apply pressure for several minutes so the frosting can dry a bit and hold the walls up.
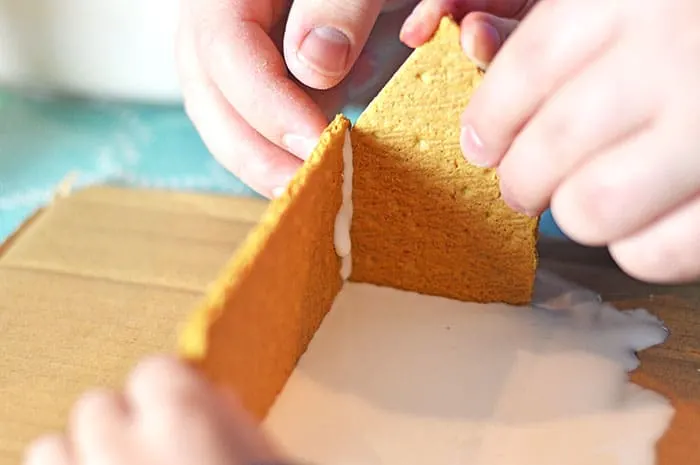
- Once you have all of the walls up, you will want to allow these to dry for about 30 minutes before proceeding.
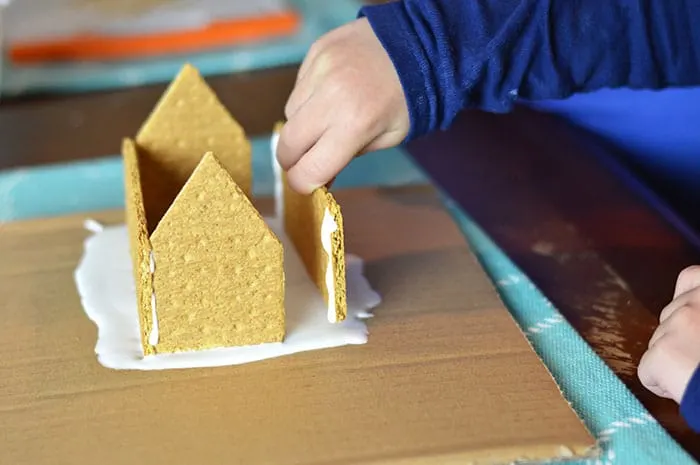
- Once dried, you can apply the roof using the same directions in step 6.
- Cover the remaining piece of cardboard with frosting. You can make it look wavy like snow, just make sure you cover the area entirely.
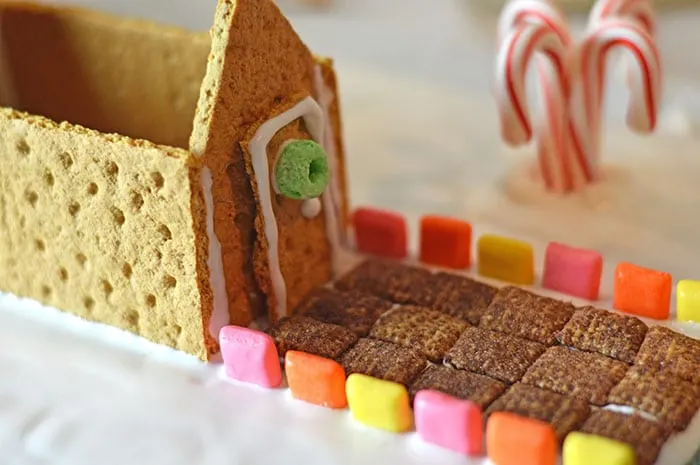
- Add decorations to the outside of the house. We made a walkway out of chocolate rice cereal, borders using mini starburst, a pretzel and sugar cube fence, and even made Candy Cane Trees out of mini candy canes. Get creative and have fun with it.
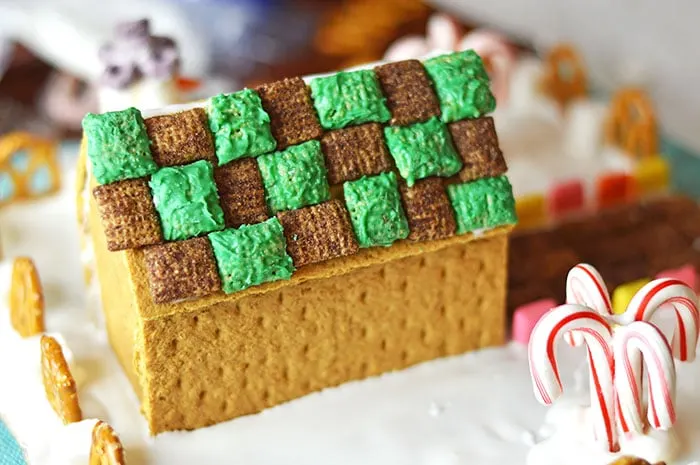
- Once the roof has dried, it’s time to assemble the iconic Minecraft roof and house decorations. I ended up melting green melting chocolate in the microwave and tossing that in a bowl with some rice cereal. It made them a great green. I then used small amounts of frosting to apply the cereal to the roof creating a Minecraft color block look.
- Add some fruity cereal to the edges, make a door, and you can even make a block snowman out of mini marshmallows.
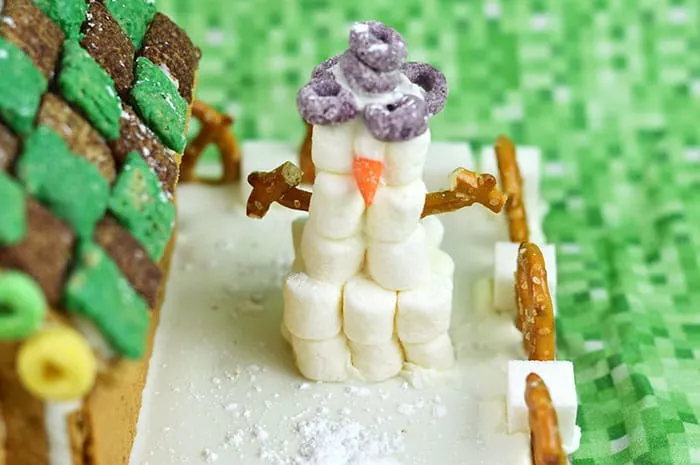
- Once all the decorations are in place, you can dust the entire house with a bit of powdered sugar to give it that snowy look. Allow to dry for 5-6 hours before attempting to move.
- Enjoy!
Building Holiday Traditions with Honey Maid
Building gingerbread houses as a family help make memories. One thing is for certain, Honey Maid is there to help you build those walls and memories. Plus if you get hungry while you make these houses, you can enjoy a delicious snack packed with 8g of Whole Grain. It’s a snack worth smiling over!
I purchased all of my items at my local Walmart. I even fond a large family size box of Honey Maid Graham Crackers just in case we needed some extras for building or snacking.
For more ideas and product information, visit the Honey Maid Website here.
So does this Minecraft Gingerbread House inspire you to make your own?
51 Best Gingerbread House Ideas
Monday 7th of December 2020
[…] Via Simplisticallyliving […]
Bonnie
Monday 30th of November 2015
This is absolutely the most adorable thing I've ever seen! Thank you so much for posting this. I can't wait to try my hand at it!!!!
Brittanie
Monday 30th of November 2015
Aw, thank you so much for your kind comments! I am so excited to hear how it goes for you!
JanetGoingCrazy
Monday 30th of November 2015
My son loves Minecraft and would love to make this. I'm so glad you did it with allergy-free items and made a better for you house! [client]
Brittanie
Monday 30th of November 2015
Thank you so much! I really love how it turned out! :)