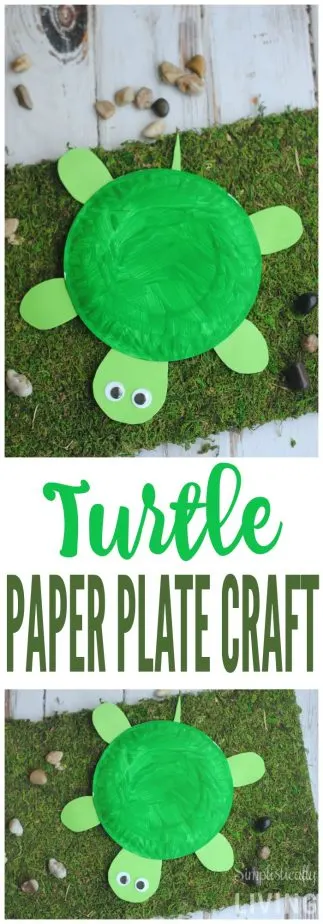
I love turtles and not just like that kid that is featured in a YouTube video and was so nervous he just said he loved turtles. I really do and we plan to get a turtle for our boys soon. In the meantime, we had fun crafting up this DIY Turtle Paper Plate. It’s a fun craft that kids can help with and perfect for a rainy day!

What You Will Need to Make A Turtle Paper Plate:
- Small paper plates
- Green construction paper
- Googly eyes
- Glue stick
- Green acrylic paint
- Paint sponges
- Scissors
How to Make a Turtle Paper Plate:
Start by painting the paper plate green using a paint sponge. Let dry a few hours. To speed the drying process up, use a hair dryer on low heat for a few minutes. Just make sure you don’t get too close or it may wilt the paper plate.
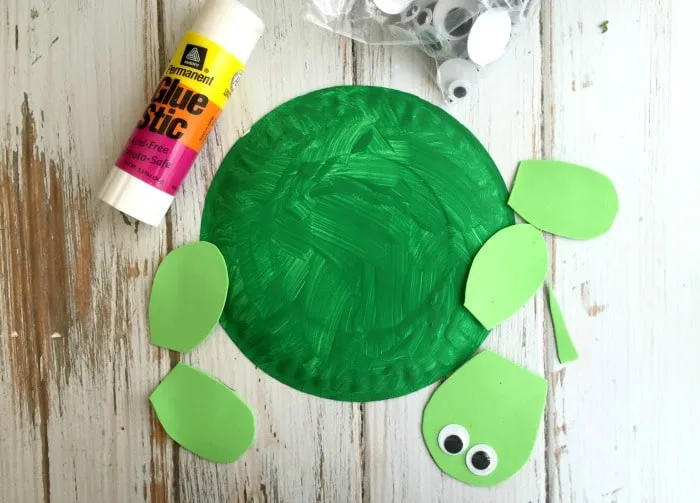
Once the plate has dried, cut out (4) feet, (1) head and a small triangle tail for the turtle (as shown in the photo).

Now, use the glue stick to affix the head, feet and tail to the paper plate. Make sure the plate is completely dry before doing this step!
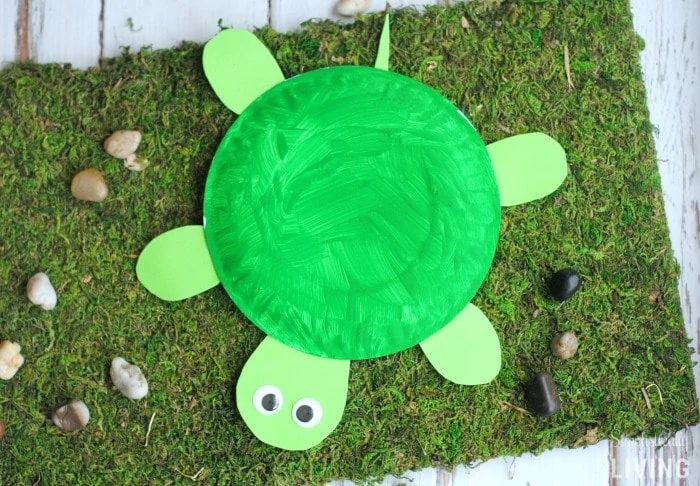
Now it’s time to give the turtle (2) eyes and voila! A cute and easy turtle for the kids!


Sea Turtle Activities for Kids
Thursday 27th of April 2023
[…] DIY Turtle Paper Plate by Simplistically Living […]
Animal Crafts For Kids to Make at Home - Kidpid
Saturday 30th of July 2022
[…] Image Source/Tutorial: Simplistically Living […]
Turtle Paper Plate Crafts for Kids - Kids Art & Craft
Monday 11th of July 2022
[…] Image Source/Tutorial: Simplistically Living […]
T is for Turtle Kindergarten Activities and Ideas - Simple Living Mama
Tuesday 26th of April 2022
[…] turtle craft this go around was a paper plate turtle. We kept ours super simple and I had the kids paint the paper plates green, and then we cut out the […]
30 Animal Paper Plate Crafts - Backyard Summer Camp
Tuesday 22nd of March 2022
[…] who like turtles will have so much fun making this paper plate turtle with Simplistically Living. For extra fun, create a little habitat for your paper pet to live […]