

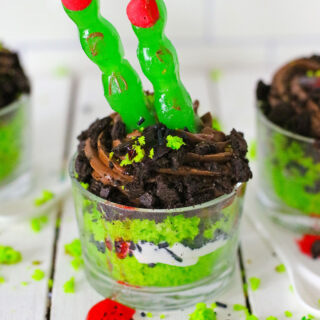
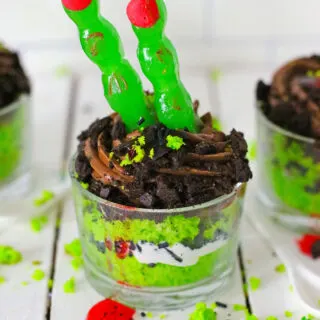
Take Halloween to the next level with these Zombie Finger Cakes you can make and serve up to party guests at your Halloween party!
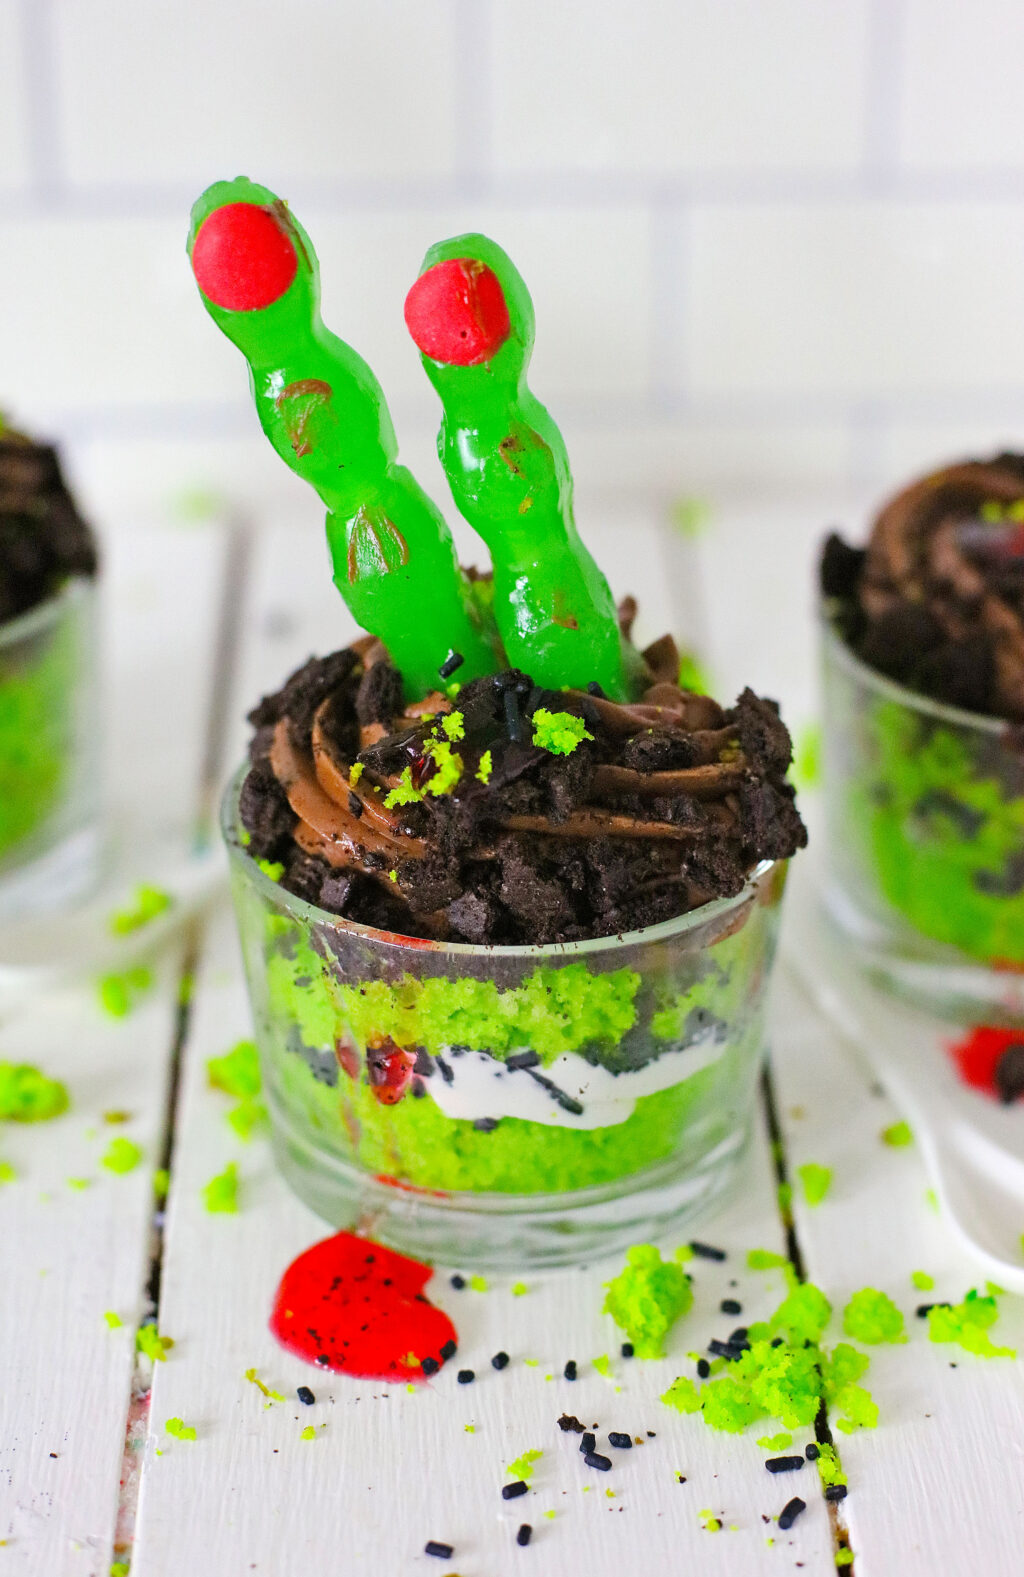

Zombie Finger Cakes
When it comes to Halloween treats, the creepier, the better in my opinion.
We are huge Zombie fans in our house so I knew we had to whip up some creepy and cool zombie treats and that’s where these Zombie Finger Cakes were born.
These mini cakes are a lot like making dirt cups but they have a Halloween/Zombie spin to them.
They are truly easy to make and you can make them for a large crowd for your Halloween party or even make them with the kids to eat while watching a Halloween movie.
Want more Zombie recipes? Try our Zombie Eyeball Cupcakes and Zombie Finger Treat Boxes.

What You Need to Make Zombie Finger Cakes
For The Cake:
- Butter – softened
- Sugar
- Eggs
- Vanilla Extract
- Milk
- Flour
- Baking Powder
- Salt
- Neon Lime Green Food Coloring Gel
For The Layers:
- Oreo Cookies – about 16 cookies – crushed or crumbled
- Vanilla Frosting – already prepared in the Piping bag – Pillsbury Brand
- Chocolate Frosting – already prepared in the piping bag – Pillsbury Brand
- Chocolate Jimmies Sprinkles
- Red Gel Frosting
- Zombie Finger Suckers
- 10 small glass dishes
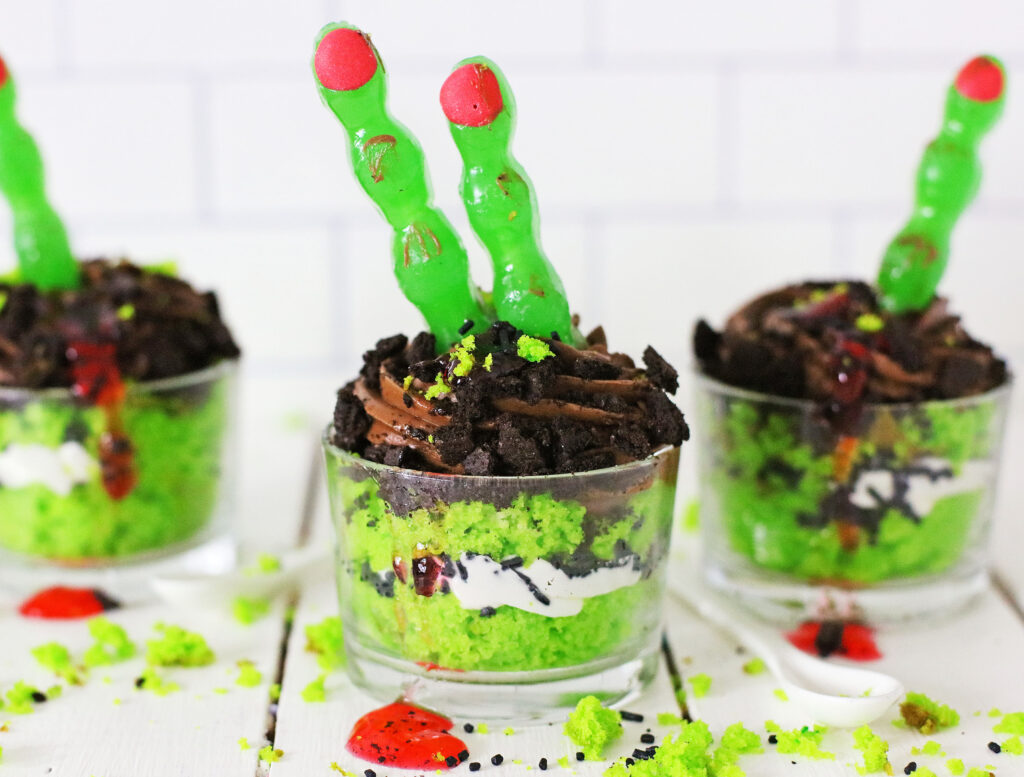

How many servings does this recipe make?
This recipe will make 8-10 zombie dirt cups depending on how much cake you use for each container.
Can I use store bought cake?
Of course! You can certainly use store-bought cake. You can either try to find green cake or use chocolate cake instead.
How far in advance can I make these?
While you can bake the cake ahead of time, I highly recommend assembling these the day of your event or right before you want to eat them. If you assemble them too soon and try to store in the fridge too long, the cake will become soggy.
How to Make Zombie Finger Cakes
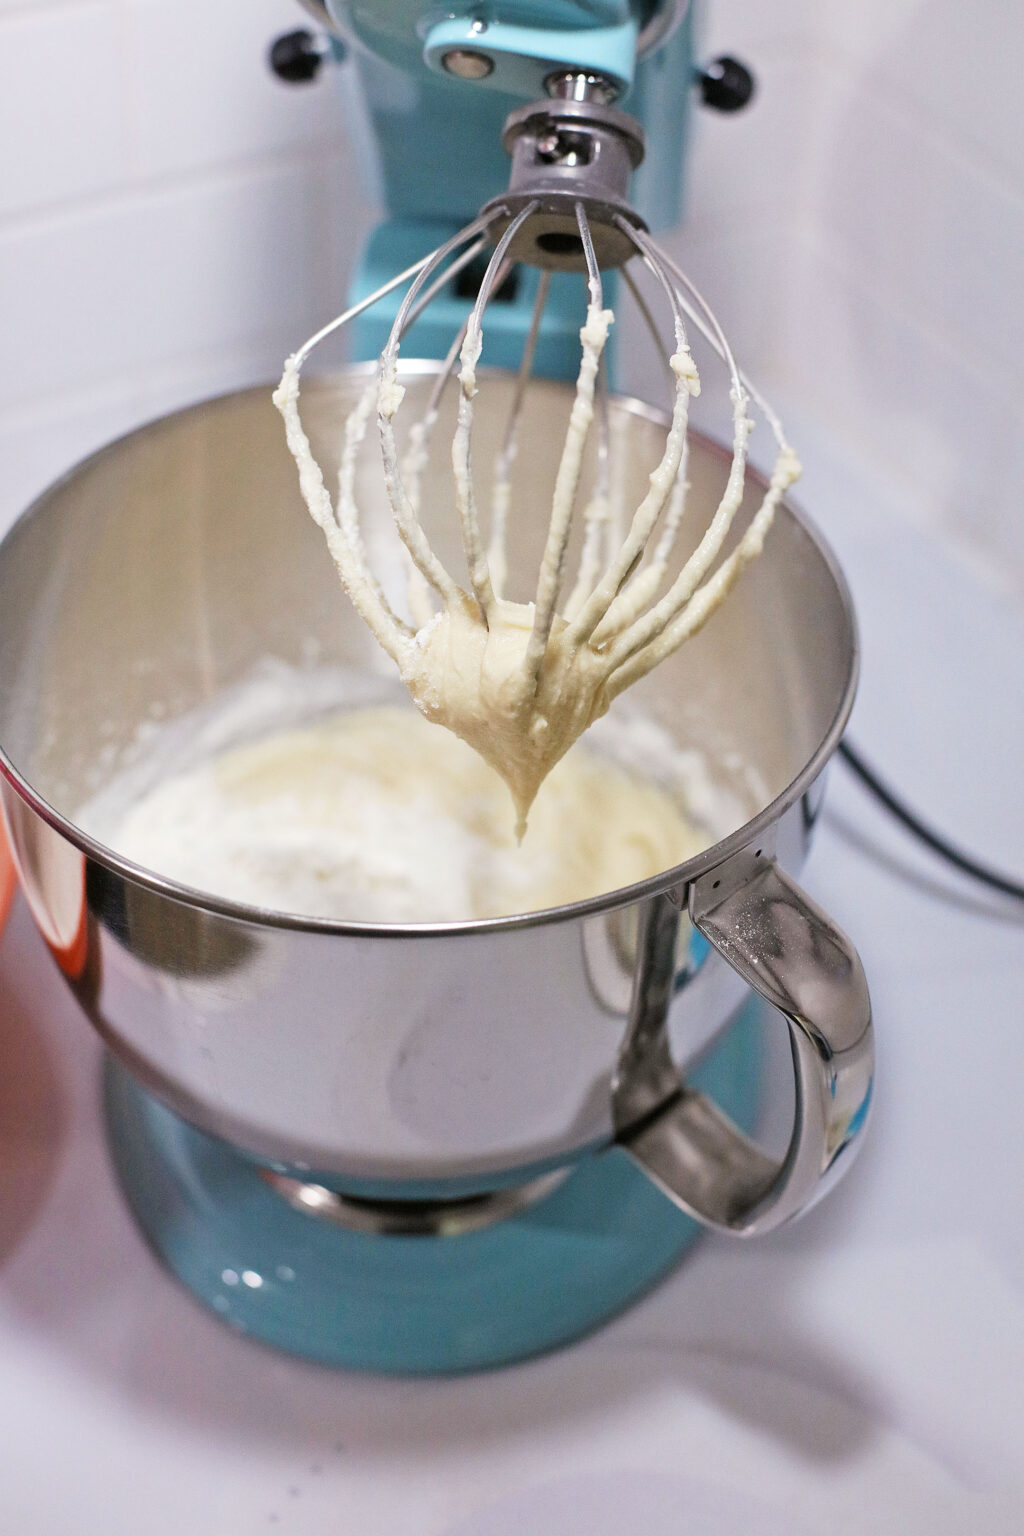
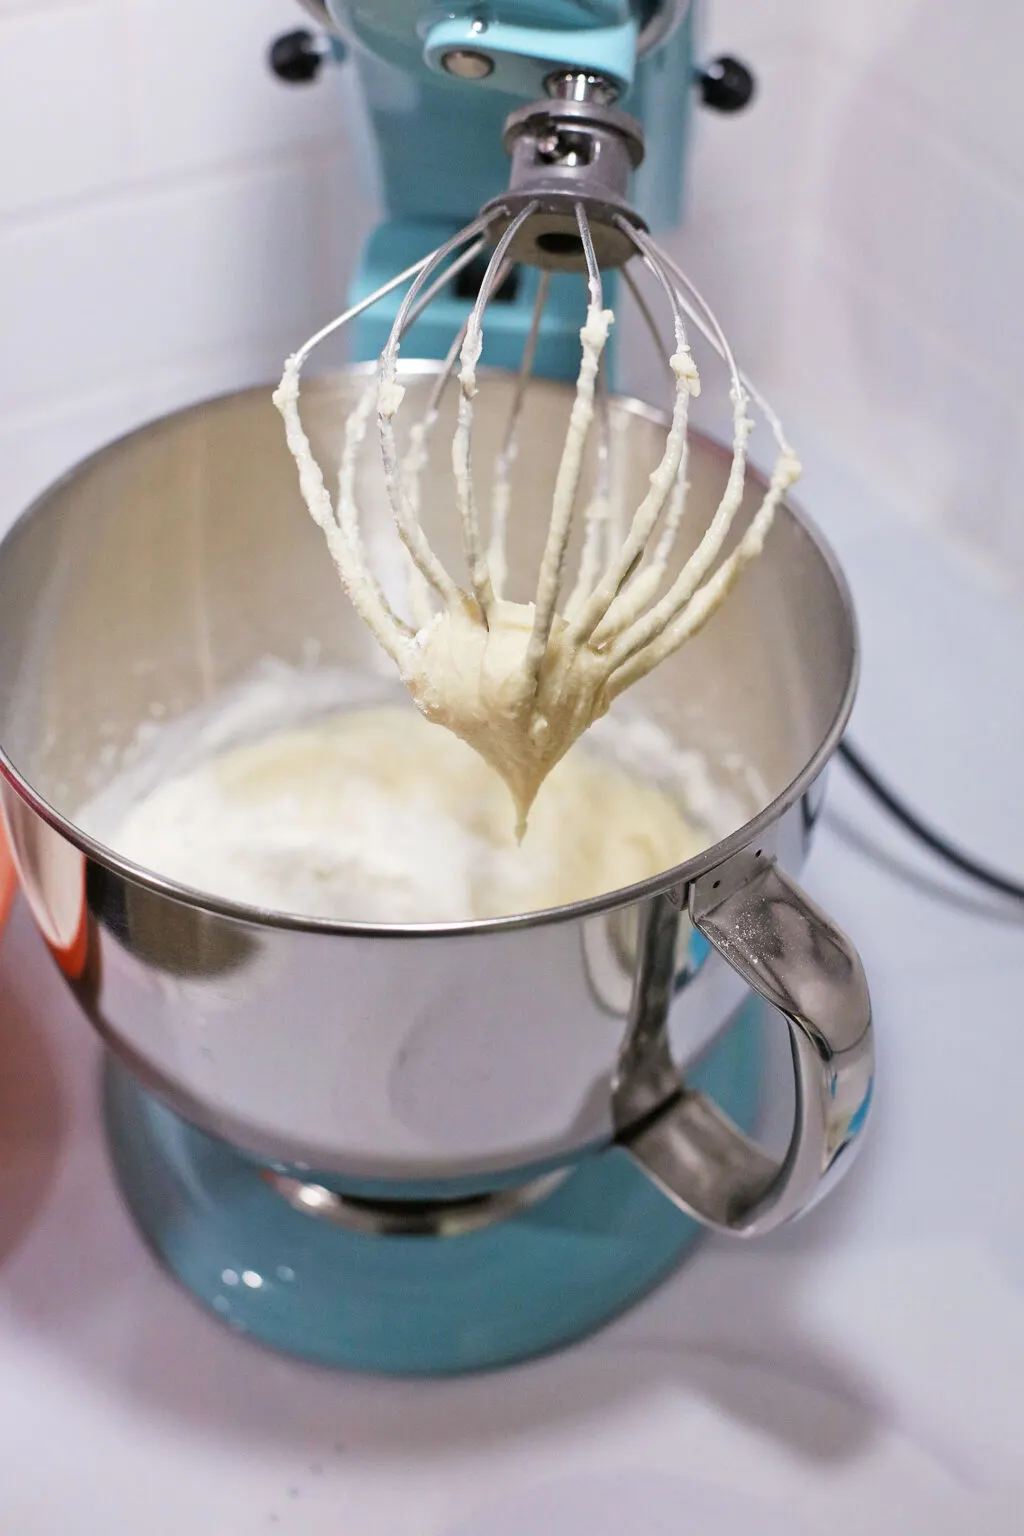
In the mixing bowl of a stand mixer, place the Butter, Sugar, Eggs, Vanilla, and Milk, and blend until creamy.
In a separate bowl, add the Flour, Baking Powder, and salt, and stir well to mix. Add the to the mixing bowl, and mix on low speed until blended. Scrape down the bowl, and mix on high until smooth and creamy.
Add the Lime Green Food Coloring Gel a few drops at a time (start with 3) until you get the bright green color you desire. Mix well.
Grease and flour an 8×8 dish, or a 9 inch Cake Pan, and pour Cake Batter into the pan.
Bake at 350 for 20 to 25 minutes, or until a toothpick inserted in the center comes out clean. Remove Cake to a wire rack to cool completely.
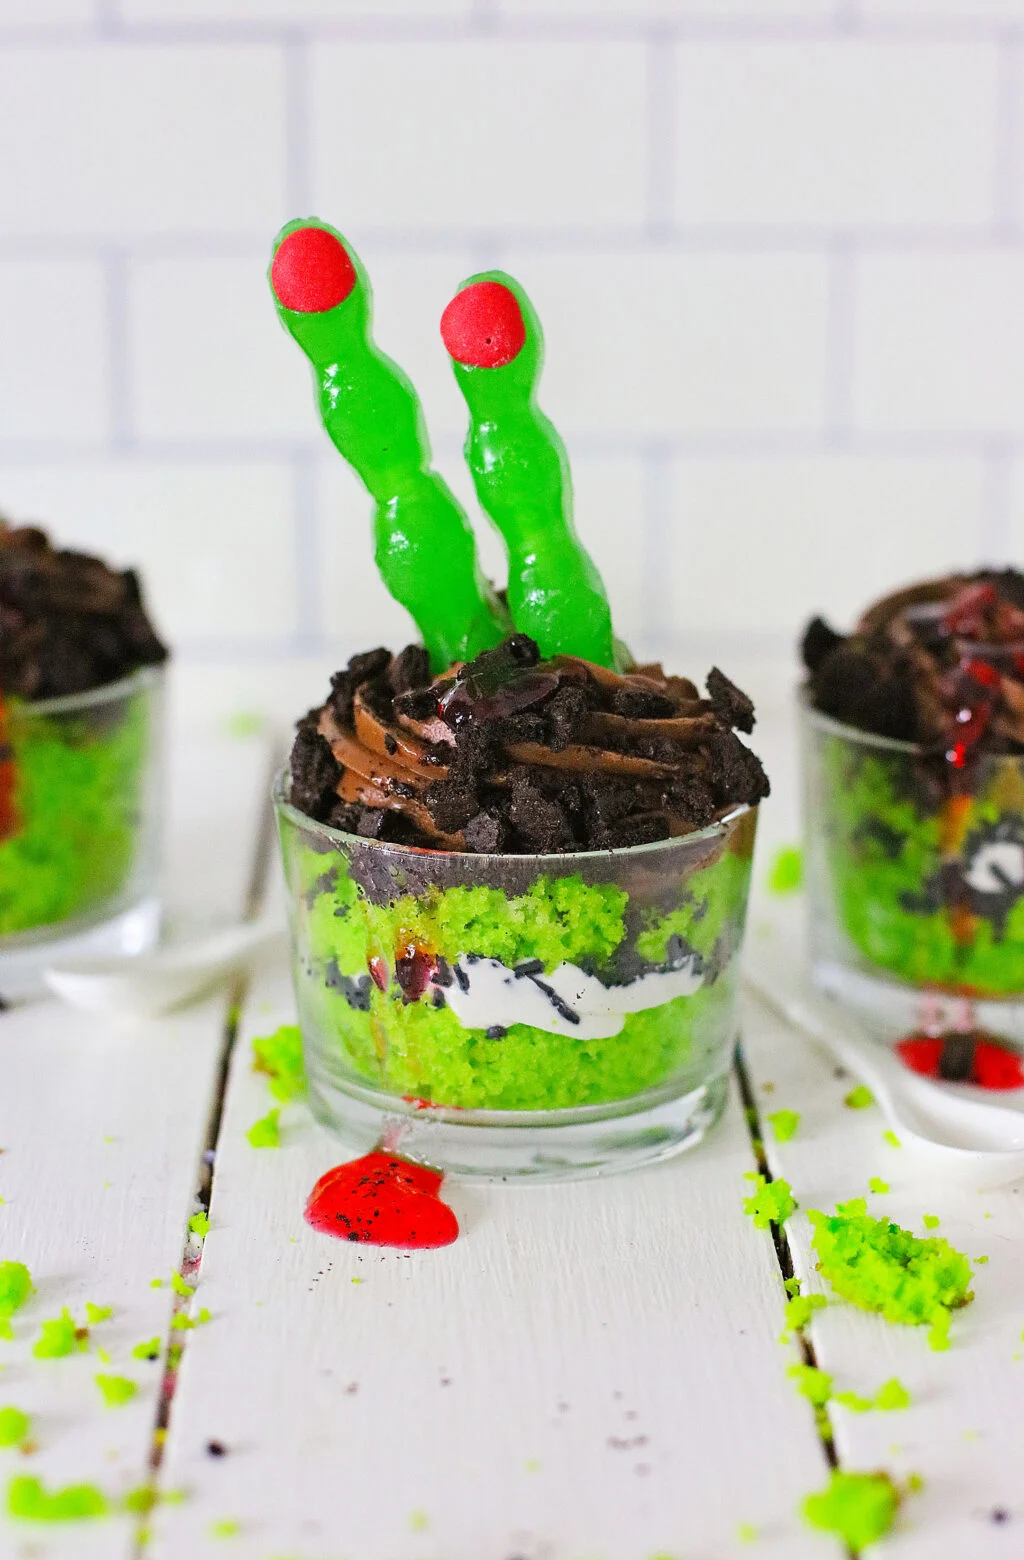
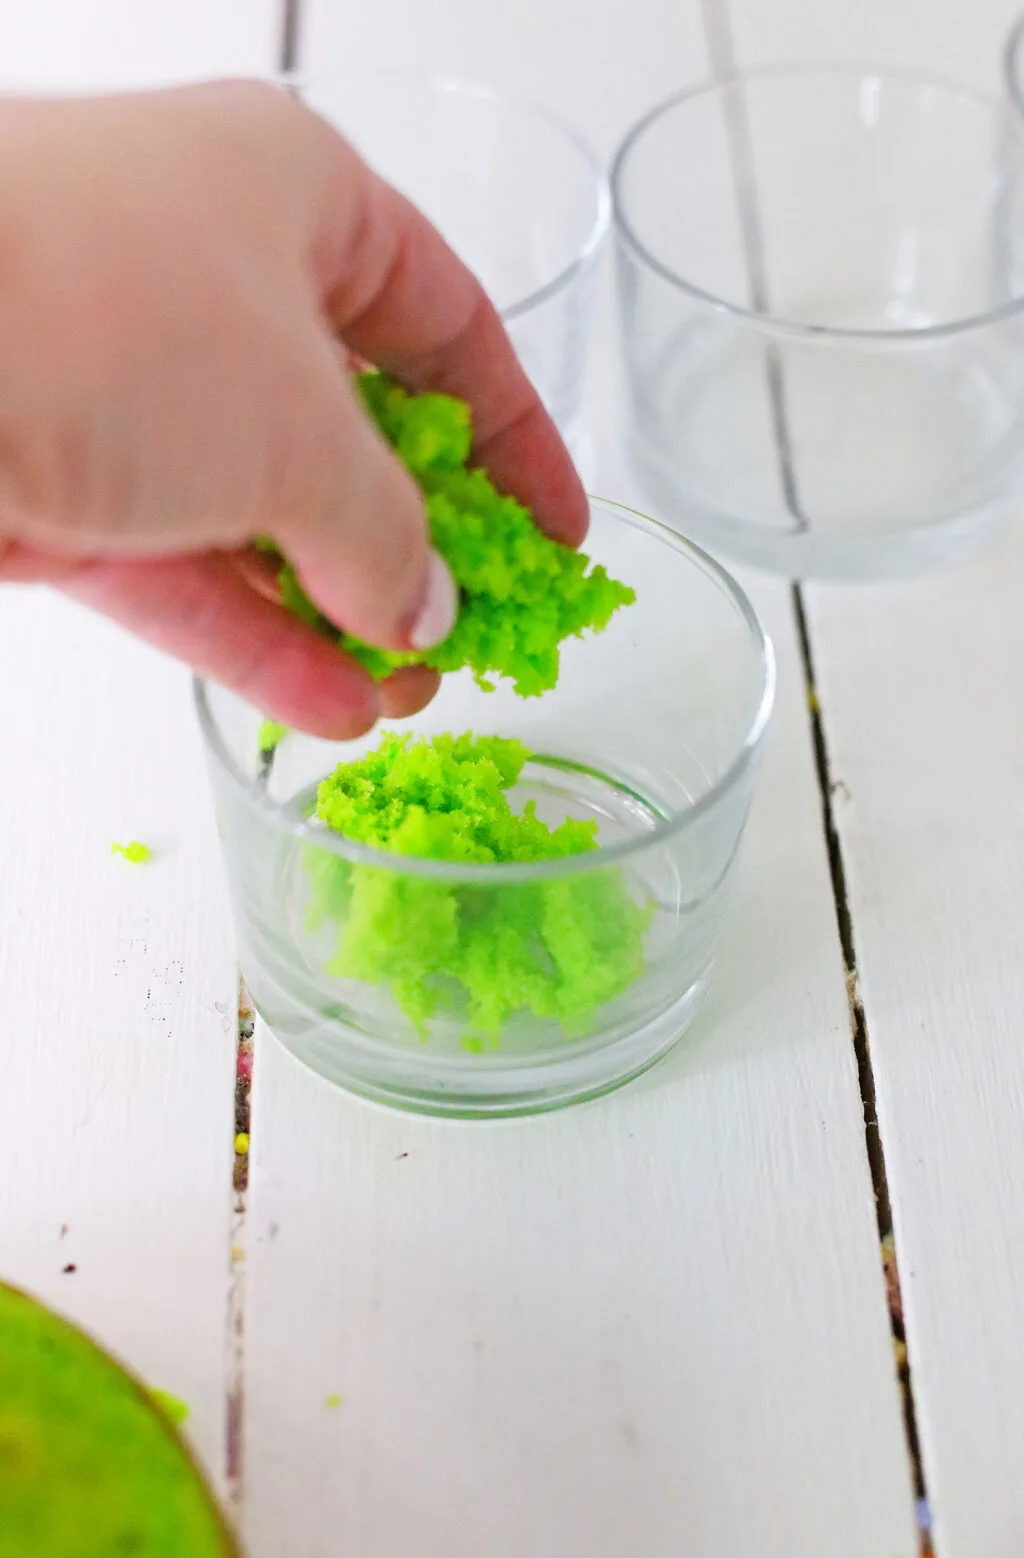
When Cake is completely cool, crumble the cake into the bottom of the individual dishes, filling the bottom.

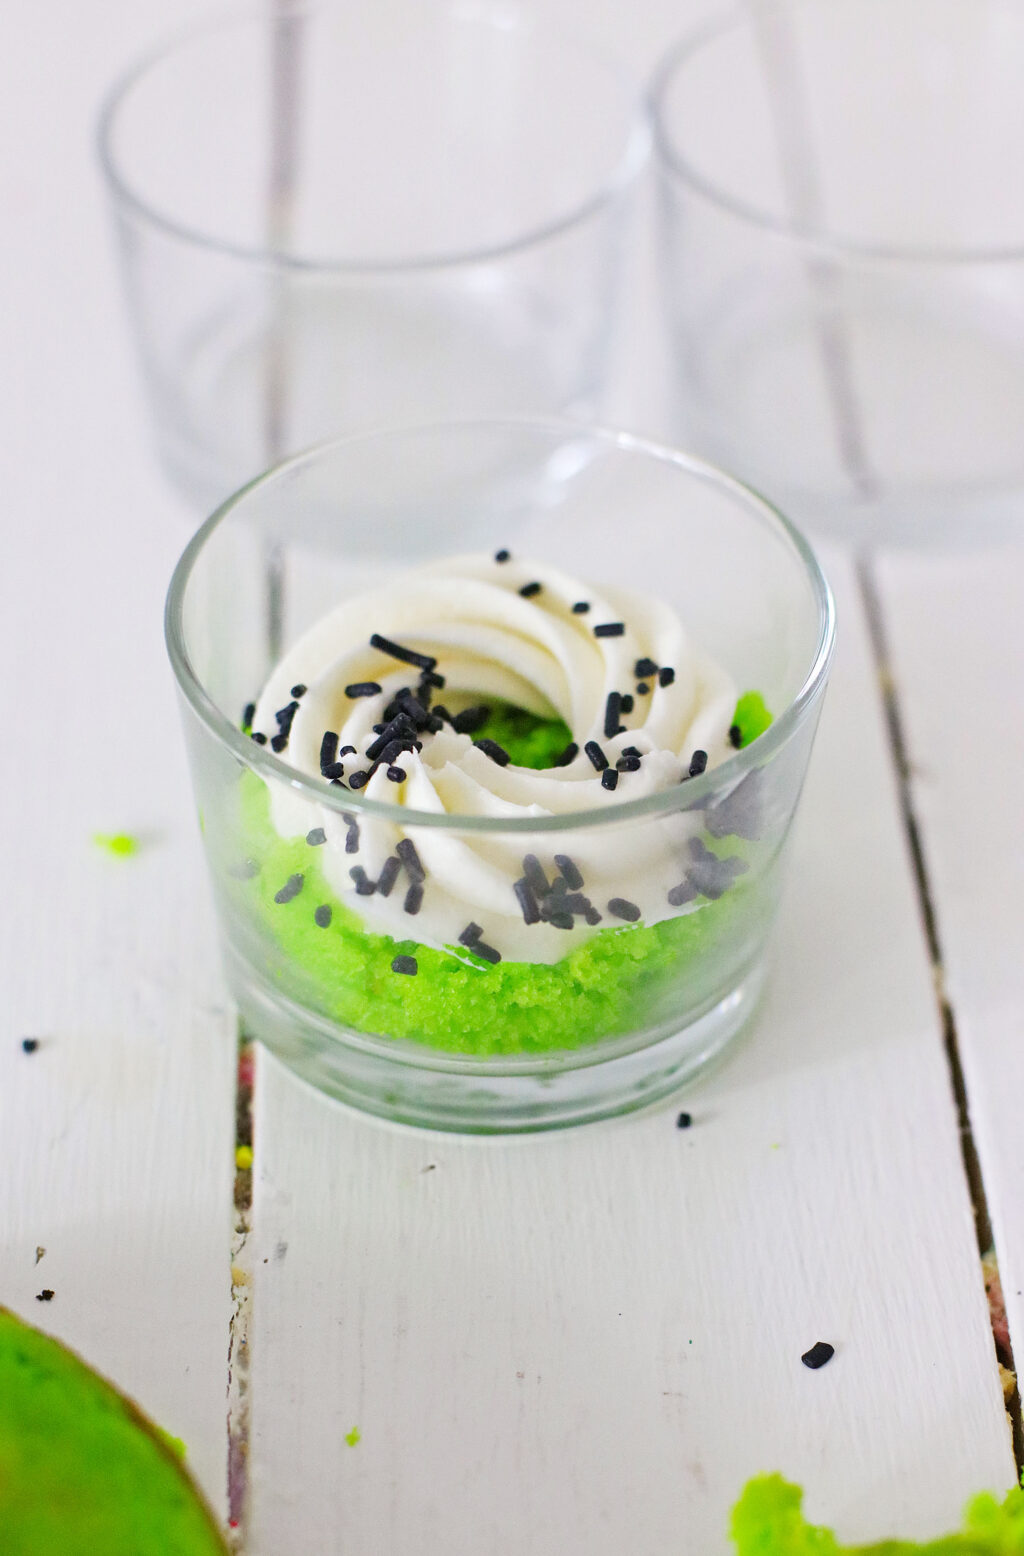
Swirl on the Vanilla Frosting and sprinkle with the Chocolate Sprinkles.

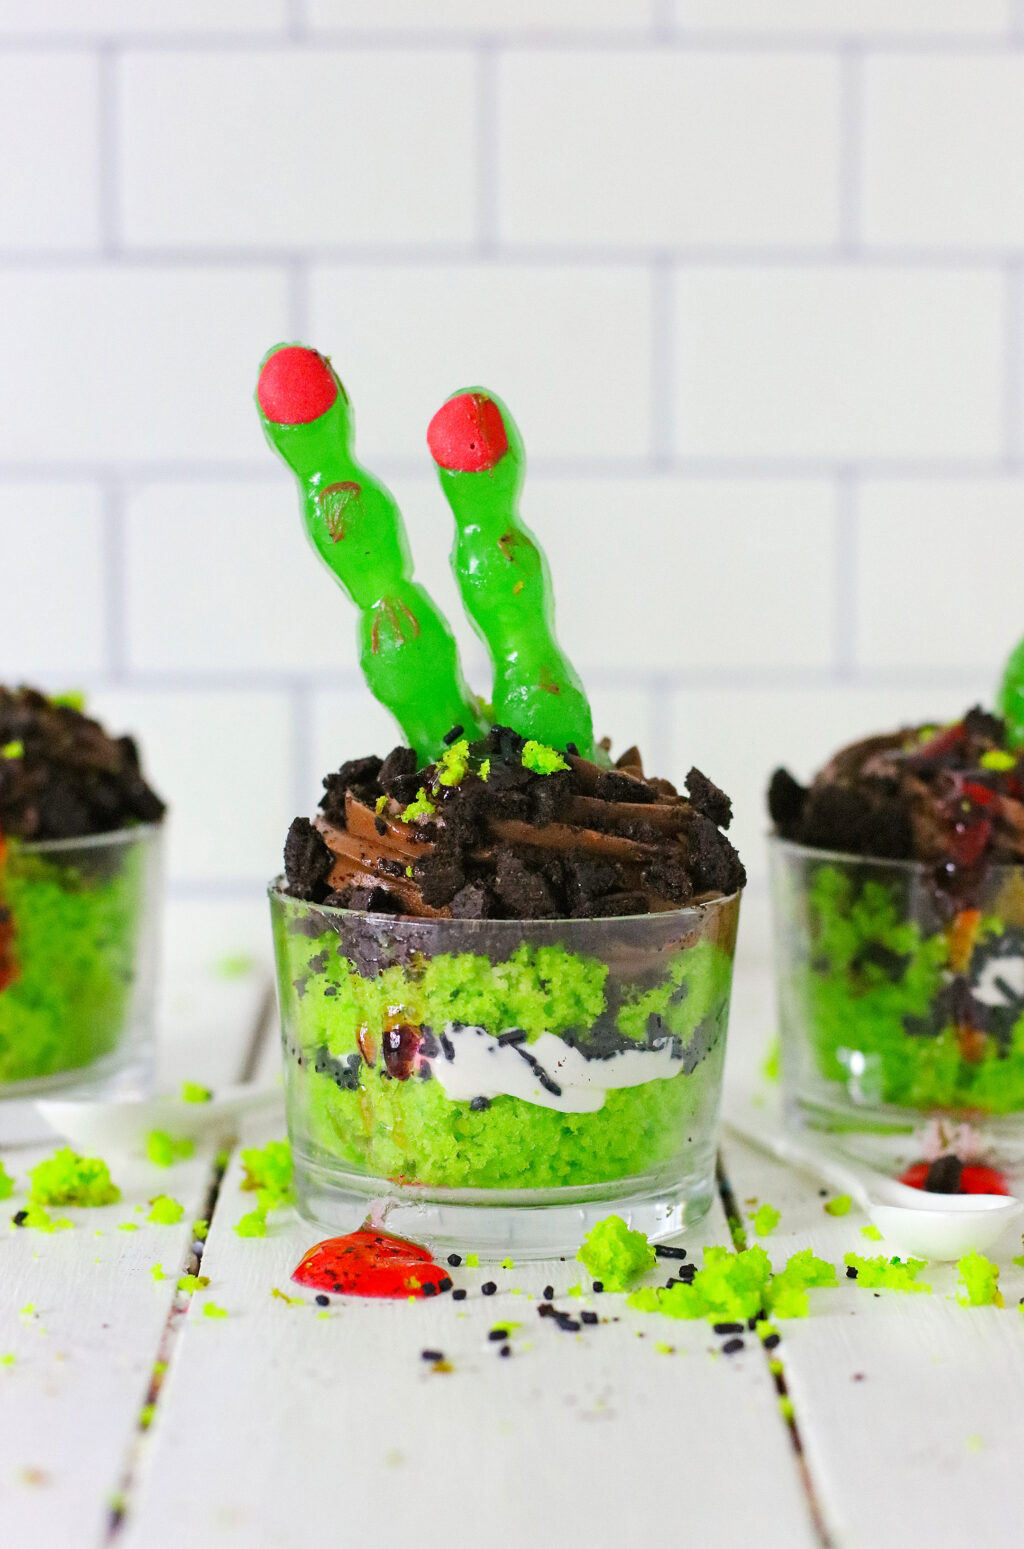
Add another layer of the Cake, then swirl on the Chocolate Frosting, sprinkle on more Chocolate Sprinkles, and then add a generous layer of Crumbled Oreo Cookies. You can also add the red gel drizzle on here to resemble blood.
Place two (2) of the Zombie Finger Suckers down in the top of the Cakes, leaving the top part sticking up.
Refrigerate Cakes until time to serve.

Serve and Enjoy!
Zombie Finger Cakes
Equipment
Ingredients
For The Cake:
- ½ cup of Butter – softened
- ¾ cup of Sugar
- 2 Eggs
- 1 teaspoon of Vanilla
- ½ cup of Milk
- 1 ¼ cups of Flour
- 1 ¼ teaspoons of Baking Powder
- ⅓ teaspoon of Salt
- Neon Lime Green Food Coloring Gel
For The Layers:
- 1 package of Oreo Cookies – about 16 cookies – crushed or crumbled
- 1 package of Vanilla Frosting – already prepared in the Piping bag – Pillsbury Brand
- 1 package of Chocolate Frosting – already prepared in the piping bag – Pillsbury Brand
- 1 package/container of Chocolate Sprinkles/Jimmies
- 1 package of Zombie Finger Suckers
- 10 small glass dishes
Instructions
- In the mixing bowl of a stand mixer, place the Butter, Sugar, Eggs, Vanilla, and Milk, and blend until creamy.
- In a separate bowl, add the Flour, Baking Powder, and salt, and stir well to mix. Add the to the mixing bowl, and mix on low speed until blended. Scrape down the bowl, and mix on high until smooth and creamy.
- Add the Lime Green Food Coloring Gel a few drops at a time (start with 3) until you get the bright green color you desire. Mix well.
- Grease and flour an 8×8 dish, or a 9 inch Cake Pan, and pour Cake Batter into the pan.
- Bake at 350 for 20 to 25 minutes, or until a toothpick inserted in the center comes out clean. Remove Cake to a wire rack to cool completely.
- When Cake is completely cool, crumble the cake into the bottom of the individual dishes, filling the bottom.
- Swirl on the Vanilla Frosting and sprinkle with the Chocolate Sprinkles.
- Add another layer of the Cake, then swirl on the Chocolate Frosting, sprinkle on more Chocolate Sprinkles, and then add a generous layer of Crumbled Oreo Cookies. You can also add the red gel drizzle on here to resemble blood.
- Place two (2) of the Zombie Finger Suckers down in the top of the Cakes, leaving the top part sticking up.
- Refrigerate Cakes until time to serve.
- Serve and Enjoy!
Nutrition information is a rough estimate only; actual values will vary based on the exact ingredients used and amount of recipe prepared.