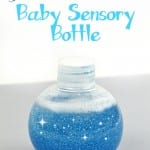
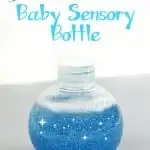
We all know that children and babies in particular, explore the world through their senses. They touch, grab, play, and eat EVERYTHING they come into contact with. Today was one of those days my youngest son was into everything and also a bit cranky. So I decided to quickly put together a Glitter Baby Sensory Bottle for him to play with and I want to share it with you too.
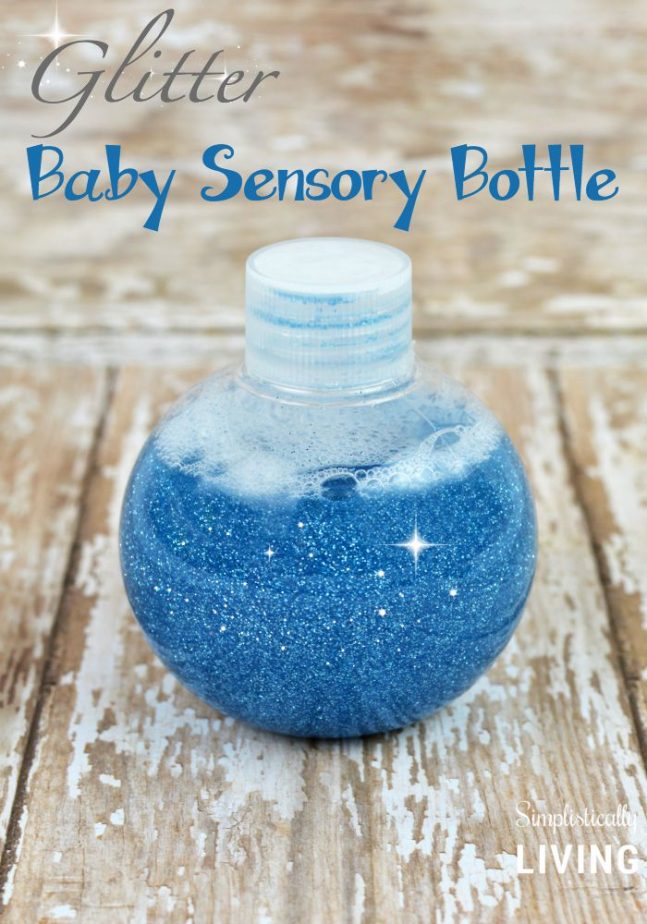

This bottle is super easy to make and only requires a few supplies you may already have on hand especially if you are a crafter like I am. The idea behind sensory bottles it that they provide something that is visually appealing for your child to play with. There are so many different ways you can make them and some even make sound. No matter how you make yours, it will be something that is engaging and fun for your baby to play with.
I do want to point out that you want to make sure you are supervising your child during play. Yes these are bottles and bottles can break with enough pressure (like if your baby was to sit or stand on it). I also highly recommend sealing the lid with hot or super glue before giving to your baby to play with.
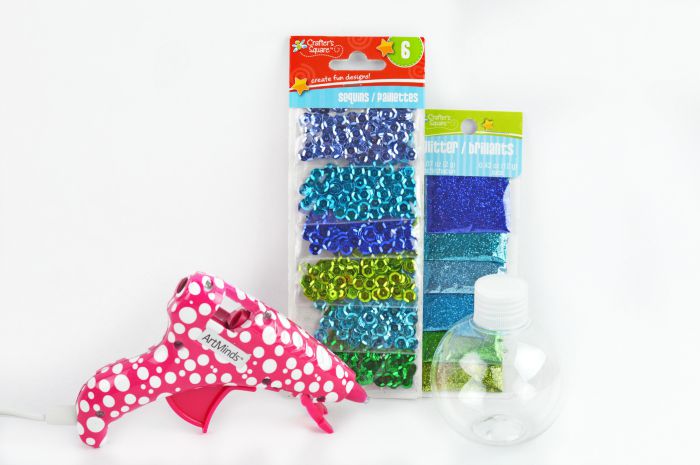
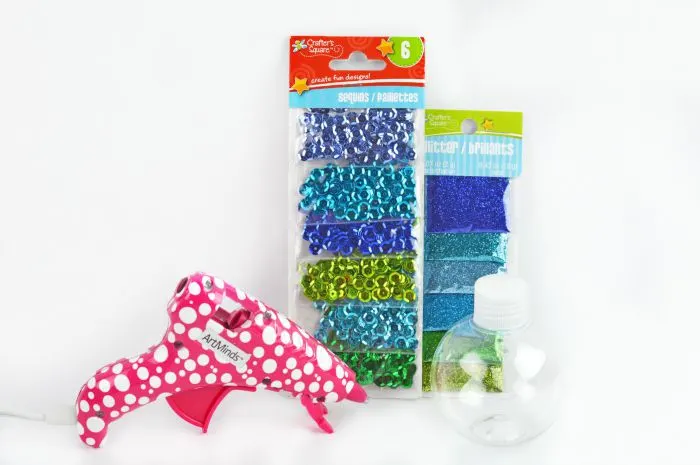
Supplies Needed to Make Your Own Glitter Baby Sensory Bottle:
- Hot Glue Gun
- Plastic Bottle (you can find some at the craft store or even use an empty water bottle)
- Colored Sequins (found at Dollar Tree)
- Colored Glitter (found at Dollar Tree)
- Warm Water
- Clear Glue (optional but does help suspend the glitter and sequins better)
How to Make a Glitter Baby Sensory Bottle:
- Open up a package of sequins and dump them into your plastic bottle.
- Open up a package of glitter and dump it into your plastic bottle. Tip: Using a funnel will help keep it from getting everywhere.
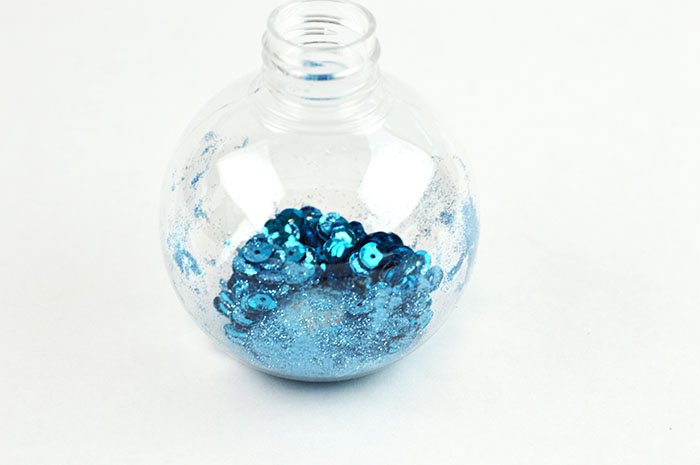

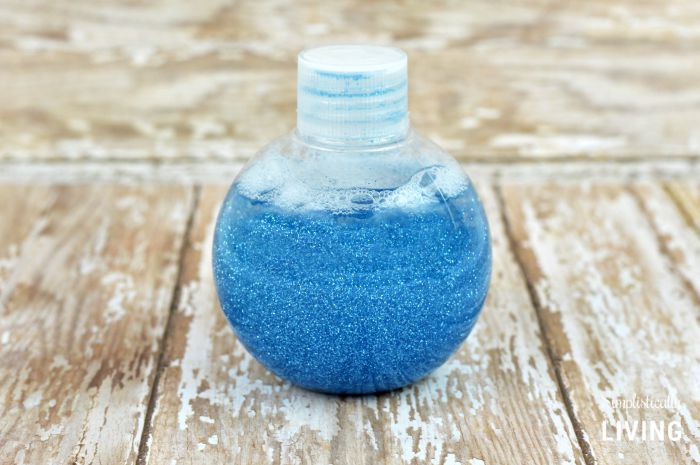
- Fill the bottle up with warm water. If you want the glitter and sequins to suspend a little, you can put some clear glue into the bottle first then fill with water. Remember to leave enough room at the top to allow the bottle to be shaken.
- Put the cap on the bottle. To secure it, I recommend using a very thin line of hot glue (or super glue) around the base of the bottle cap. Allow to dry.
- Give to your baby and watch them have fun playing with sensory bottle. The more they shake it around, the more the glitter and sequins will twirl!
Keep in mind that with all bottles, they can break under pressure so make sure you are supervising your child while they are playing with it!
I hope you enjoy making this craft as much as I did because it’s a super fun and simple craft!

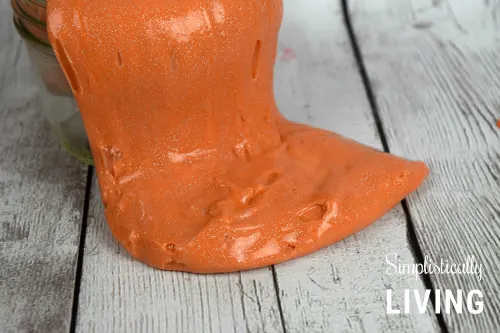
Looking for another fun craft your child can play with? Check out this DIY Orange Glittered Slime!

25 New Year's Crafts for Kids – Simplistically Living
Tuesday 26th of December 2023
[…] glitter sensory bottle that is perfect for toddlers. Hey add in some items and they can also become noise […]
Janette
Wednesday 17th of February 2016
Where did you find this particular bottle? I see a lot of people using this but can't seem to figure out where to find it
Brittanie
Thursday 18th of February 2016
I actually bought these small bottles of water at Walmart. They were mini water bottles and came in a pack of 12 for around $2.