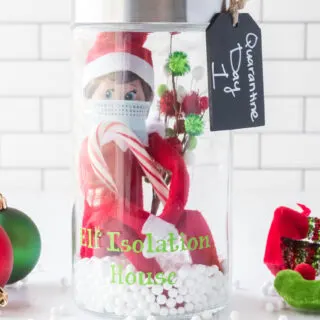
This Elf Isolation House is the perfect way to have your elf self-isolate for 14 days to ensure they are healthy when the arrive from the North Pole. It even includes a mini mask for your elf to wear.
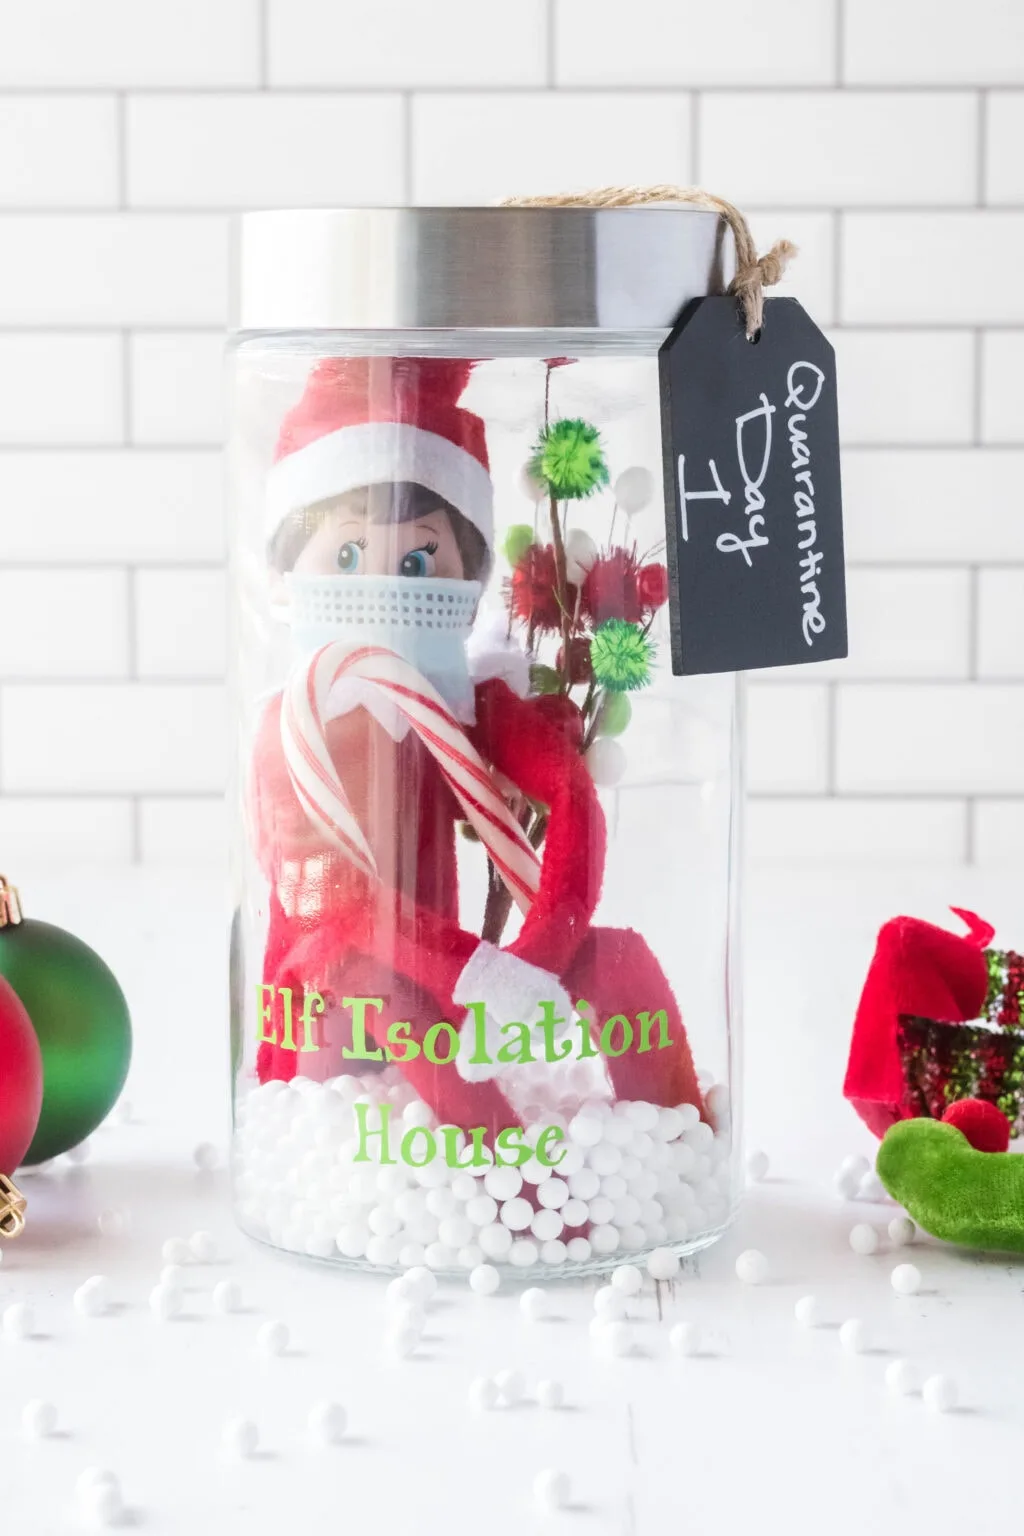
This week I saw a meme going around on Facebook about an Elf Isolation House and I thought the idea was brilliant!
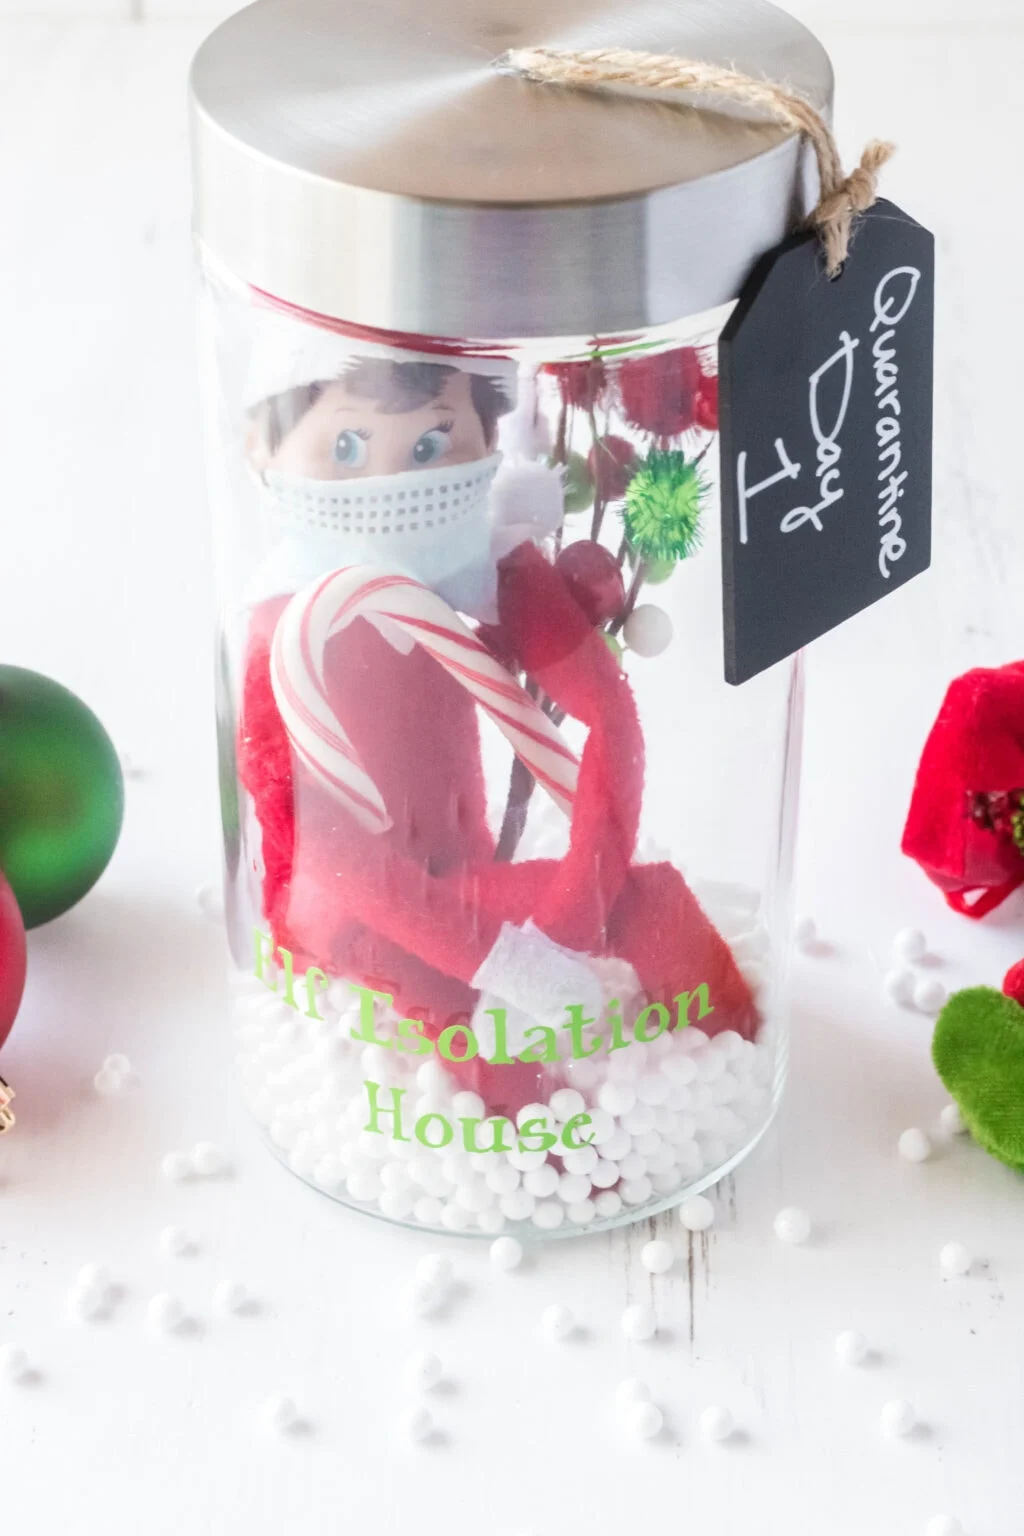
Basically, it gives your elf a place to quarantine for 14 days to ensure they don’t bring any germs with them from the North Pole.
It also allows us parents to have 14 days OFF from having to move the elf. Win-win, right?
Since the meme didn’t have any instructions on how to make it, I decided to figure out how to make one and show you all how to do it too!
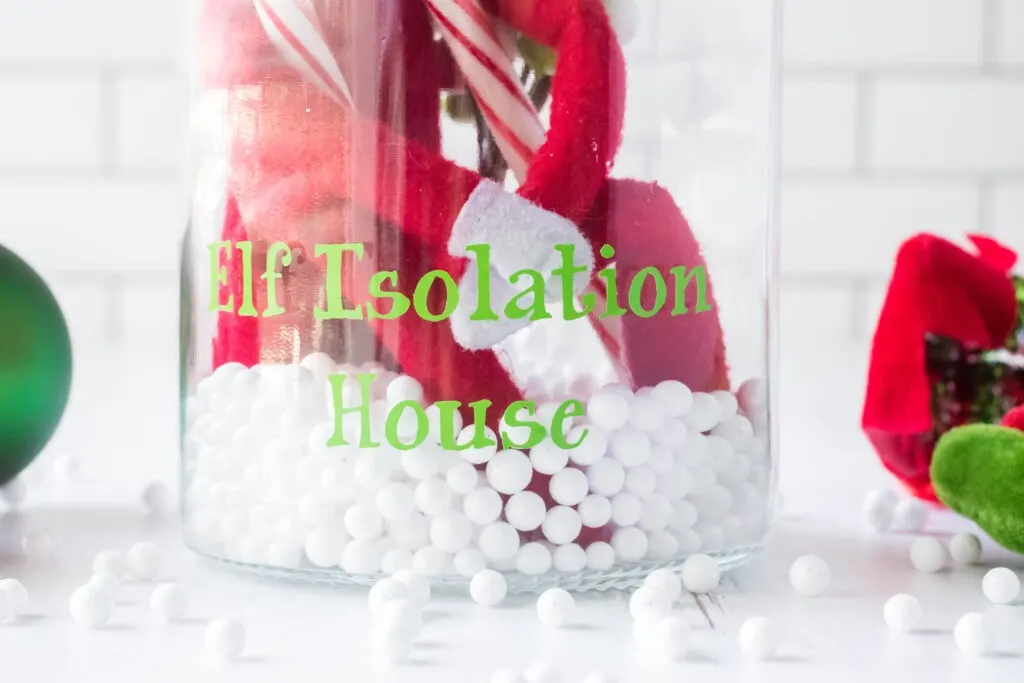
Elf Isolation House
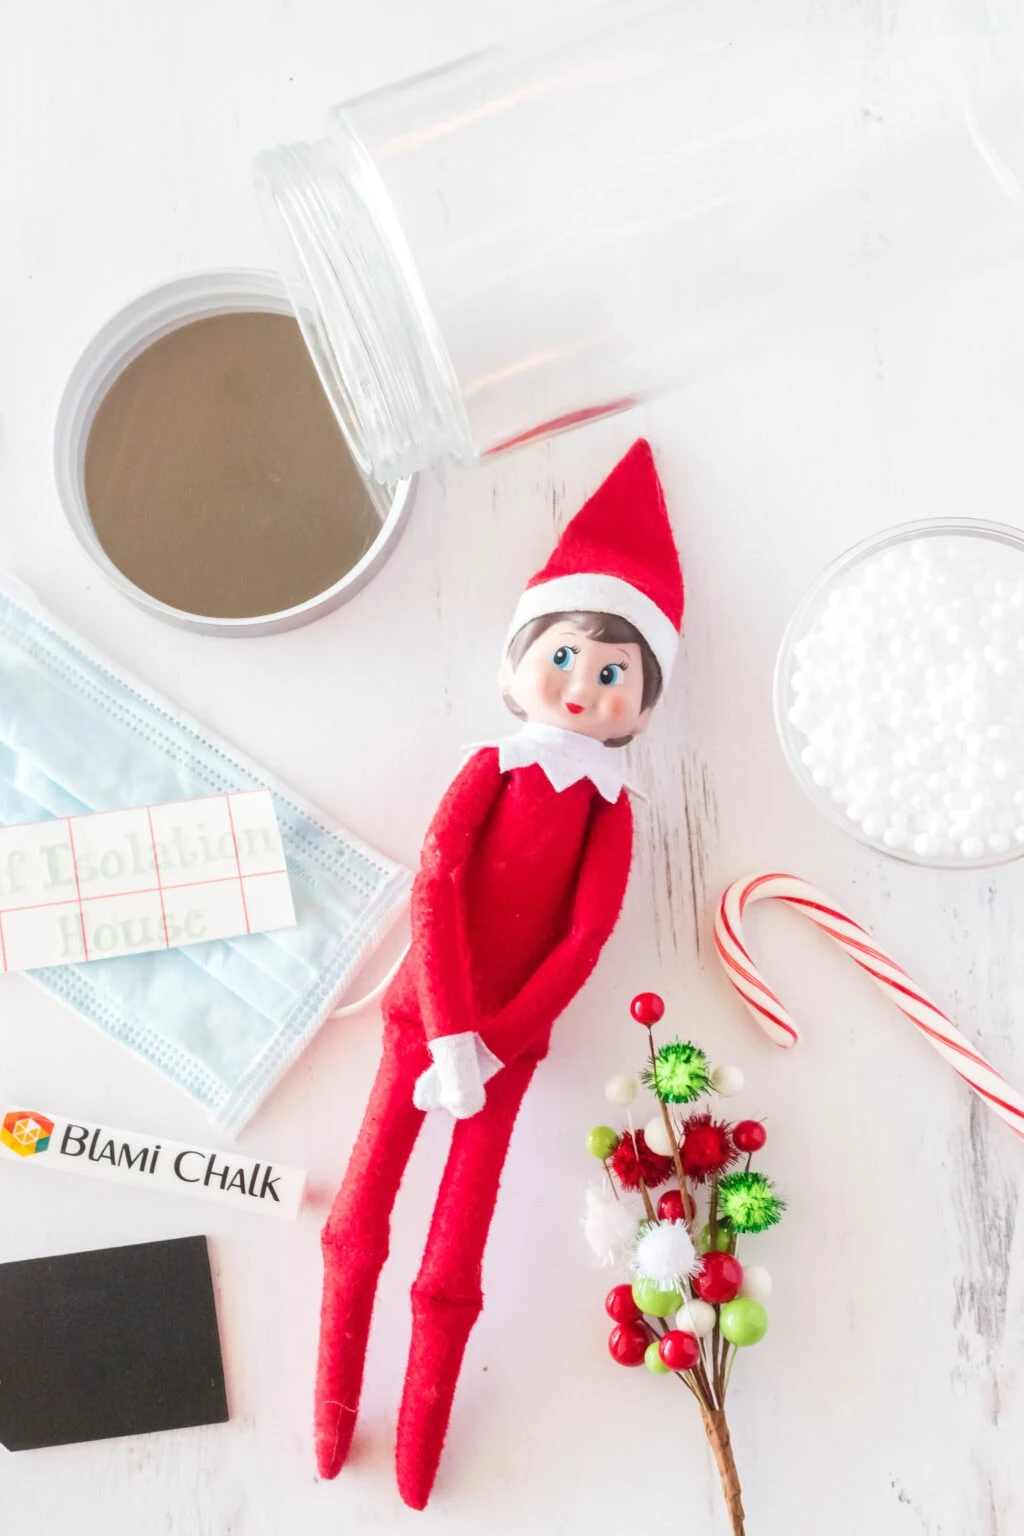
Supplies Needed to Make One:
- Large Glass Jar with Lid – Any will do as long as your elf can fit inside. I used a jar that was 8.5″ h x 4.5″ w.
- Cricut Machine and your Cricut Tools
- Permanent Adhesive Vinyl – Any color you’d like to use on the outside of the jar. I used bright green.
- Elf Isolation SVG File – I created one for you. Since I can’t upload it here to my blog, you can download it from Google here (this is free to use as long as it’s for personal use)
- White Fake Snow Balls
- Your Elf on The Shelf
- Chalk Board Tag – this will help you count down the time your elf has to self isolation
- Chalk marker
- Disposable Face Mask
- Hot Glue Gun
- Christmas pick (optional but gives the jar a little more colorful and fun)
- Candy Cane (to give the elf something to eat while in isolation)
A Few Things To Note:
- You want to use permanent adhesive vinyl or it may not stick to the surface of the glass jar.
- If you’d rather not use a Cricut Machine and vinyl, you can use a glass marker to write on the glass jar.
- Each day you countdown on the jar, you can also take a small bite out of the candy cane to make the kids think the elf is eating it while in isolation.
How to Make An Elf On The Shelf Isolation House
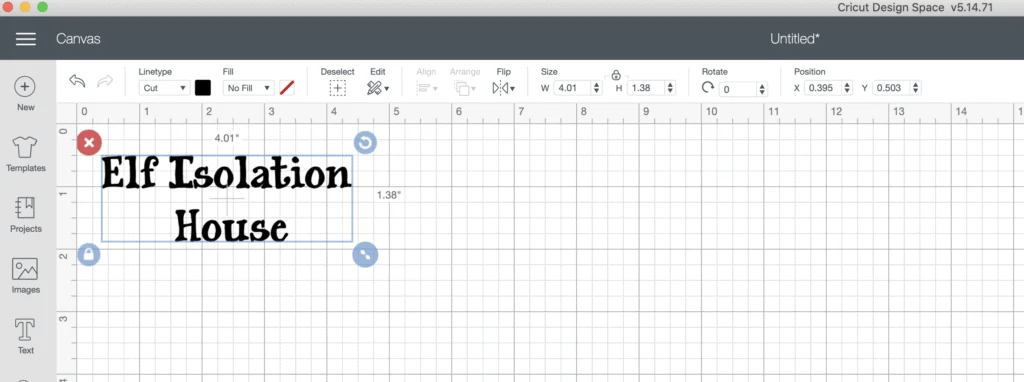
Step One: Start by opening the Elf Isolation House svg file in your Cricut or Silhouette software. You want to adjust the size to fit the jar you are using. I set mine to about 4.01″ x 1.38″.
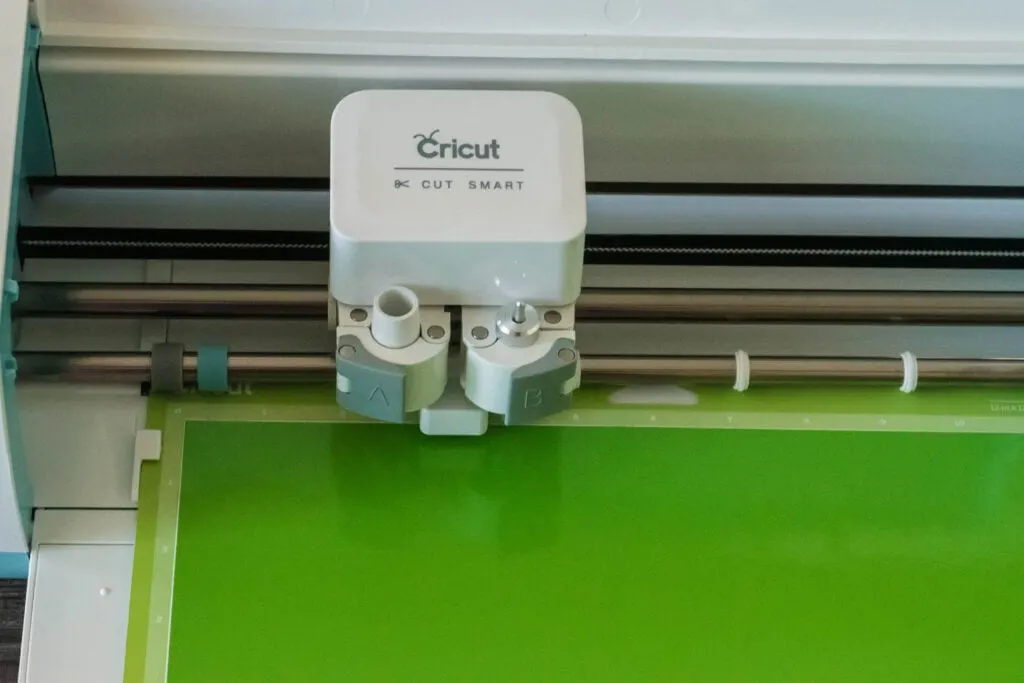
Step Two: Adjust your cutting settings to vinyl and cut the design out using your Cricut machine.
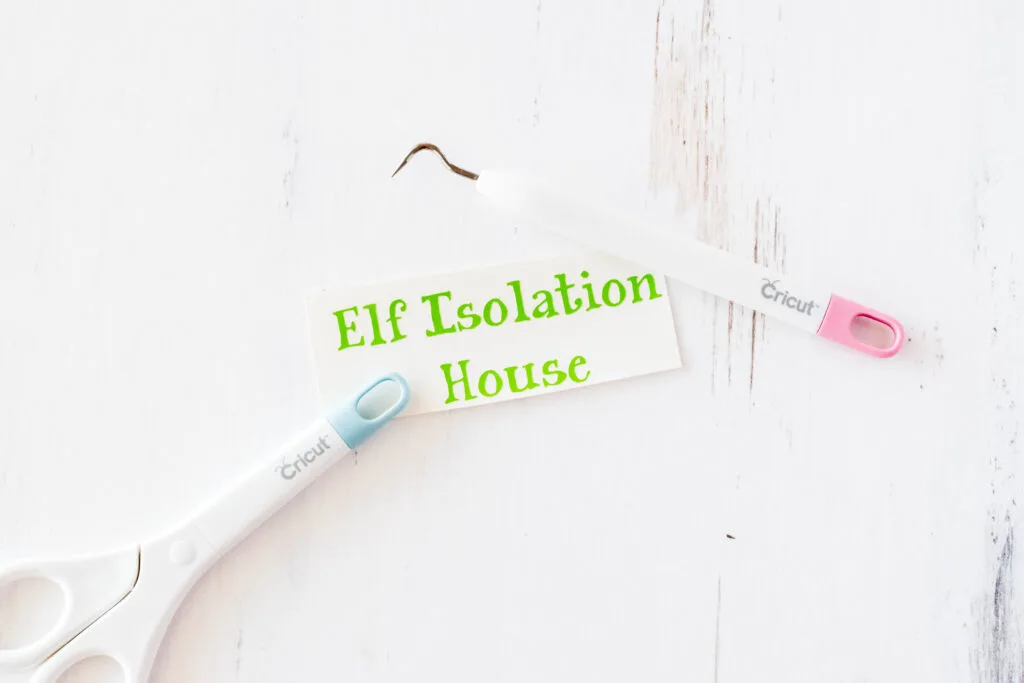
Step three: Once your vinyl is cut, weed your words and then apply the transfer paper to the words. You will then apply the words to the front of your jar and press down to ensure it is attached to your glass jar.
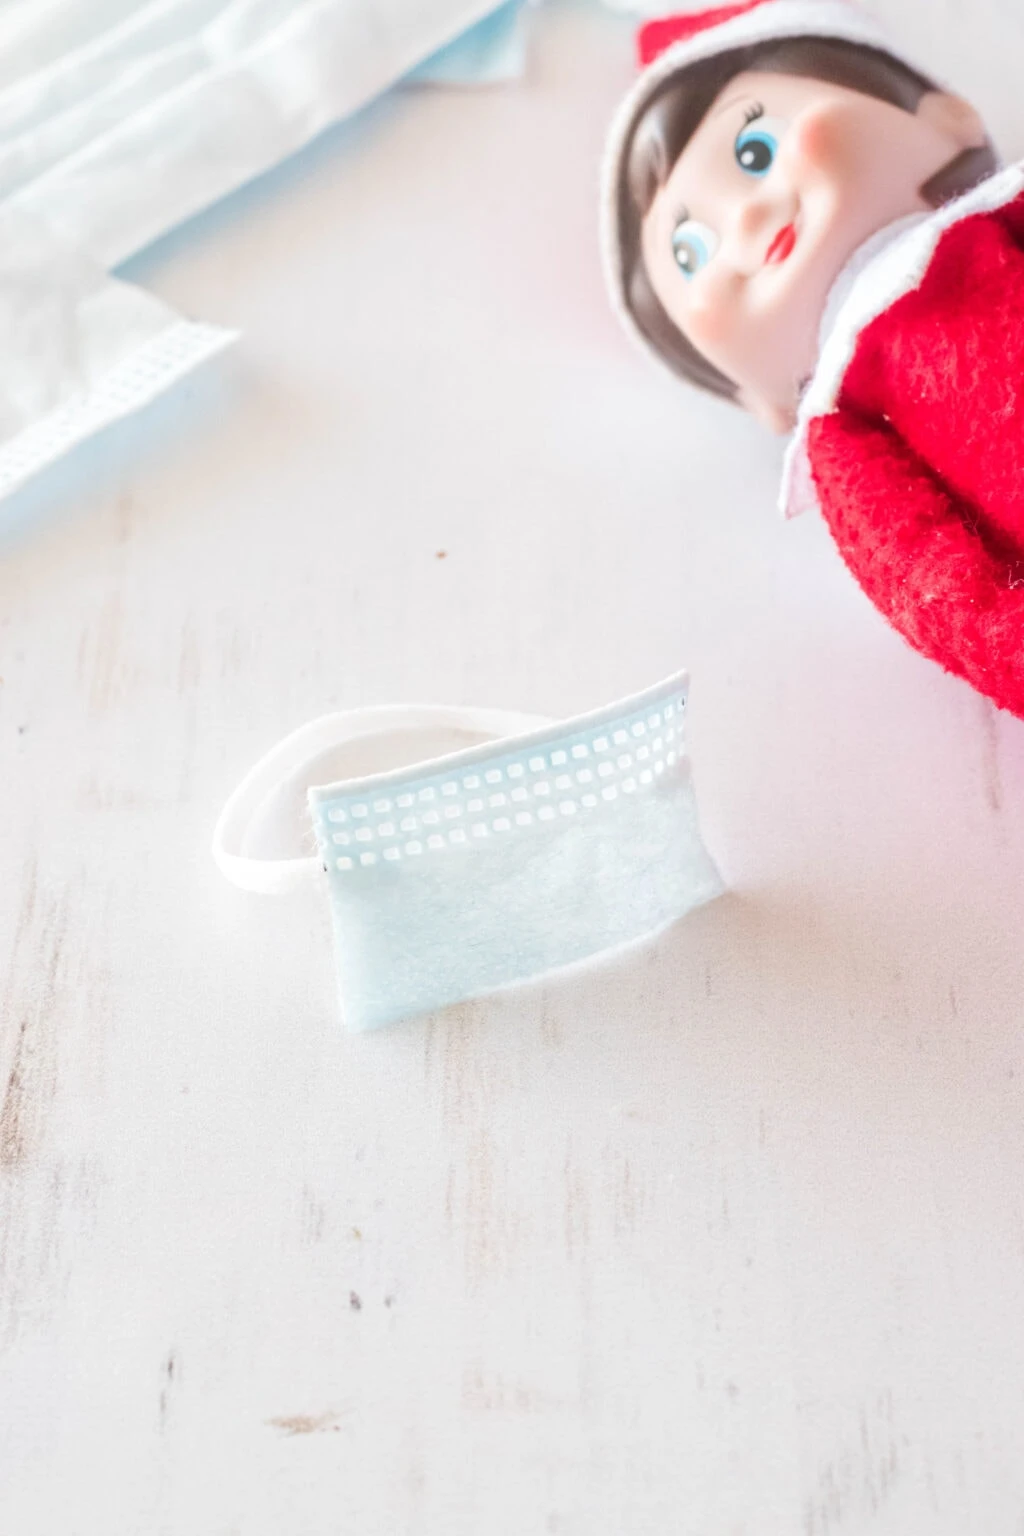
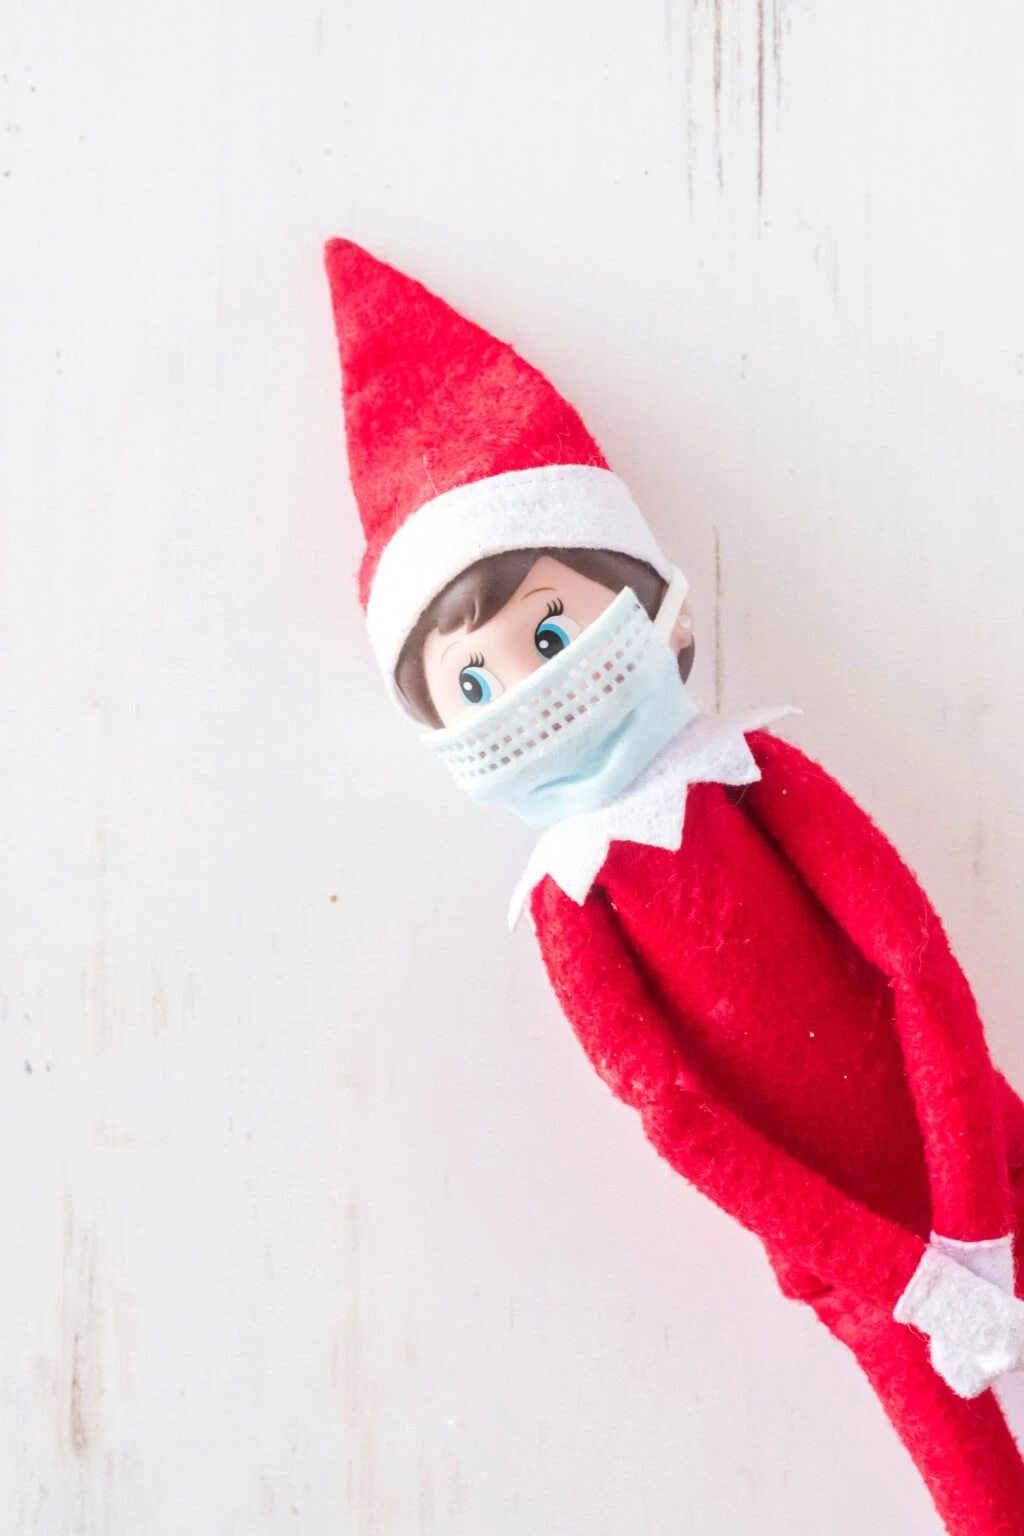
Step four: Make the tiny mask for your elf. You are going to cut a small piece off the disposable mask that’ll fit over the elf’s face. Hot glue part of the mask string to it and then stick it on the elf.
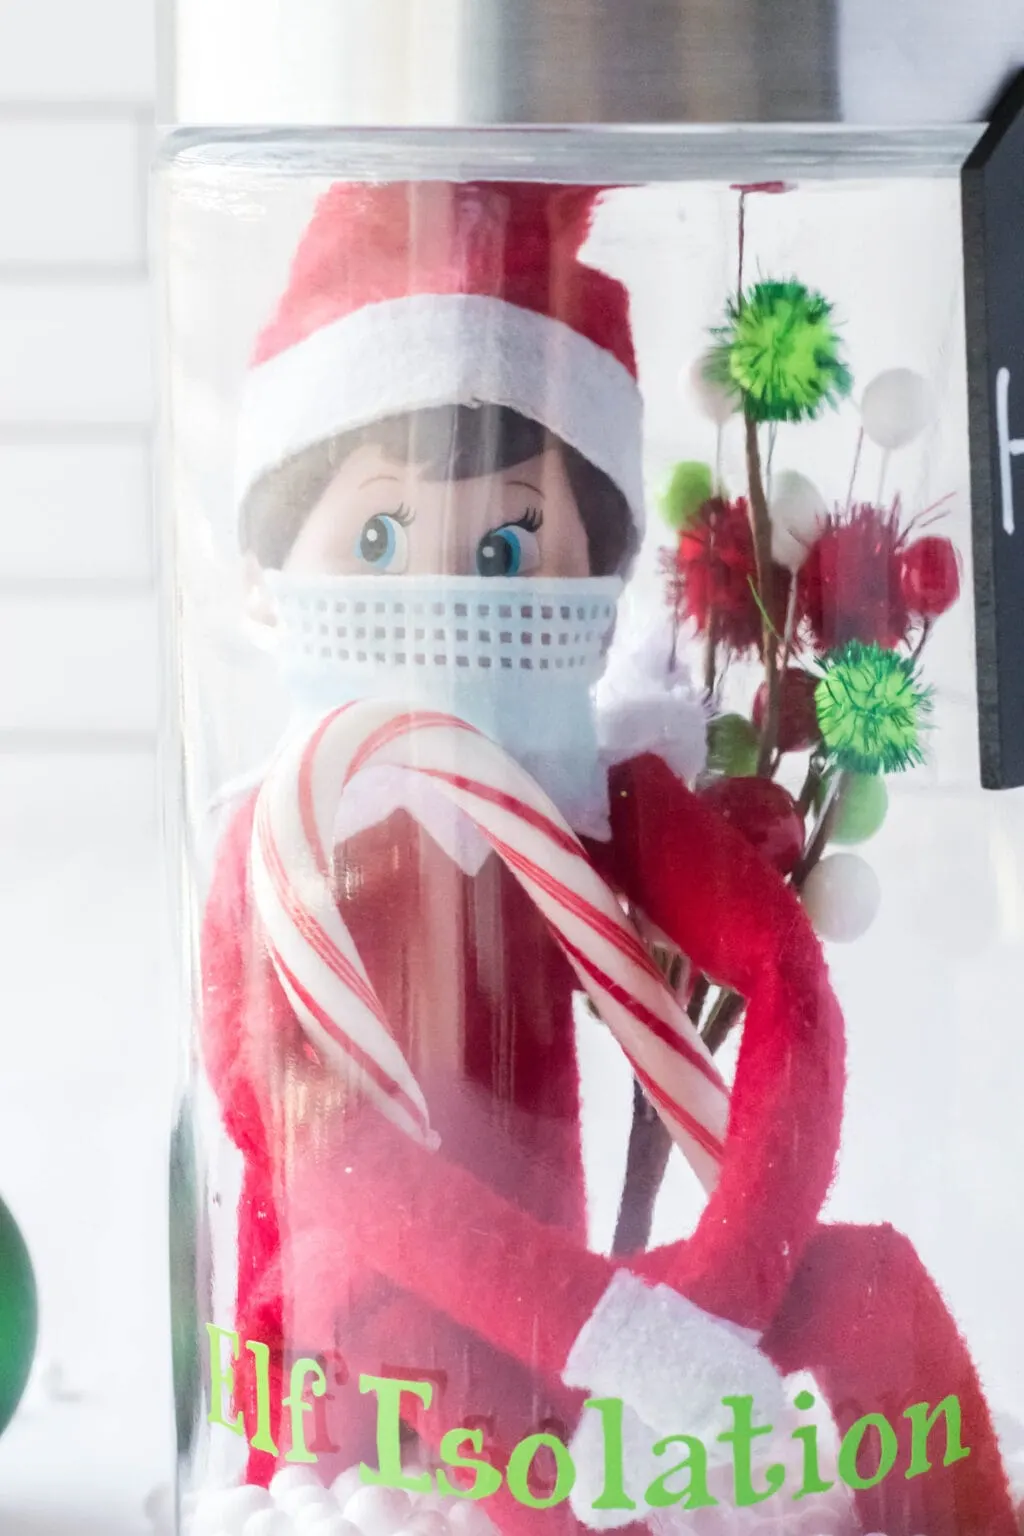
Step five: Add the fake snow balls into the bottom of the jar and then stick the elf, candy cane and Christmas pick inside. Stick the lid on the jar.
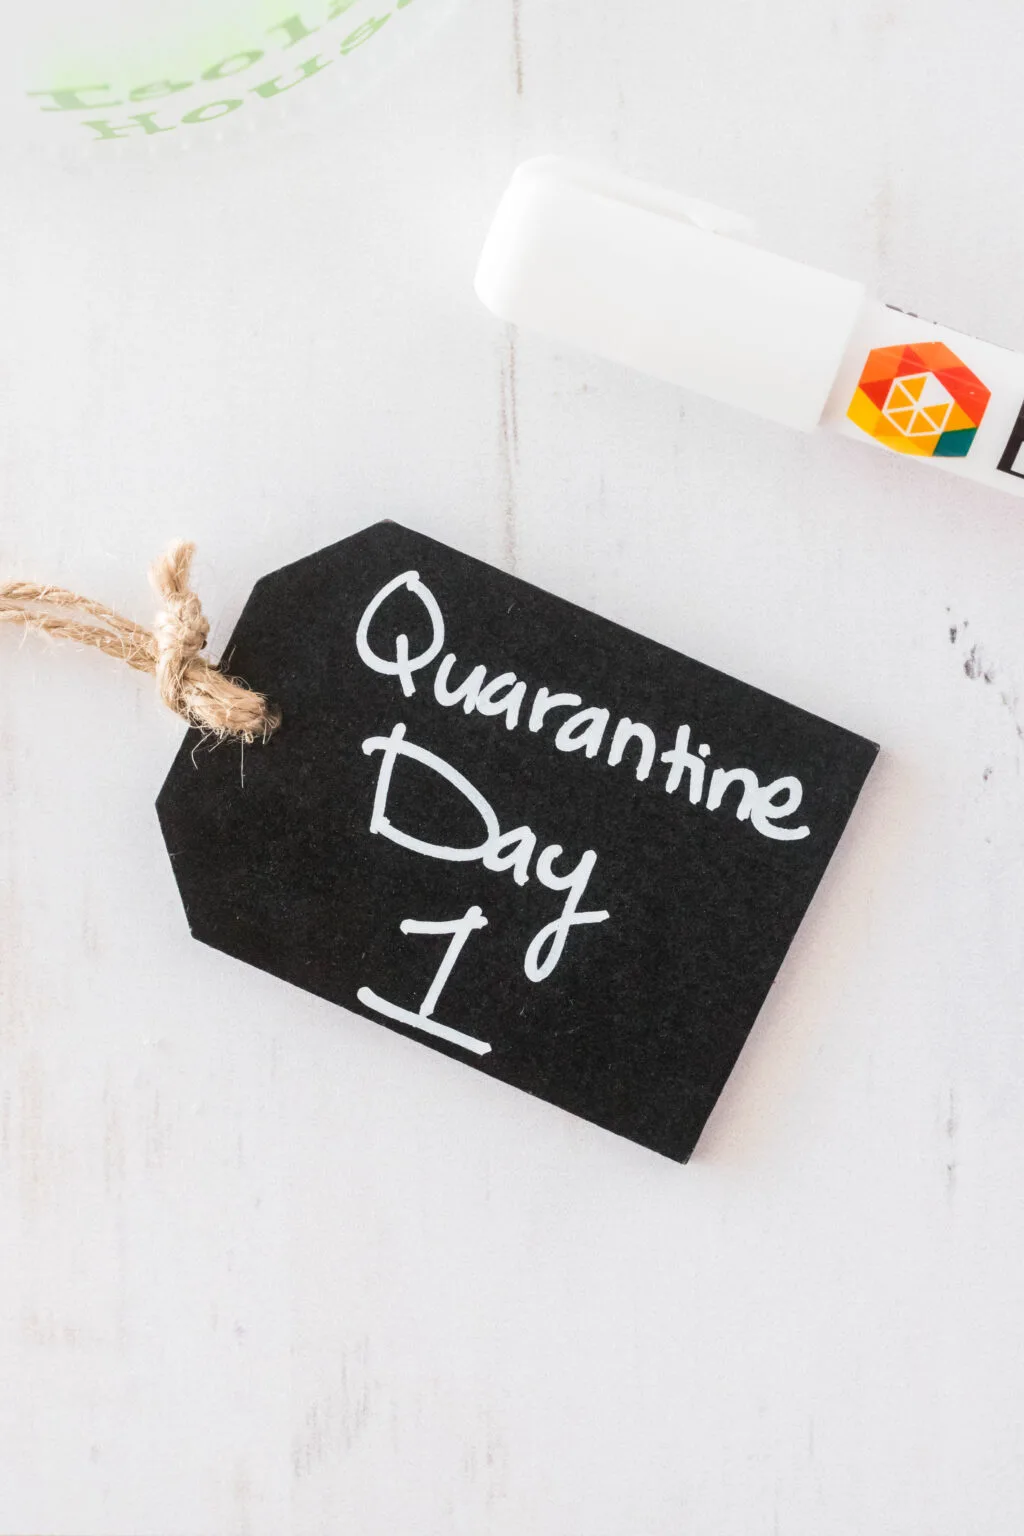
Step six: Write on the chalkboard tag “Quarantine Day 1” and then attach it to the lid using hot glue.
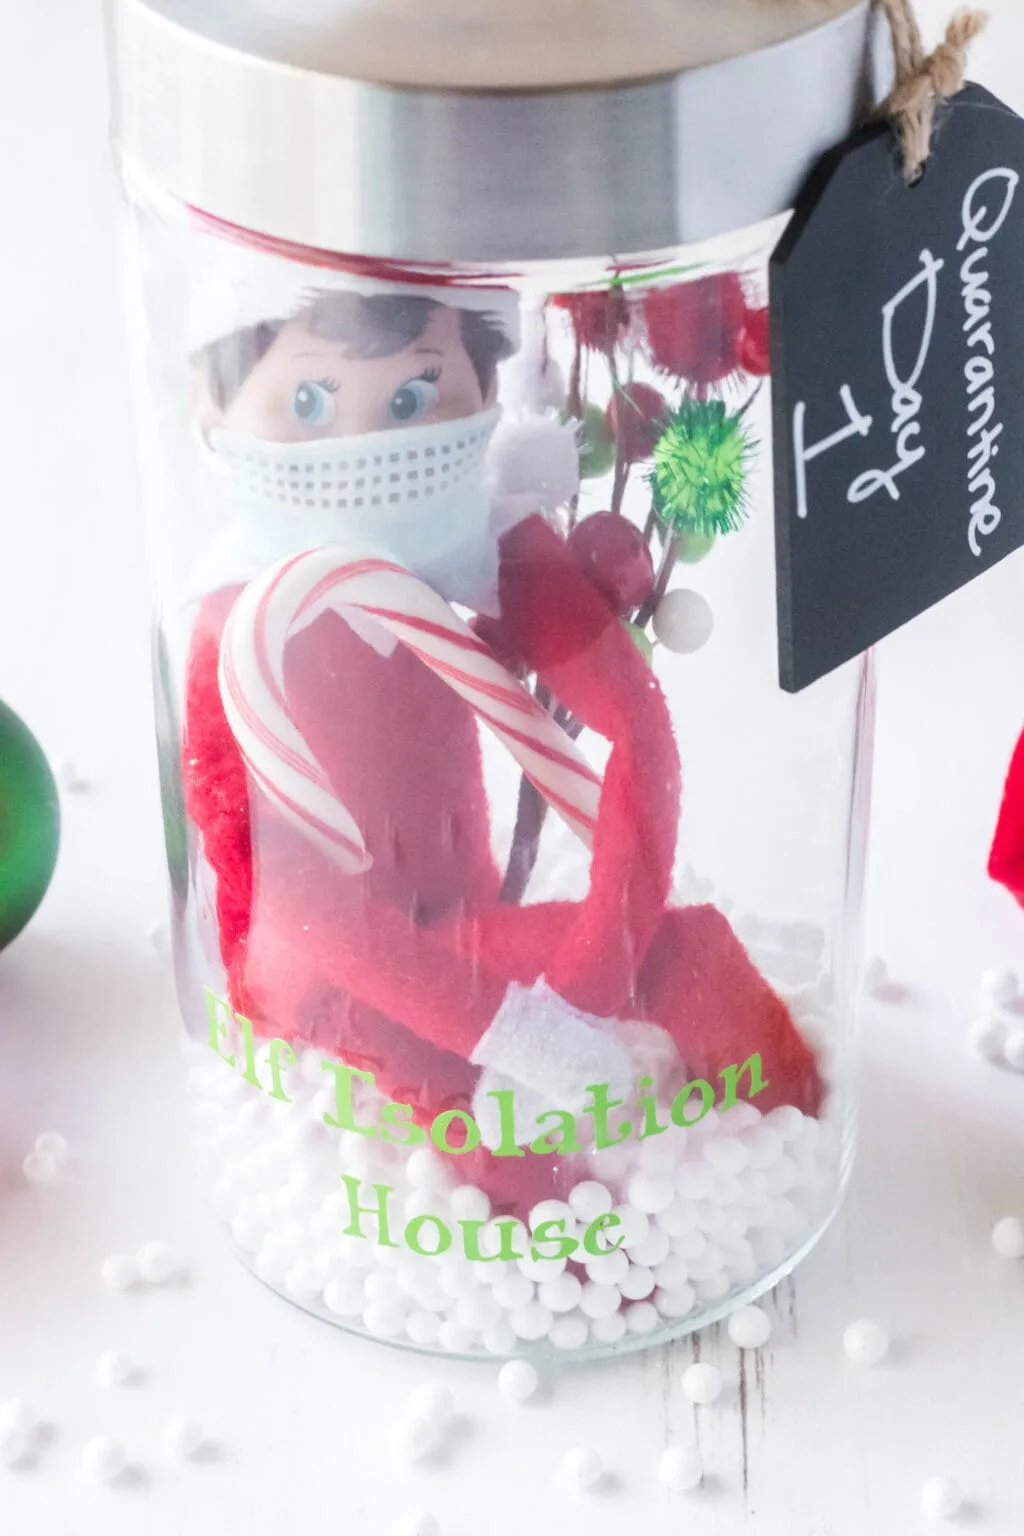
Step seven: Each day write the quarantine day up to day 14 when your elf can safely be released!
Want More Fun Elf on The Shelf Ideas? Check out these Elf on The Shelf Pancakes
Elf Isolation House
Materials
- Large Glass Jar with Lid
- Cricut Machine and your Cricut Tools
- Permanent Adhesive Vinyl
- Elf Isolation SVG File
- White Fake Snow Balls
- Your Elf on The Shelf
- Chalk Board Tag
- Chalk marker
- Disposable Face Mask
- Christmas pick
- Candy Cane
Instructions
- Start by opening the Elf Isolation House svg file in your Cricut or Silhouette software. You want to adjust the size to fit the jar you are using. I set mine to about 4.01″ x 1.38″.
- Adjust your cutting settings to vinyl and cut the design out using your Cricut machine.
- Once your vinyl is cut, weed your words and then apply the transfer paper to the words. You will then apply the words to the front of your jar and press down to ensure it is attached to your glass jar.
- Make the tiny mask for your elf. You are going to cut a small piece off the disposable mask that’ll fit over the elf’s face. Hot glue part of the mask string to it and then stick it on the elf.
- Add the fake snow balls into the bottom of the jar and then stick the elf, candy cane and Christmas pick inside. Stick the lid on the jar.
- Write on the chalkboard tag “Quarantine Day 1” and then attach it to the lid using hot glue.
- Each day write the quarantine day up to day 14 when your elf can safely be released!
