Garden season is upon us which means it’s time to sink your hands in the dirt and get planting! When it comes to cleaning those hands, this Homemade Gardener’s Soap will do the trick!
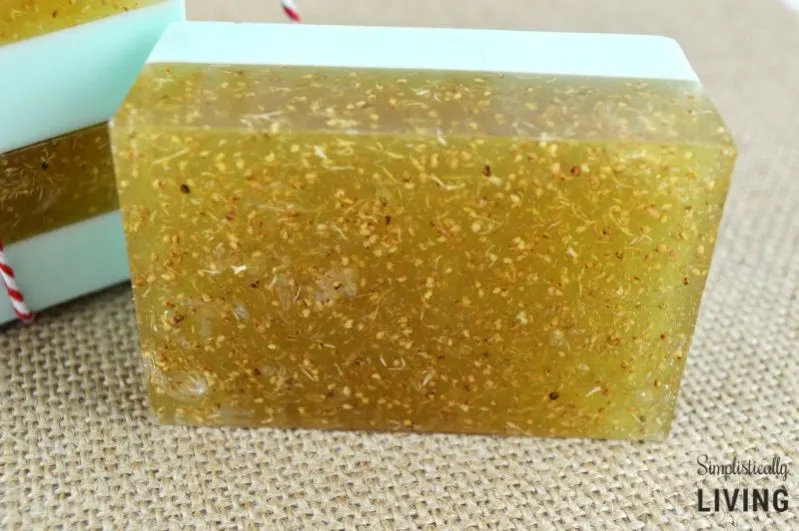
 A great gardener’s soap is one that exfoliates as it cleans. It also has to smell great because let’s face it, dirt isn’t always the most appealing scent. So I came up with a gardeners soap that has both of those properties plus I think it looks as great as it smells!
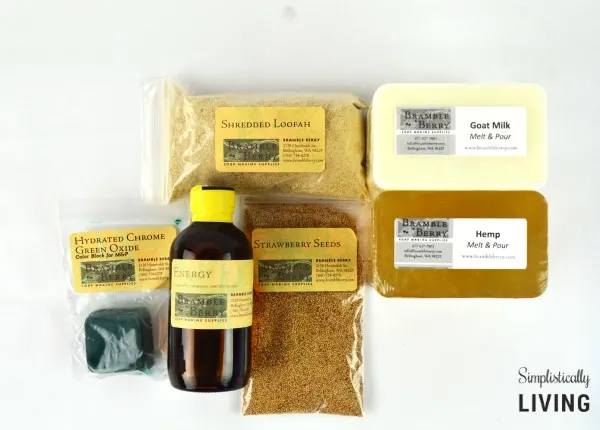
For this project I was sent all the necessary products I needed from Brambleberry. If you have never heard of Brambleberry before let me enlighten you…
Brambleberry offers an extensive selection of soap & toiletry making products for everyone from the weekend hobbyist up to high-volume professional soap makers. In my opinion, they offer the highest quality of soap making products for the best possible price. Anne-Marie is the owner and she has an amazing YouTube series that has tons of videos to help you learn to make your own handmade beauty products. She is where I learned everything I know and I highly recommend her video series!
Now back to this beautiful soap! If you want to give it a try then check out the tutorial below! Feel free to reach out if you have any questions. 🙂
Homemade Gardener’s Soap
Supplies needed:
- 12 Cavity Rectangle Silicone Mold
- Isopropyl Alcohol (99%)
- Infrared Thermometer
- Microwave Safe Measuring Cup or Bowl
- Measuring Spoons
Directions:
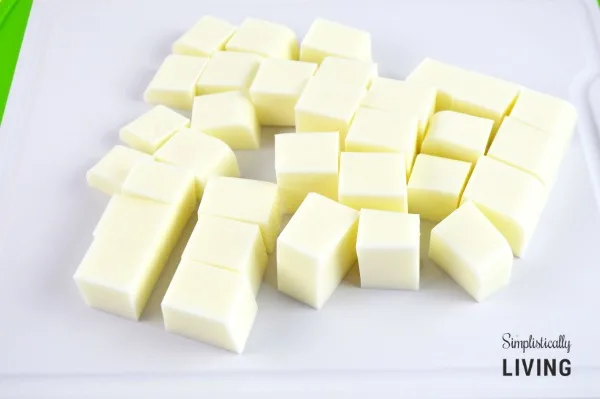
- Start by cutting your goat milk melt and pour base into small cubes. This makes the soap easier to melt.
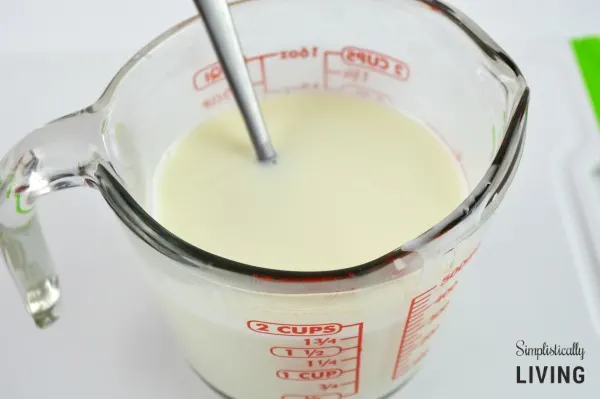
- Place into your microwave safe cup or bowl and cook on high for 30 seconds. Remove from microwave, stir then cook for another 30 seconds. Repeat process until all the soap is melted (about 1.5 minutes).
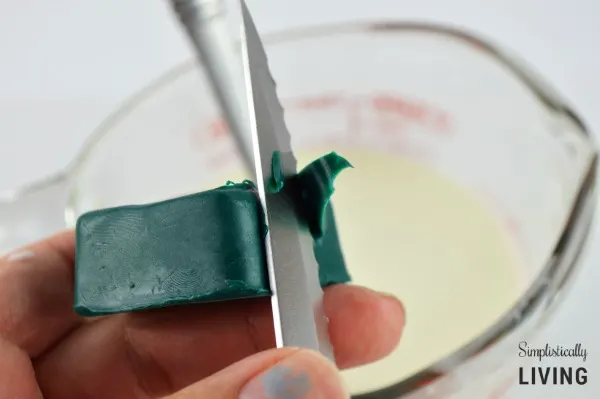
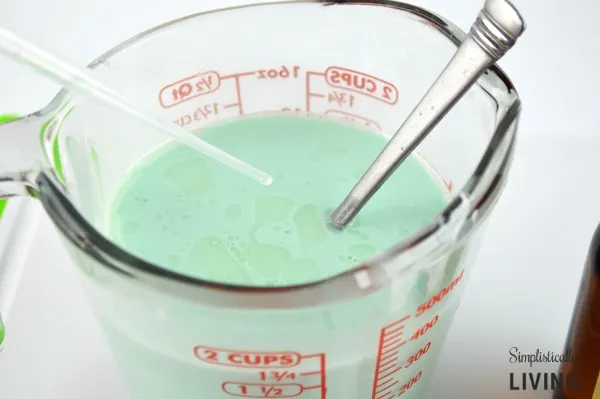
- Use a sharp knife to cut off small pieces of the green chrome oxide colorant. Stir until well blended. You can add more until you reach your desired shade of green.
- Add 6-10 drops of Energy fragrance oil and stir well.
- Pour the soap mixture into your mold filling each cavity half way. Remember you want to leave enough room for the second layer.
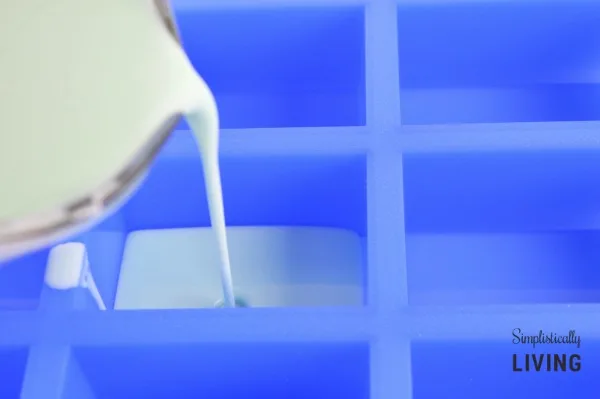
- Spritz the top of the soap with the rubbing alcohol liberally. This will remove any air bubbles.
- While you wait for the first layer to harden you can start preparing your second layer. Cut and melt the hemp soap base the same way you did with the goat milk base.
- Add 1 teaspoon of shredded loofah and 1 teaspoon of strawberry seeds to the melted hemp soap base. Stir well. Note: The more you stir the more the soap will cool down allowing the loofah and strawberry seeds to be evenly mixed throughout the soap. You want this to cool down to below 130 degrees F before pouring it onto the first layer. You can use your infrared thermometer to check the temperature.
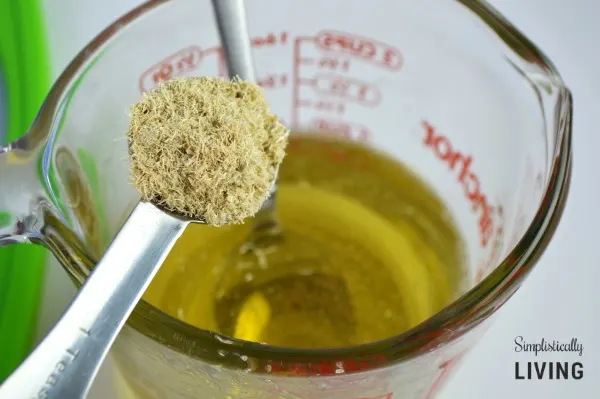
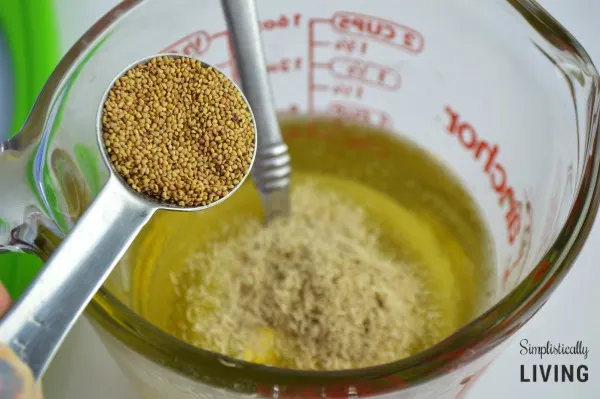
- Spray the first layer of soap again with the rubbing alcohol (this allows the layers to adhere together).
- Pour the hemp soap base onto the first layer filling the cavities completely.
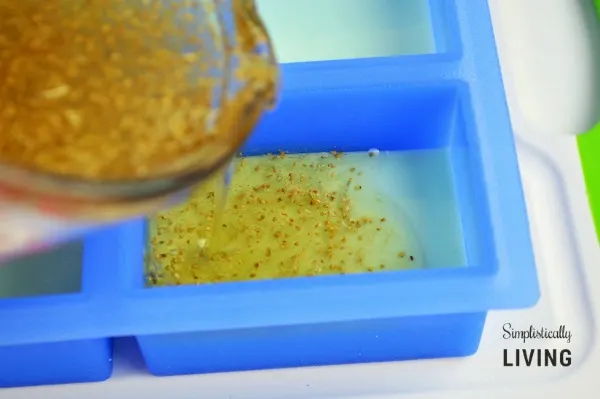
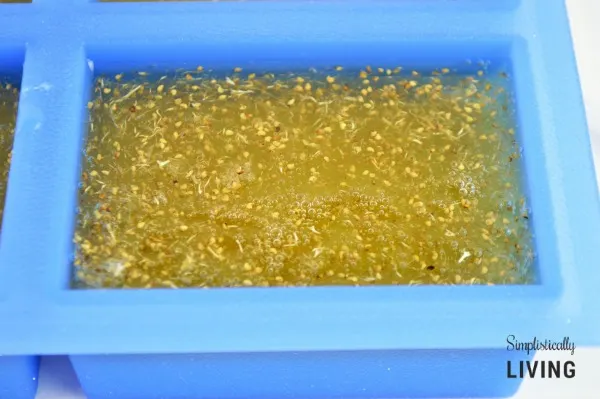
- Spray the top again with rubbing alcohol to remove any bubbles that may have formed.
- Allow the soap to harden in the mold for at least 4 hours before attempting to remove. I allowed mine to sit overnight.
- Gently flip over the mold and pull away at the sides allow the soap to loosen from the mold.
- Use your soap immediately or wrap in plastic wrap for future use. Remember melt and pour soap must always be covered and stored in a dry place when not in use.
 Disclosure: I was sent products to facilitate this post. The thoughts and opinions expressed remain my own.
101 Mothers Day Gifts and Craft Ideas to DIY This Weekend ⋆ DIY Crafts
Saturday 29th of May 2021
[…] Make also custom garden soaps for a garden loving mom and just mix your favorite scents and ingredients to make the soaps! Here the self made sofa have been put together and then have been given a handome twine wrap for a beautiful gift look! Complete soap recipe here simplisticallyliving […]
90 Soap Recipes for all of your Bathing Needs | Ariana Dagan
Monday 1st of March 2021
[…] HOMEMADE GARDENER’S SOAP RECIPES | SIMPLISTICALLY LIVING […]
DIY Mother’s Day Personalized Watering Can
Thursday 7th of April 2016
[…] Homemade Gardener’s Soap […]
DIY Toilet Fizz Bombs - A Spark of Creativity
Tuesday 23rd of June 2015
[…] check out this Homemade Gardener’s Soap from Brittanie over at Simplistically […]
Laura Muir
Thursday 14th of May 2015
That soap turned out so cute! I have always wanted to make my own soap. Cool idea! Here's a question... Do you just put it in a Tupperware or something on your bathroom counter? How do you keep it covered and in a dry place, when every time you use it it gets all wet.?
Thanks for sharing! -Laura Fresh & Happy
Brittanie
Thursday 14th of May 2015
Hi Laura, Thanks so much for the kind comment! So if you are using the soap it's fine to leave it out. I suggest placing it a dish that allows it to drain and dry between uses so the bar of soap lasts longer. I just mean for the rest of the batch you make, you will want to cover it entirely in plastic wrap since the air tends to ruin melt and pour soap when it's not being used. Hope that answers your question :)