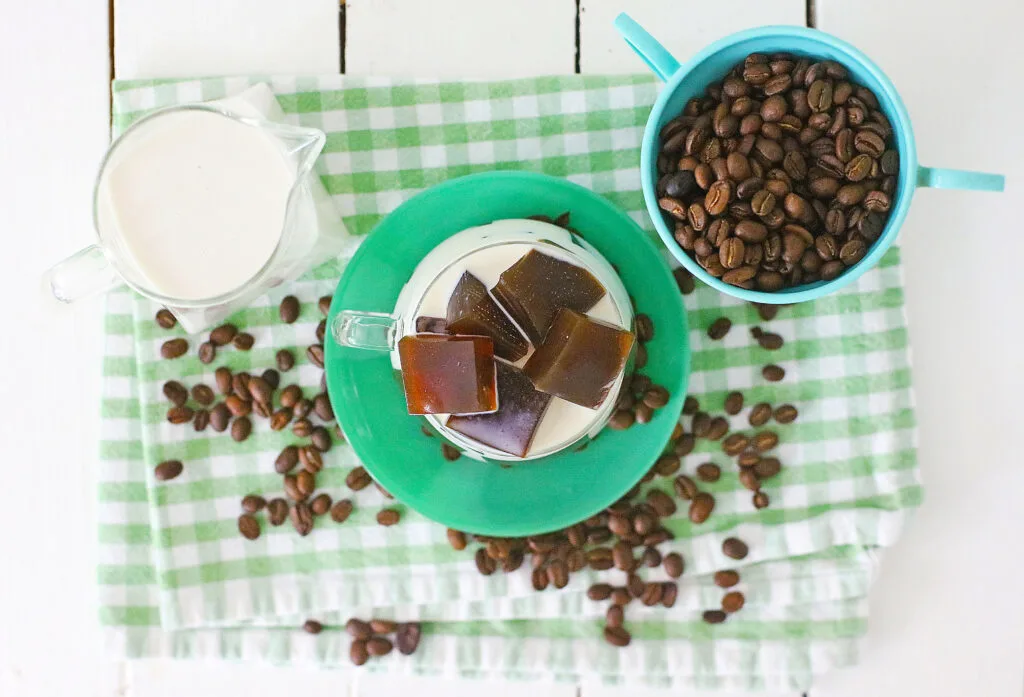
Coffee Jelly takes your traditional cup of morning coffee and turns it into a delicious dessert.

Coffee Jelly
Something you may not know about me is that I am OBSESSED with coffee. My entire day is basically ruined if I don’t have my morning cup of coffee.
With that being said, sometimes I feel adventurous and feel the need to experiment with my coffee and that is exactly what happened here…
Coffee Jellies are the cup of coffee you never knew you needed to know how to make until now. Once you realize how easy they are to make, you’ll be making them again and again.
What Is Coffee Jelly?
Coffee Jelly is a traditional Japanese dessert made from coffee and gelatin. It was first introduced in the 1960s after coffee was introduced by westerners to the Japanese.
How Do You Store Coffee Jelly?
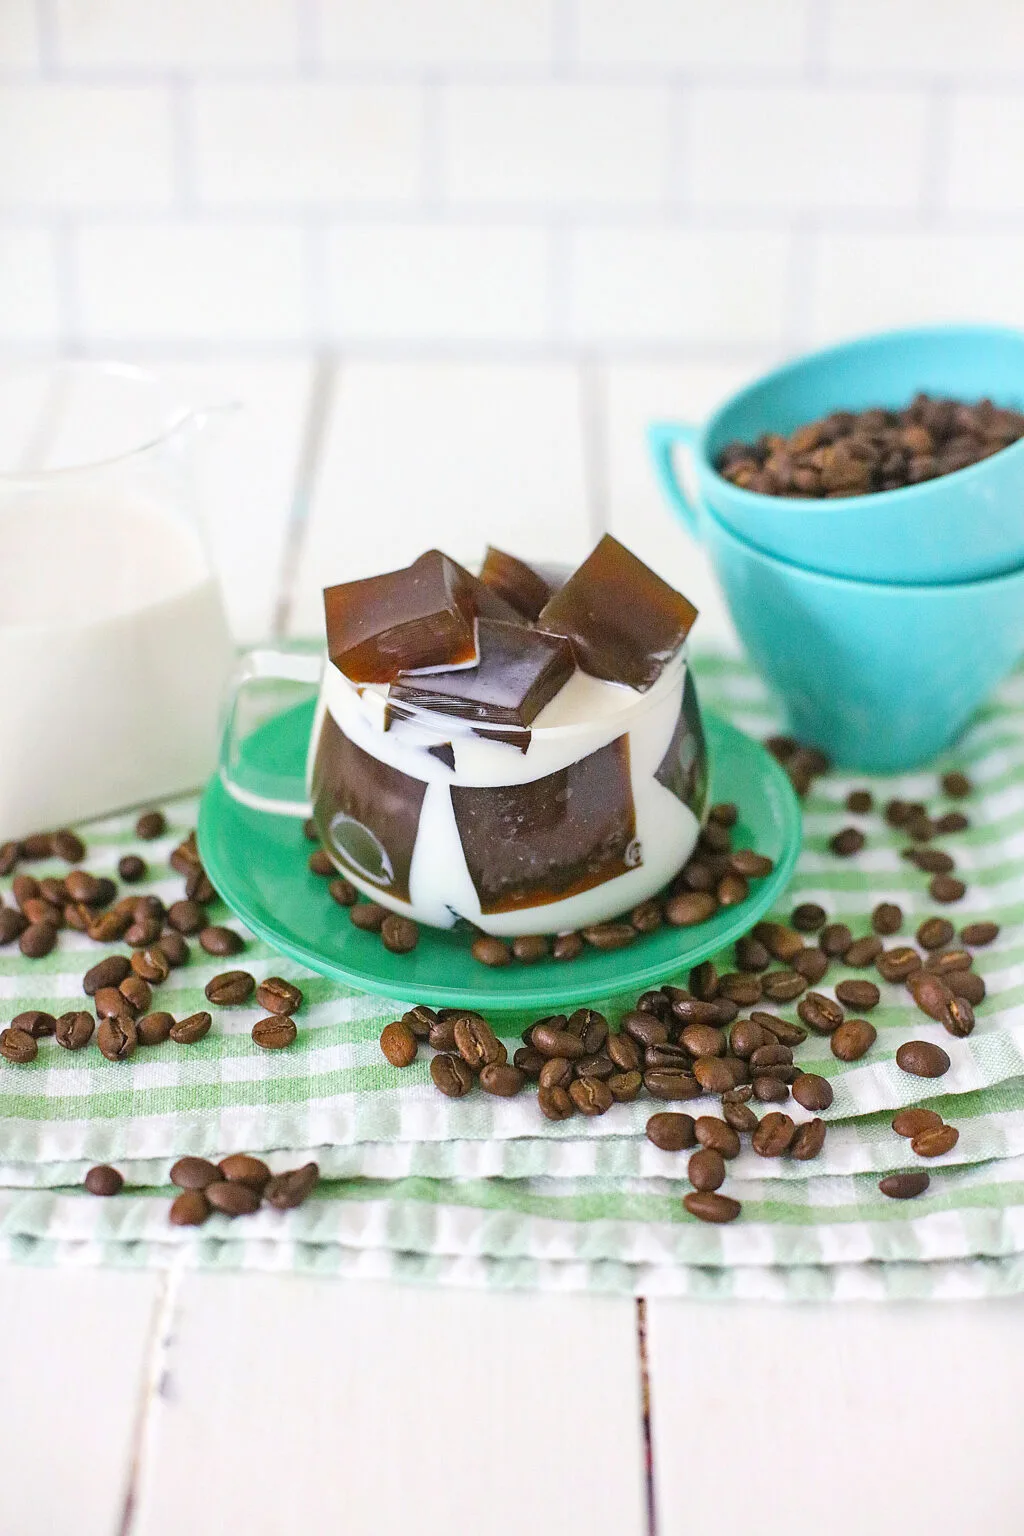
Coffee Jelly should be stored in an airtight container in the refrigerator.
How long does coffee jelly last in the fridge?
Coffee Jelly lasts about 2-3 days in the fridge. Beyond that point, it may began getting slimy and losing it’s gelatin texture. While it’s still safe to consume, it may not be appetizing.
What are the benefits of Coffee Jelly?
When coffee and gelatin are combined, they can help you speed up your metabolism, reduce inflammation in your muscle tissue and even boost your mood.
Easy Coffee Jelly Recipe
You will need:
- 1 Package of Unflavored Gelatin (Knox Gelatin)
- 3 cups of warm water
- 3 Tablespoons of Instant Coffee
- 3/4 cup of Sugar
- 1 teaspoon of Torani White Chocolate Syrup
How to Make Coffee Jelly
In a small dish, add the warm water, and sprinkle the Gelatin over the water, and stir well, until Gelatin is dissolved. Allow to sit for about 20 minutes, until the Gelatin absorbs all the water – this is called ‘blooming’ the Gelatin.
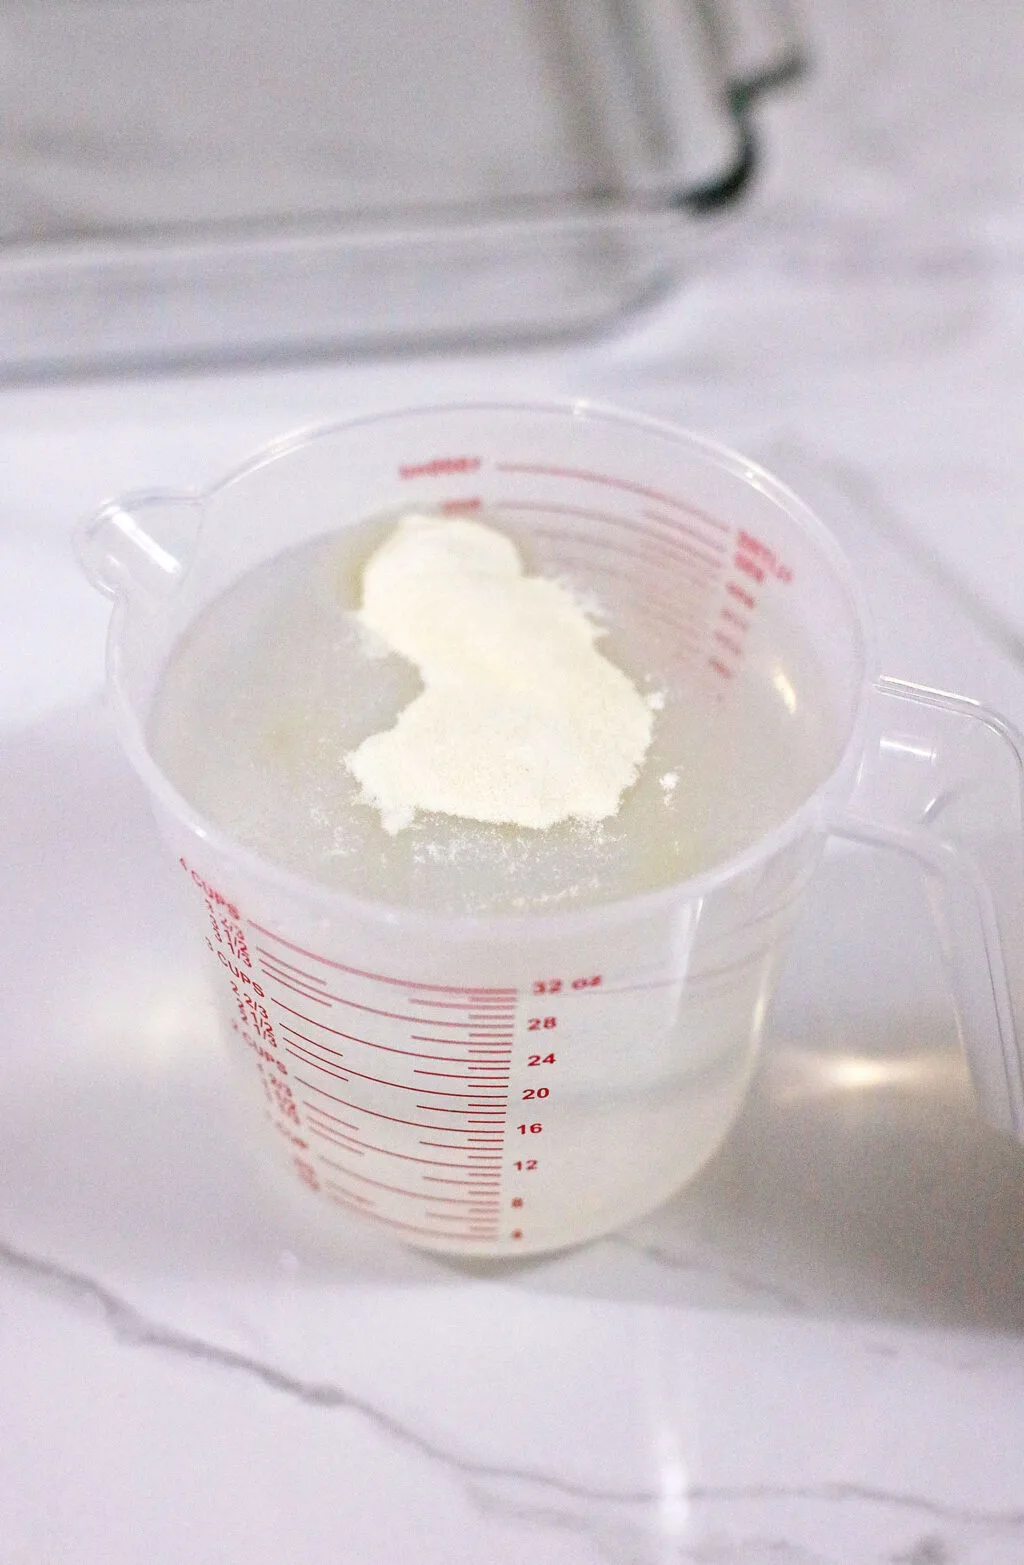
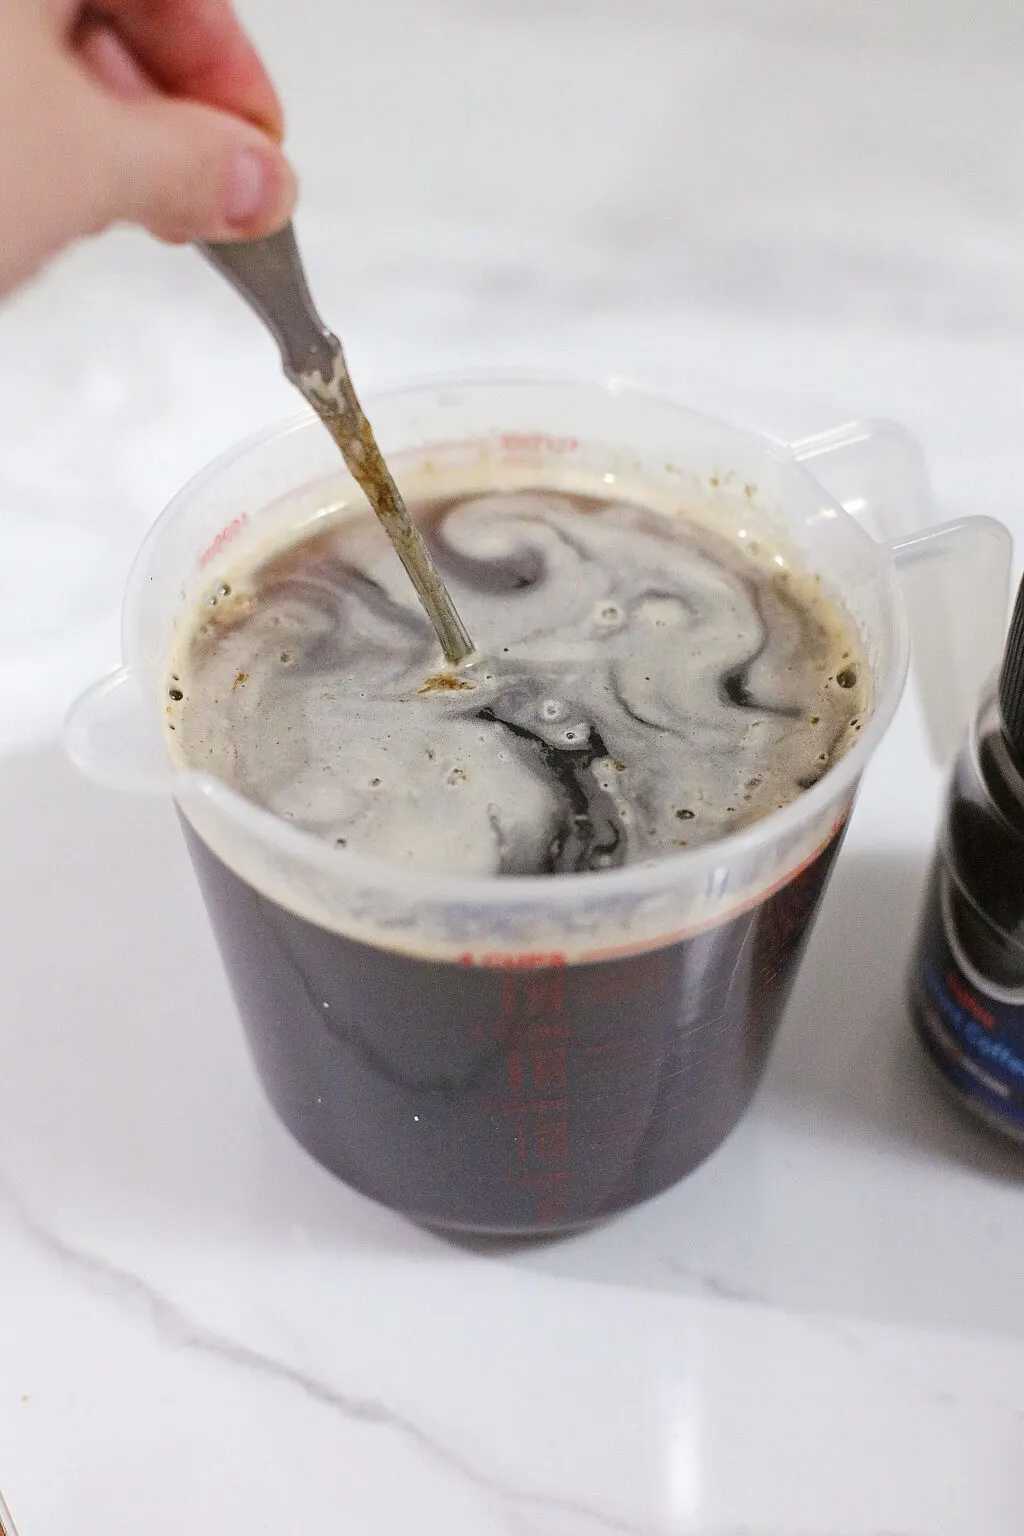
After the 20 minutes are up, add the Sugar, and Instant Coffee powder, and stir until dissolved.
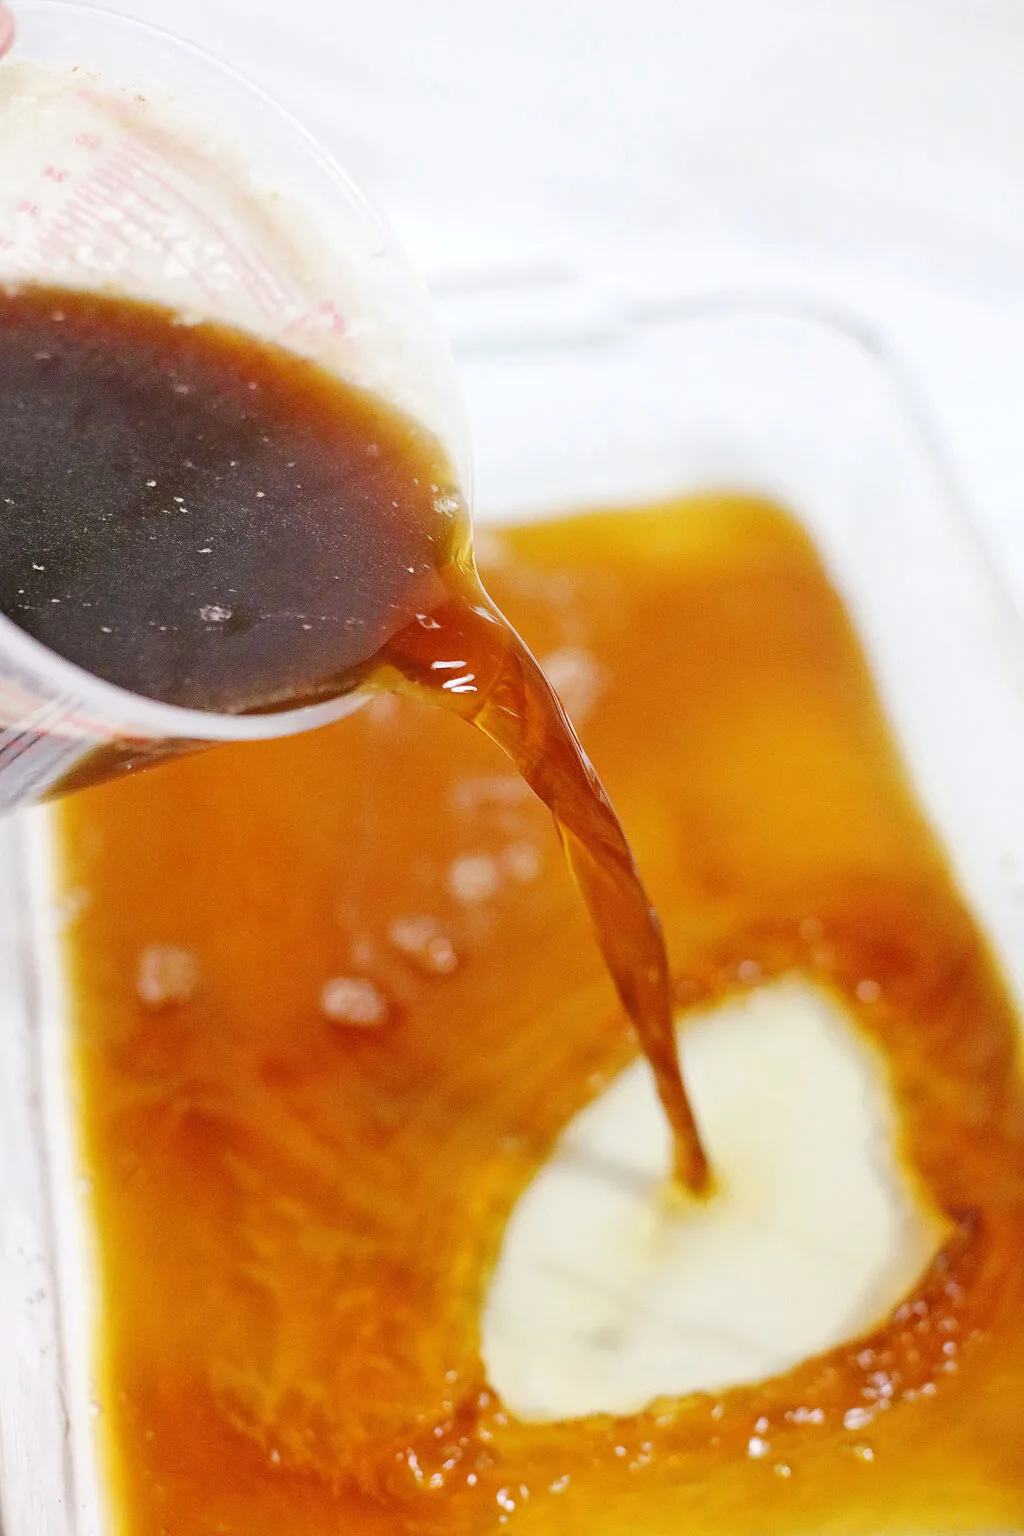
Pour the Gelatin – Coffee mixture into a 9 X 11 dish, and place in the refrigerator until the Gelatin is set (about 2 hours).
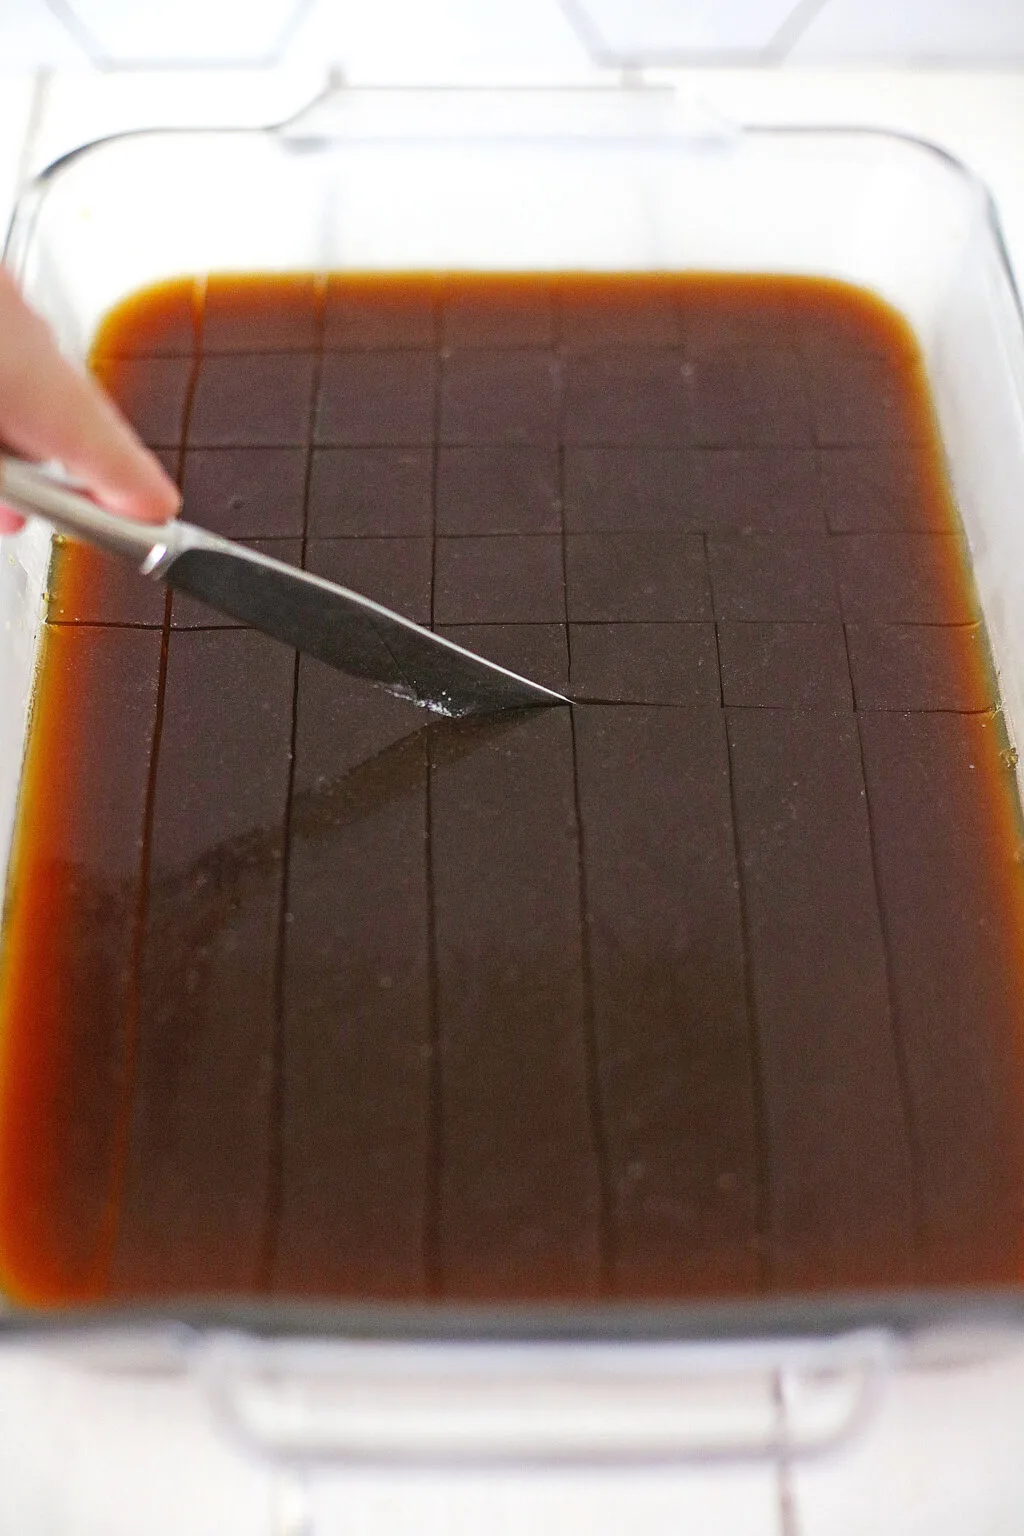
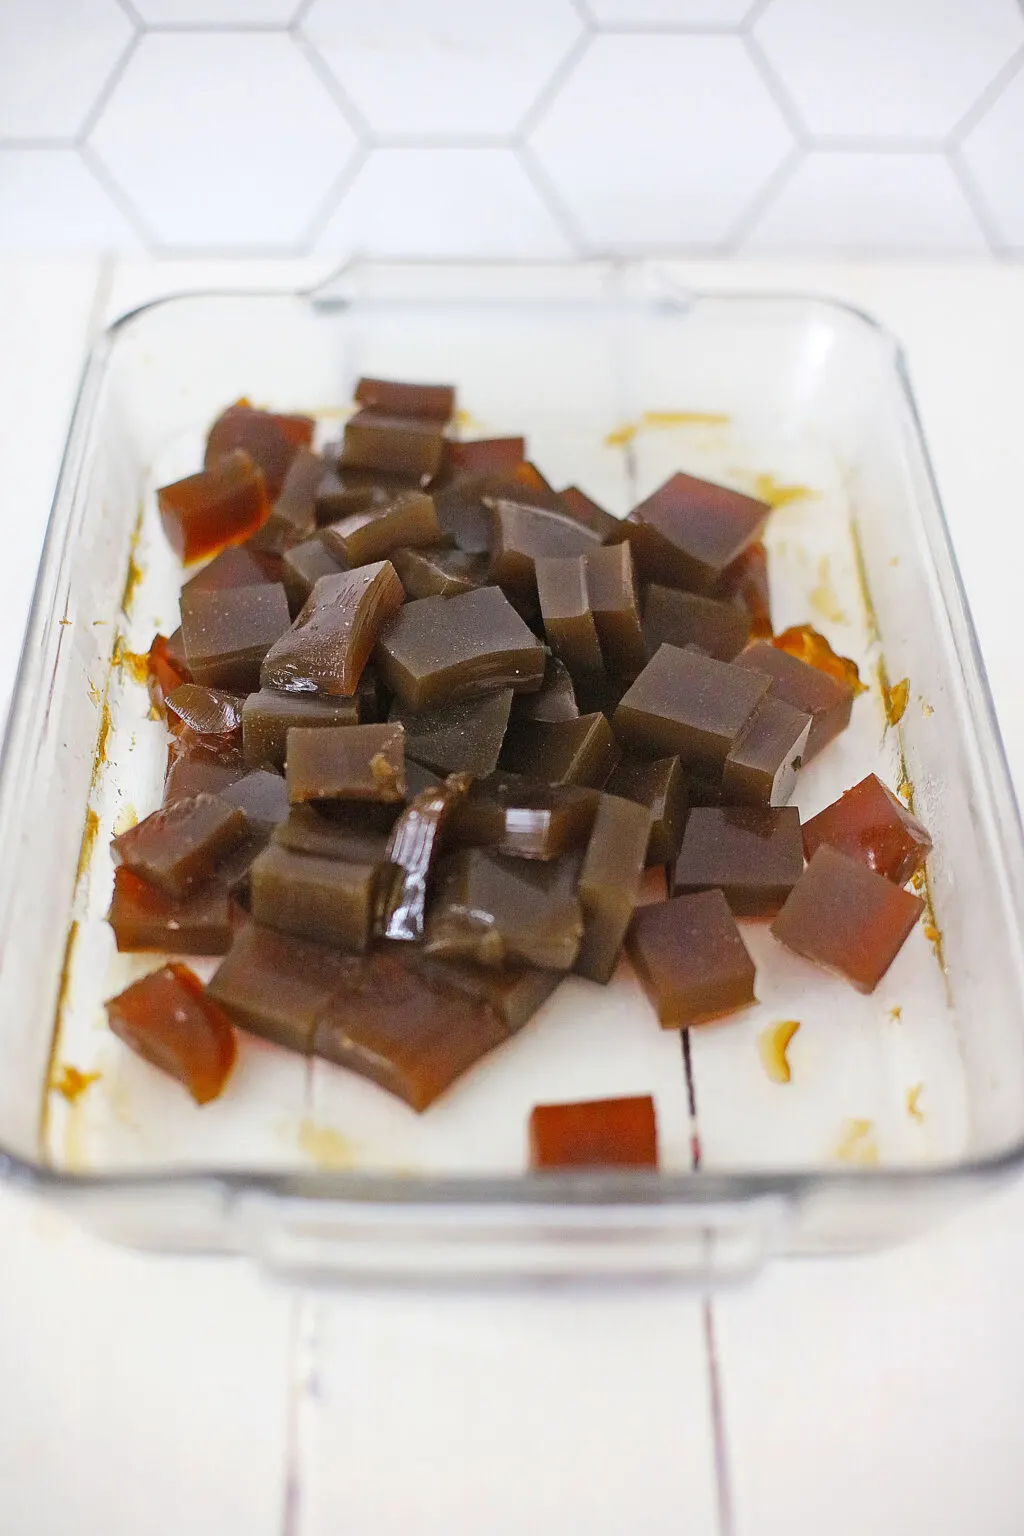
Once the Gelatin is set, or firm to the touch (like Jello) Cut the Gelatin into small cubes, using a butter knife.
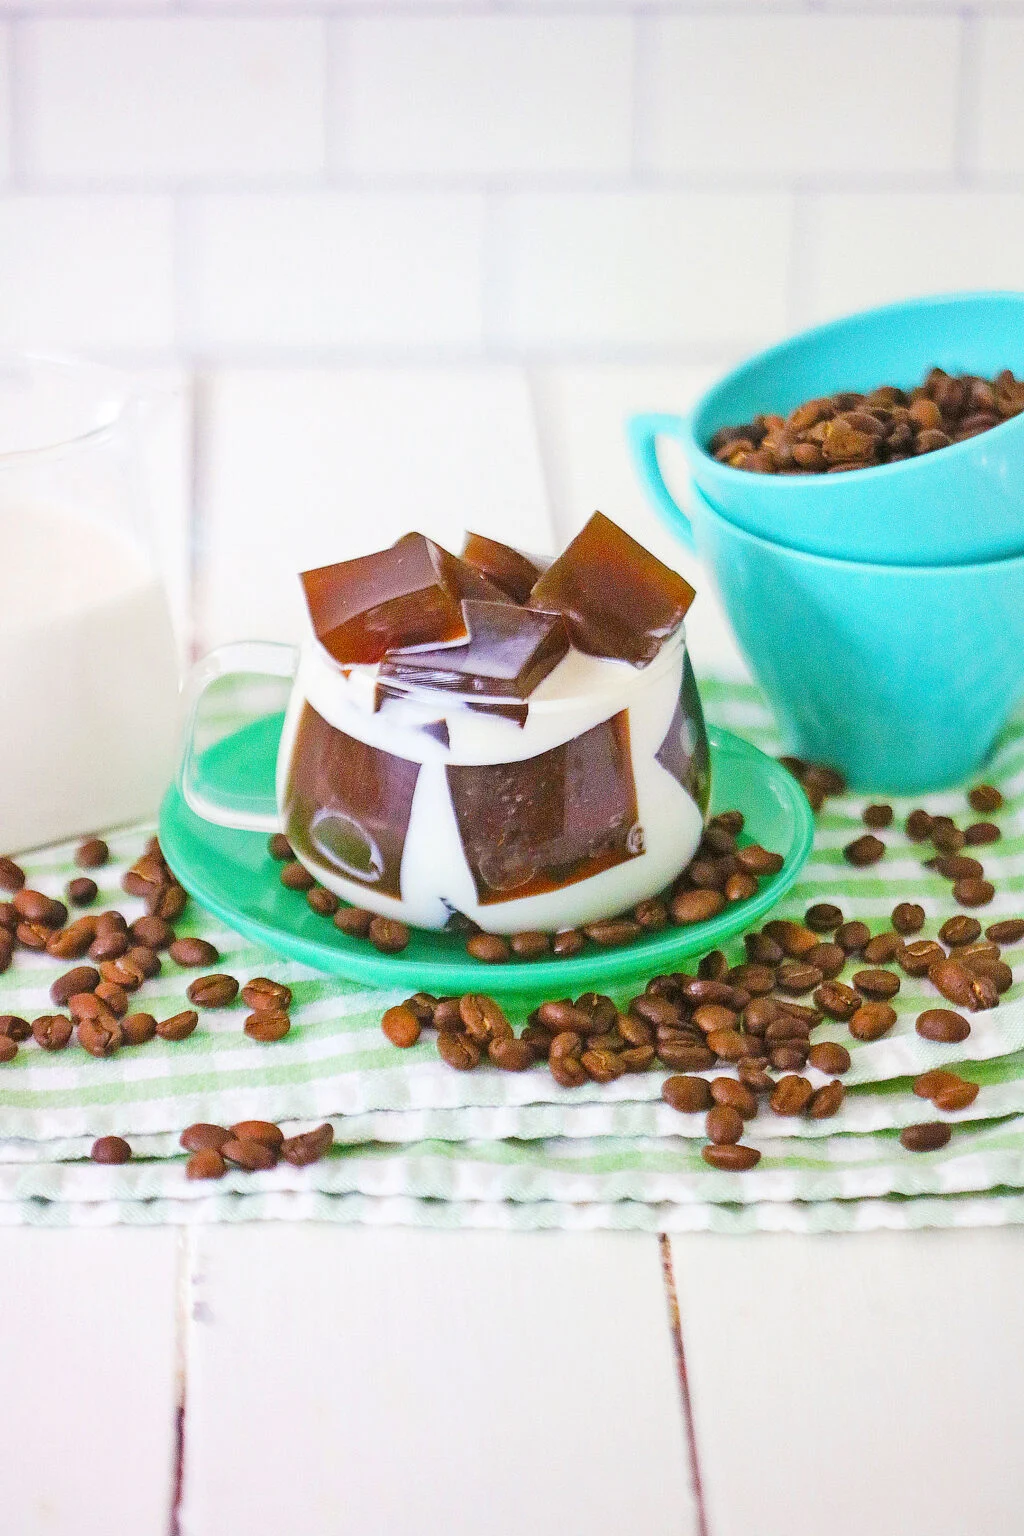
Fill an 8 ounce glass half full of the Coffee Jellies cubes, and pour Warm Milk over the top.
Add the White Chocolate Syrup, stir until dissolved.

Serve, and Enjoy!
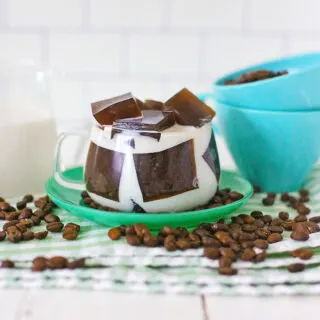
Coffee Jelly
Ingredients
- 1 Package of Unflavored Gelatin Knox Gelatin
- 3 cups of warm water
- 3 Tablespoons of Instant Coffee
- ¾ cup of Sugar
- 1 teaspoon of Torani White Chocolate Syrup
Instructions
- In a small dish, add the warm water, and sprinkle the Gelatin over the water, and stir well, until Gelatin is dissolved. Allow to sit for about 20 minutes, until the Gelatin absorbs all the water – this is called 'blooming' the Gelatin.
- After the 20 minutes are up, add the Sugar, and Instant Coffee powder, and stir until dissolved.
- Pour the Gelatin – Coffee mixture into a 9 X 11 dish, and place in the refrigerator until the Gelatin is set (about 2 hours).
- Once the Gelatin is set, or firm to the touch (like Jello) Cut the Gelatin into small cubes, using a butter knife.
- Fill an 8 ounce glass half full of the Coffee Jellies cubes, and pour Warm Milk over the top.
- Add the White Chocolate Syrup, stir until dissolved.
- Serve, and Enjoy!
Nutrition information is a rough estimate only; actual values will vary based on the exact ingredients used and amount of recipe prepared.
