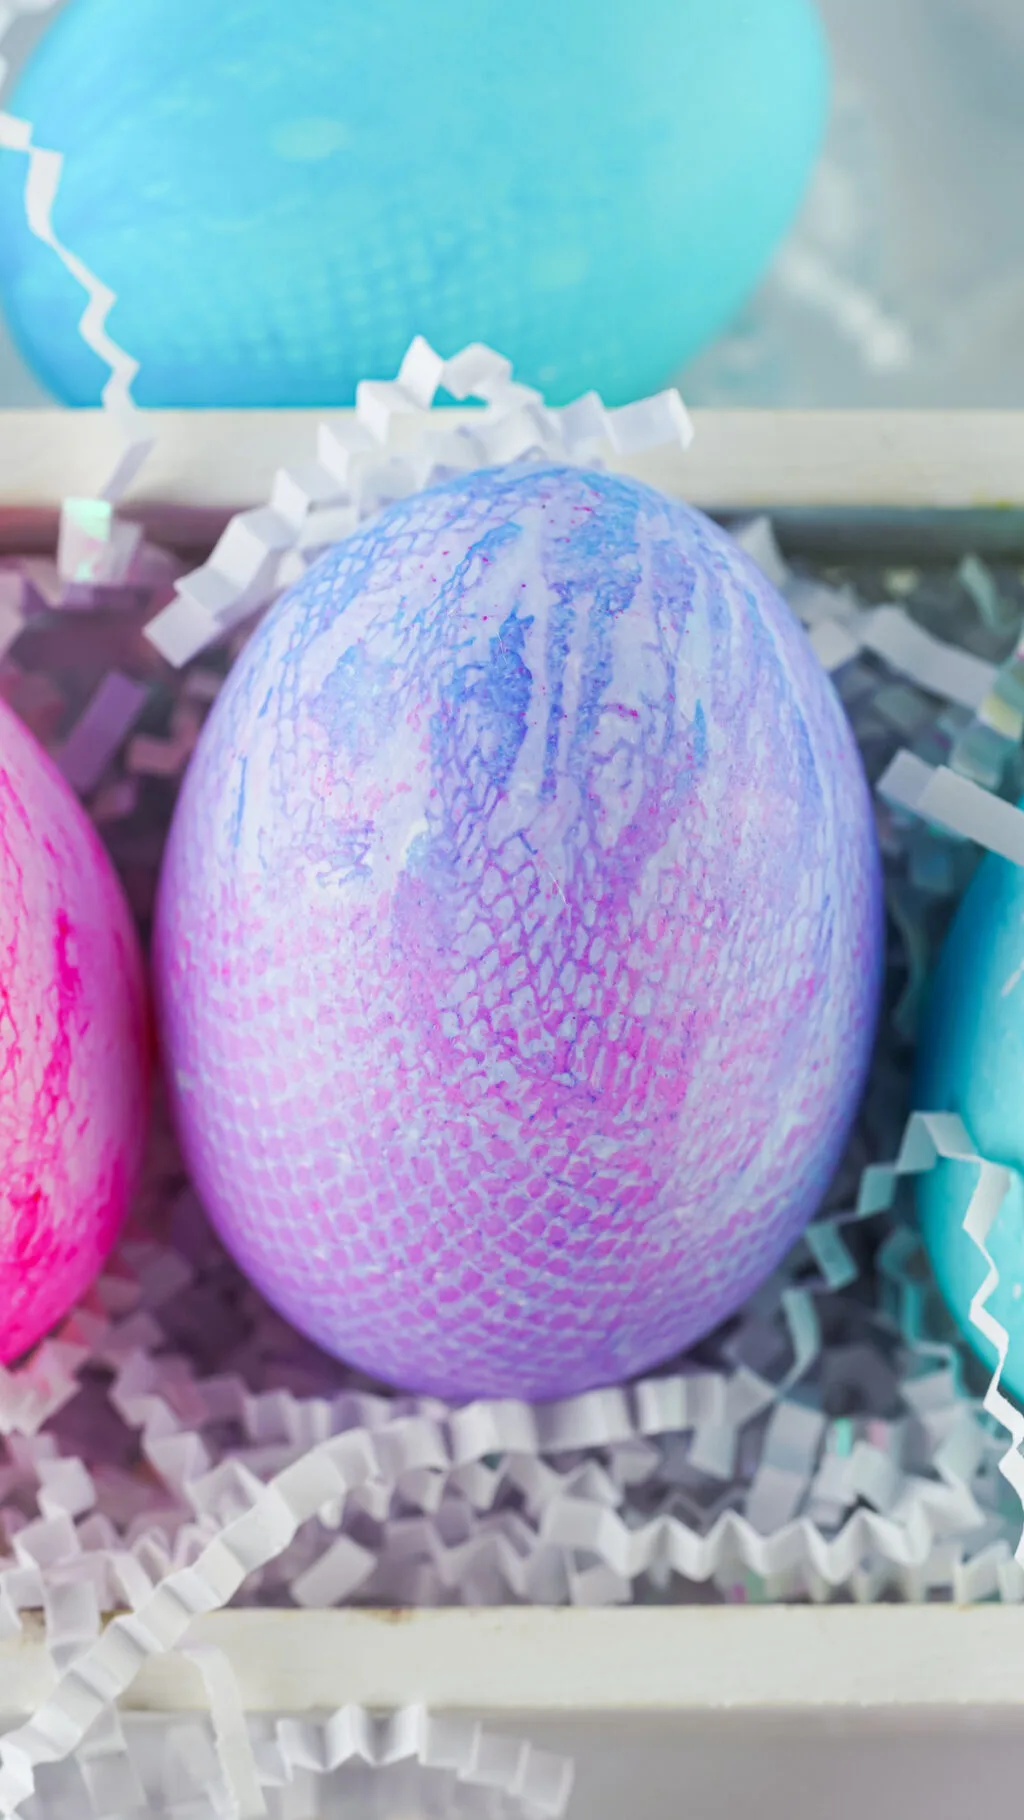
Welcome to the ultimate guide on How to Dye Easter Eggs with Fabric! If you’re looking for a fun and creative way to decorate your Easter eggs this year, then look no further.

Using fabric to dye your Easter eggs not only results in beautifully unique patterns and designs, but it’s also a great way to reuse old scraps of fabric that you may have lying around at home.
In this comprehensive guide, we’ll walk you through everything you need to know to make fabric dyed Easter eggs, including step-by-step instructions, tips and tricks, and plenty of inspiring ideas to help you unleash your inner artist. Get ready to make this Easter one to remember with your one-of-a-kind fabric-dyed Easter eggs!
Every year we try to mix it up and try different techniques to dye Easter eggs. We especially love unique ways to dye eggs.
This year, we’ve already tried Egg Dye with Kool-Aid, Natural Yellow Egg Dye Recipe, Easter Egg Dyed Potatoes and Easter Egg Dyeing with Rice.
So, if you’re looking for one more creative Easter idea, this is so much fun and will be a huge hit with the entire family.
What You Need to Dye Easter Eggs with Fabric
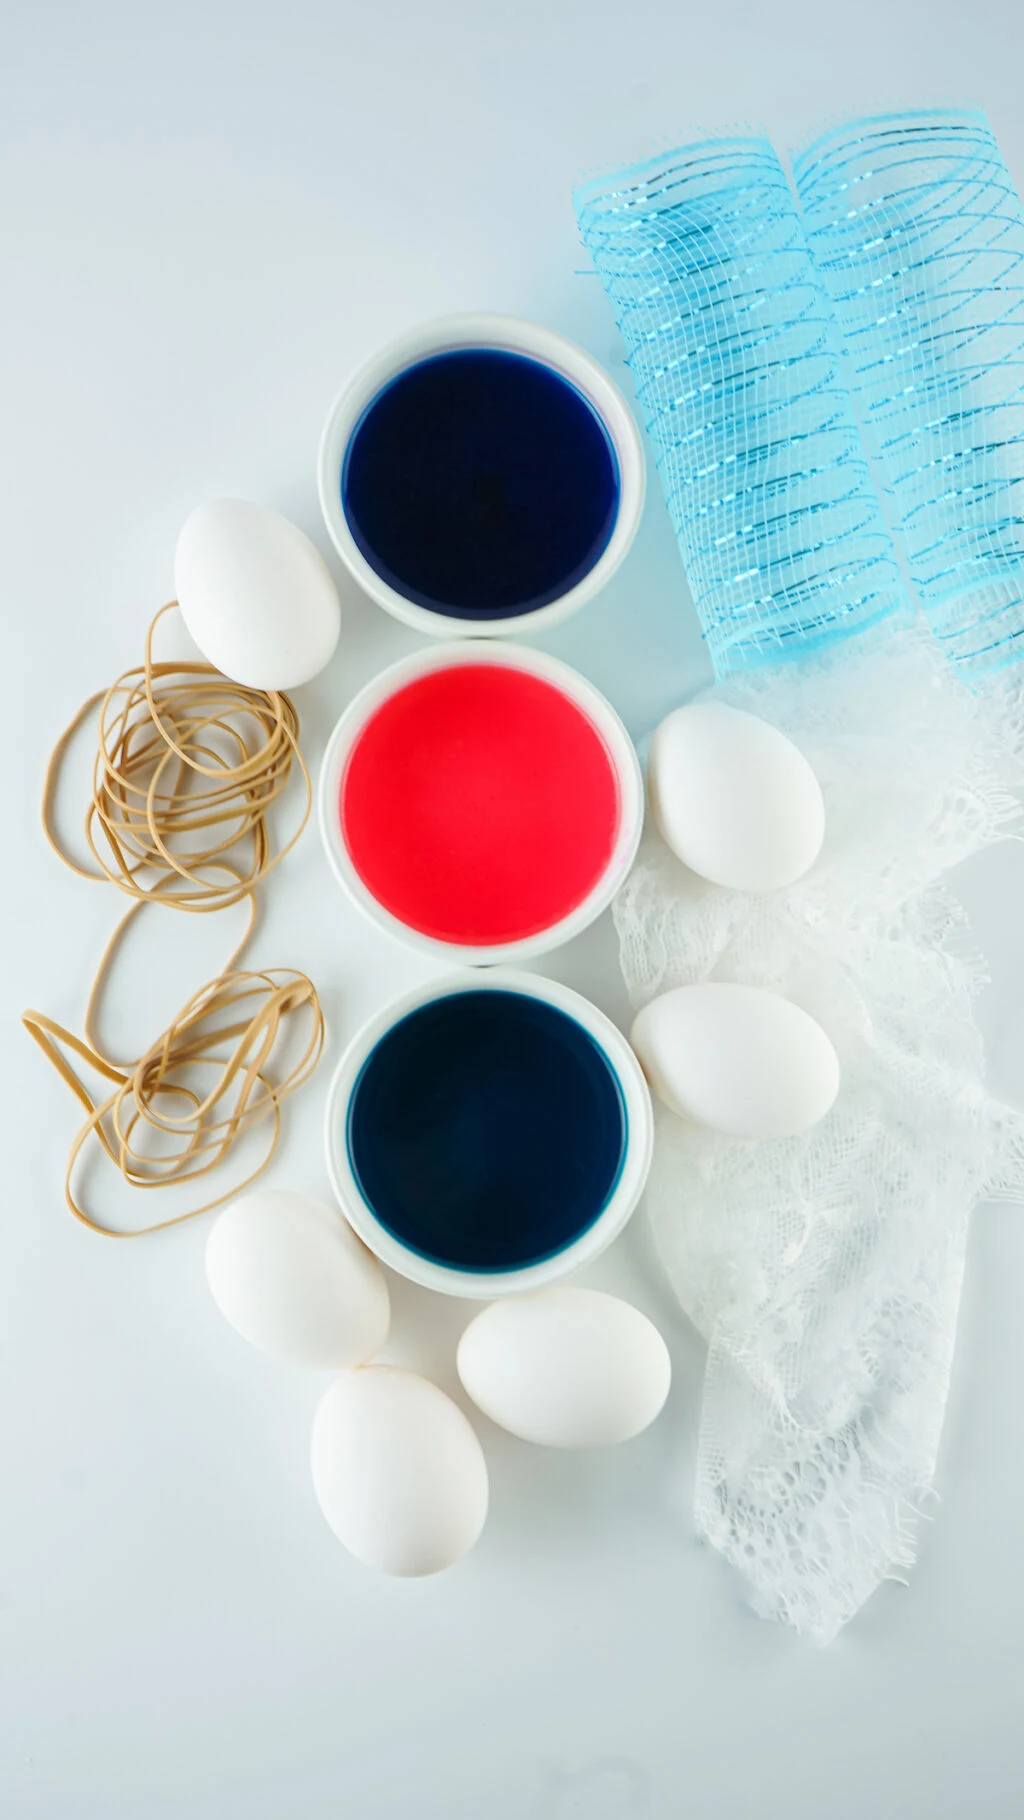
- 6×10-inch Textured Fabric Pieces (lace, burlap, netting, poly mesh ribbon or any scrap fabric you have)
- Hard-Boiled Eggs (dozen eggs)
- Egg Dye (any kind of dye you like)
- Rubber Bands
- Paper Towels
- Scissors
- Food Safe Gloves (optional)
Frequently Asked Questions
Can you eat eggs dyed with fabric?
As long as the fabric you are using is not dyed, it should be safe for you to eat the eggs. If you are worried, you can try this method on those plastic white easter eggs instead. If the fabric you are using is colored, it wouldn’t be safe to consume the hardboiled eggs unless you know for sure the ink used to dye the fabric is non-toxic. Using lace, burlap, netting, etc. should be entirely safe to consume the eggs after.
What kind of food coloring should I use?
You can use gel based food coloring or regular food coloring which is likely already what you have on hand at home. I do prefer gel food coloring as I find it gives a more vibrant color. You can also use natural ingredients for dye or dye tablets.
Can I use brown eggs?
Yes! You can certainly use brown eggs but keep in mind that the color won’t be as vibrant and will in some cases, be darker. White eggs tend to work best.
How do I store the eggs dyed with fabric?
When you are done coloring the eggs, you can place them inside an egg carton and allow them to dry. You can then place them inside the fridge until you are ready to eat them.
Can little kids help make these?
Certainly! Just keep in mind, this can be messy so cover surfaces (unless you are doing it on a stain resistant surface) using an old sheet, paper towels or newspaper. Also, wear old clothing and perhaps have them wear gloves to make clean up easy.
Things to Note:
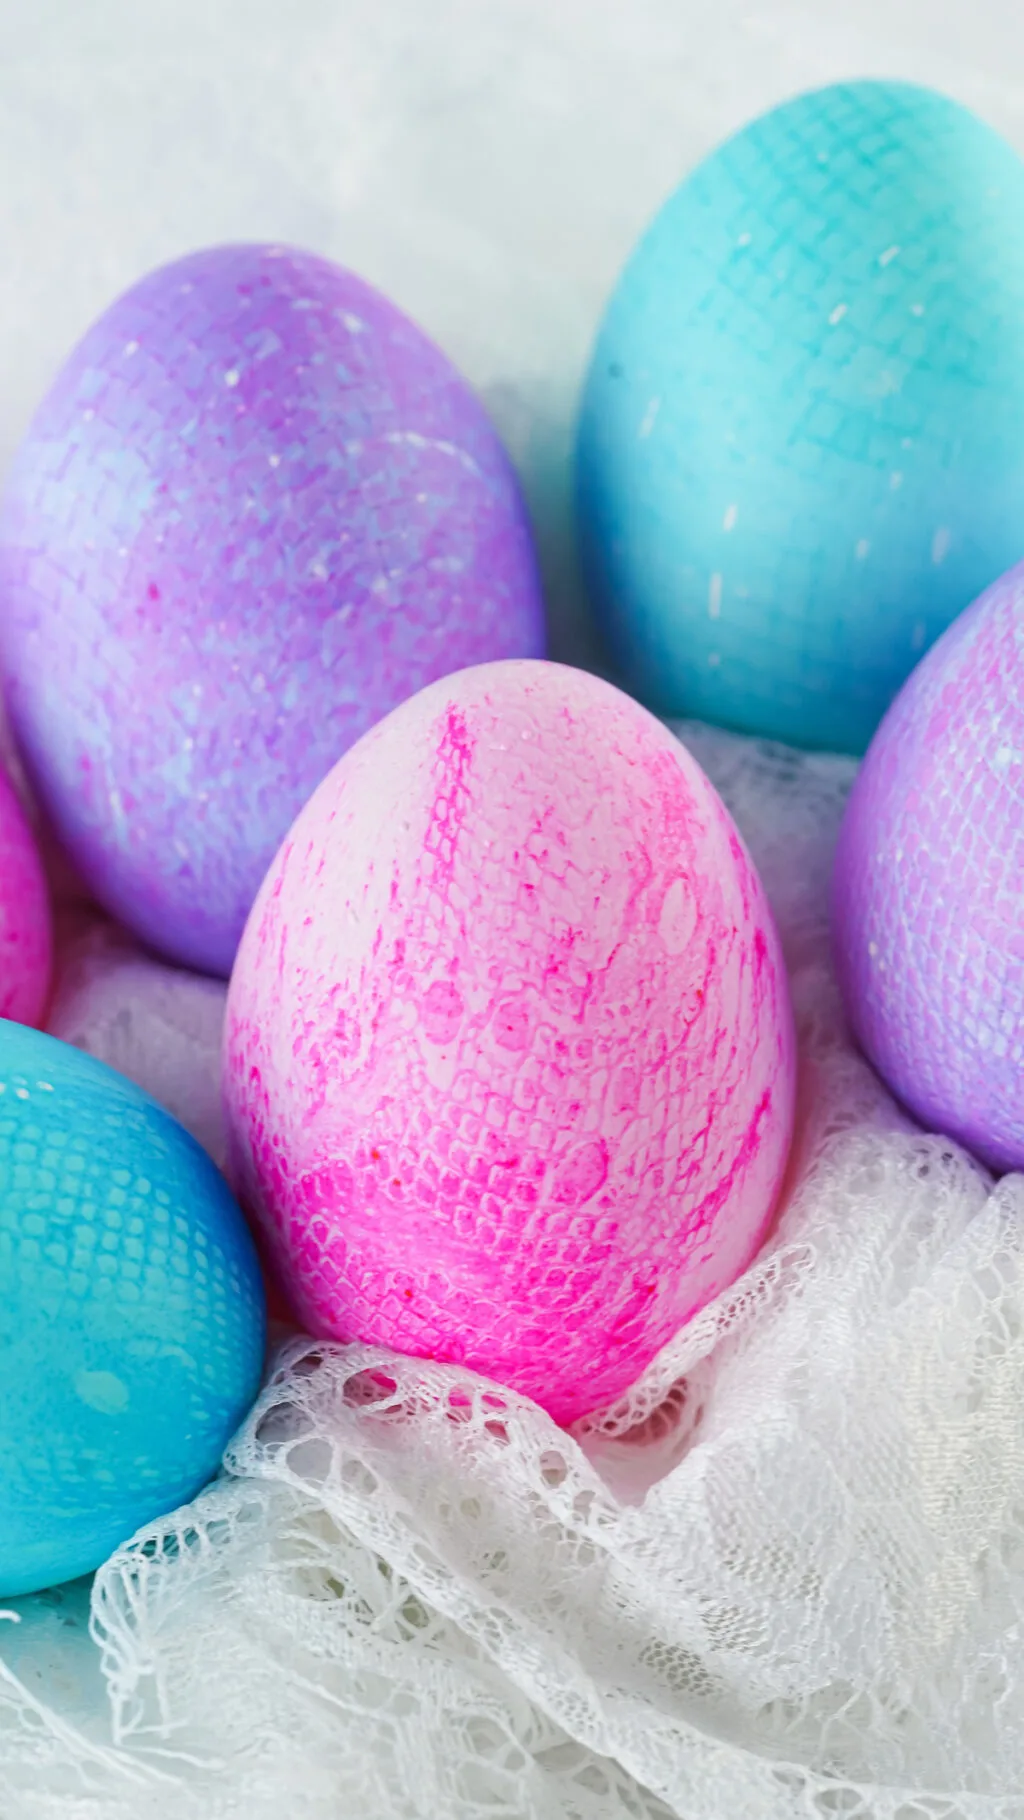
- I used a thick lace, which actually was a cheap table runner from Amazon. It worked great, ha! I also used poly mesh ribbon from the dollar store and it ended up being my favorite. Honestly any material that has a texture to it, with breathing holes.
- I do not recommend really thin material as it doesn’t work as well. I tried a thinner, dantier lace and it didn’t turn out.
- You can check your local thrift store for fabrics with designs to use as well.
- Don’t use boiling water when using this method.
- You won’t be able to get the material to tightly rest against every part of the surface of the egg due to the shape, but with slight adjustments, you can get large parts of it covered. The success of the design rests on it being tight against the eggs as much as you can.
- Some of my eggs I could only put in the dye for 15 seconds because it was so potent that it would dye dark fast. If you leave it in too long, the color will saturate and fade out the designs.
- I always do a test egg to see a good time for the dye I’m working with. It’s fun to find the random materials that will work and the designs they result in.
- It’s very important to pat dry the egg as soon as it comes out and before you undress it. This helps the dye from saturating too much and preserves the design better.
- I noticed the sharper colors made better designs. For example, orange and yellow didn’t turn out at all, but bright pink, blue, and purple did really well.
- This works for brown or farm fresh eggs as well, but the color tends to turn out darker. You’ll definitely want to test these before jumping in to see how long you should leave it submerged. It varies on the farm fresh egg being used.
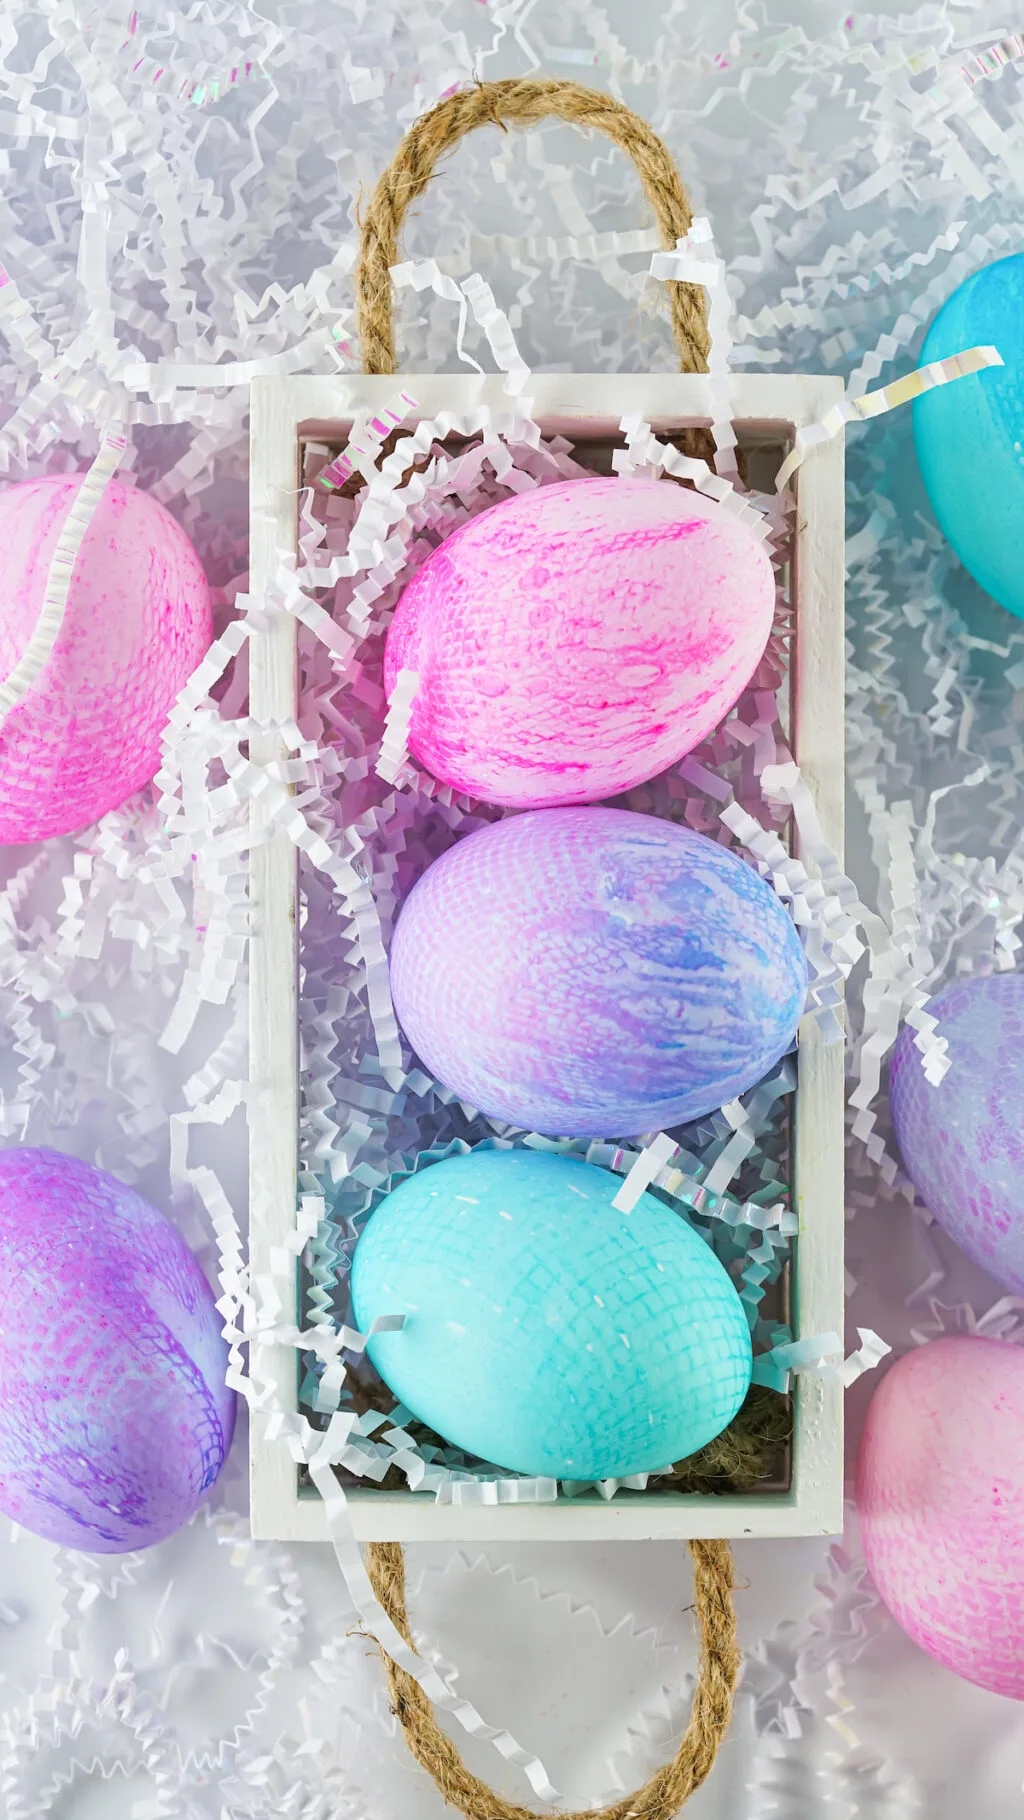
How to Dye Easter Eggs with Fabric
Prepare your egg dye. I used homemade egg dye using food coloring, which can be very potent, so keep that in mind.
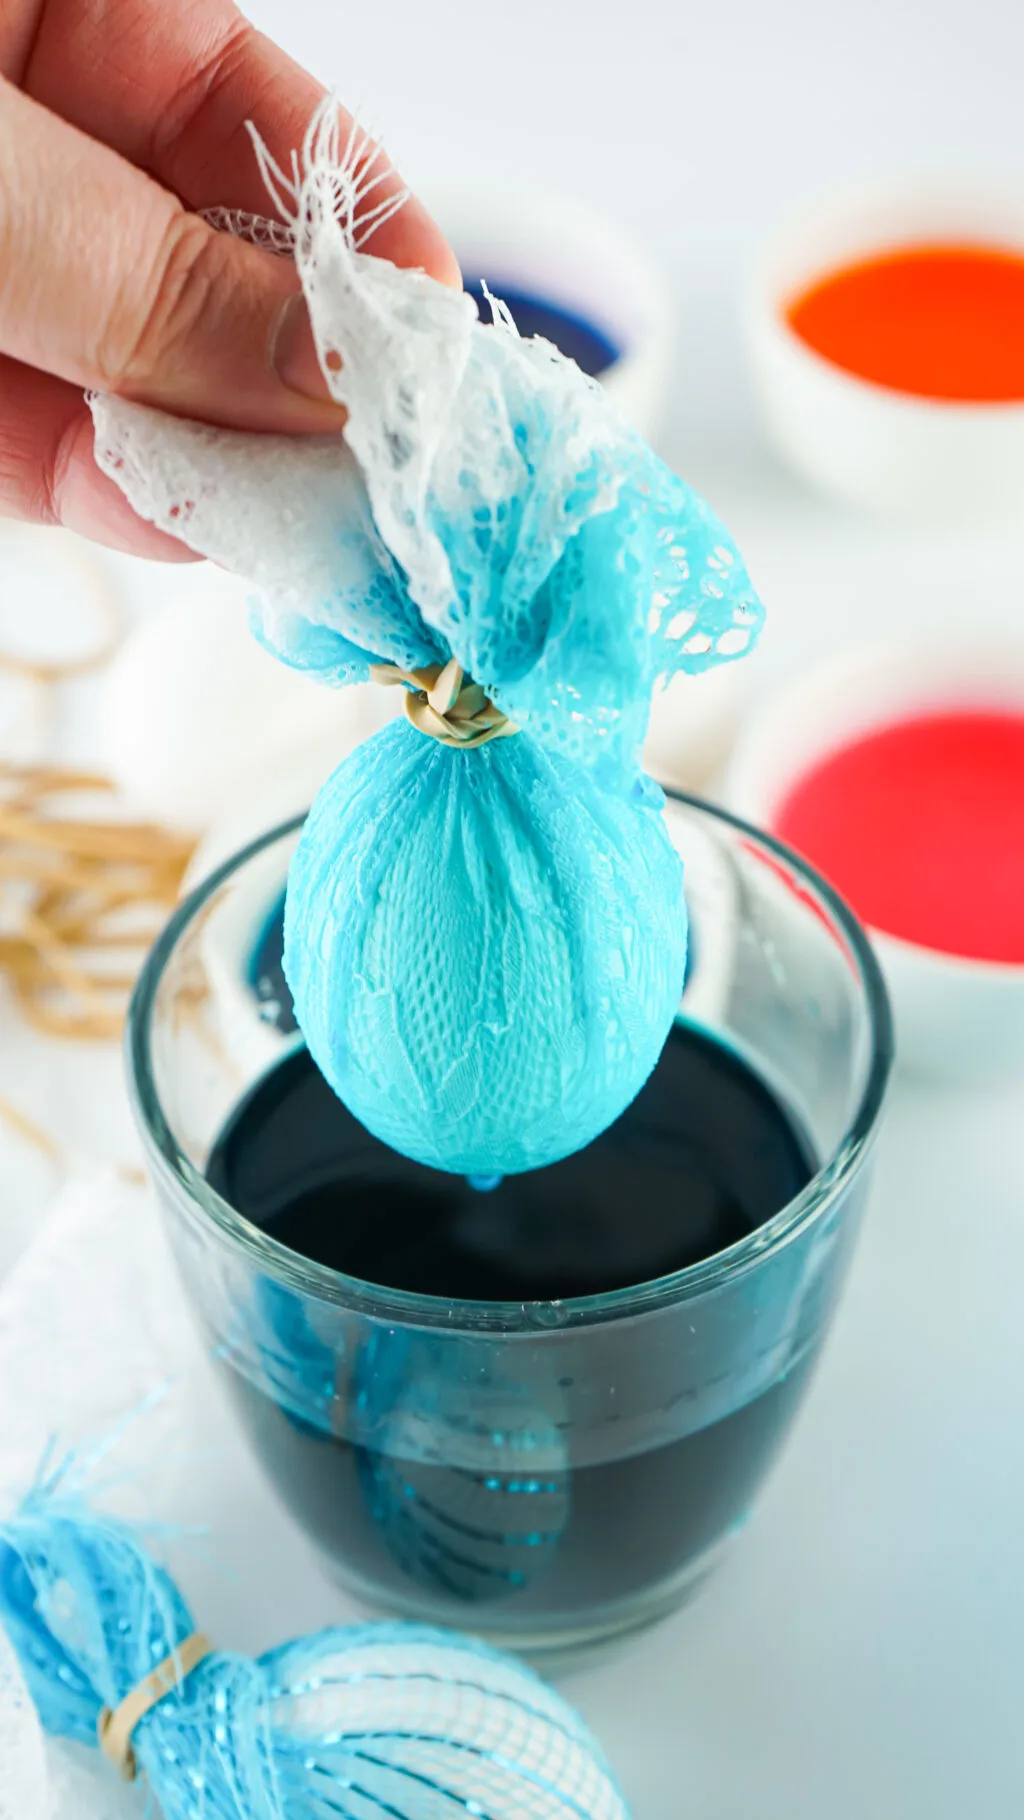
Tightly wrap a material piece around your egg and secure it at the top with the rubber band. It’s important you get the material tightly against the egg as much as possible.
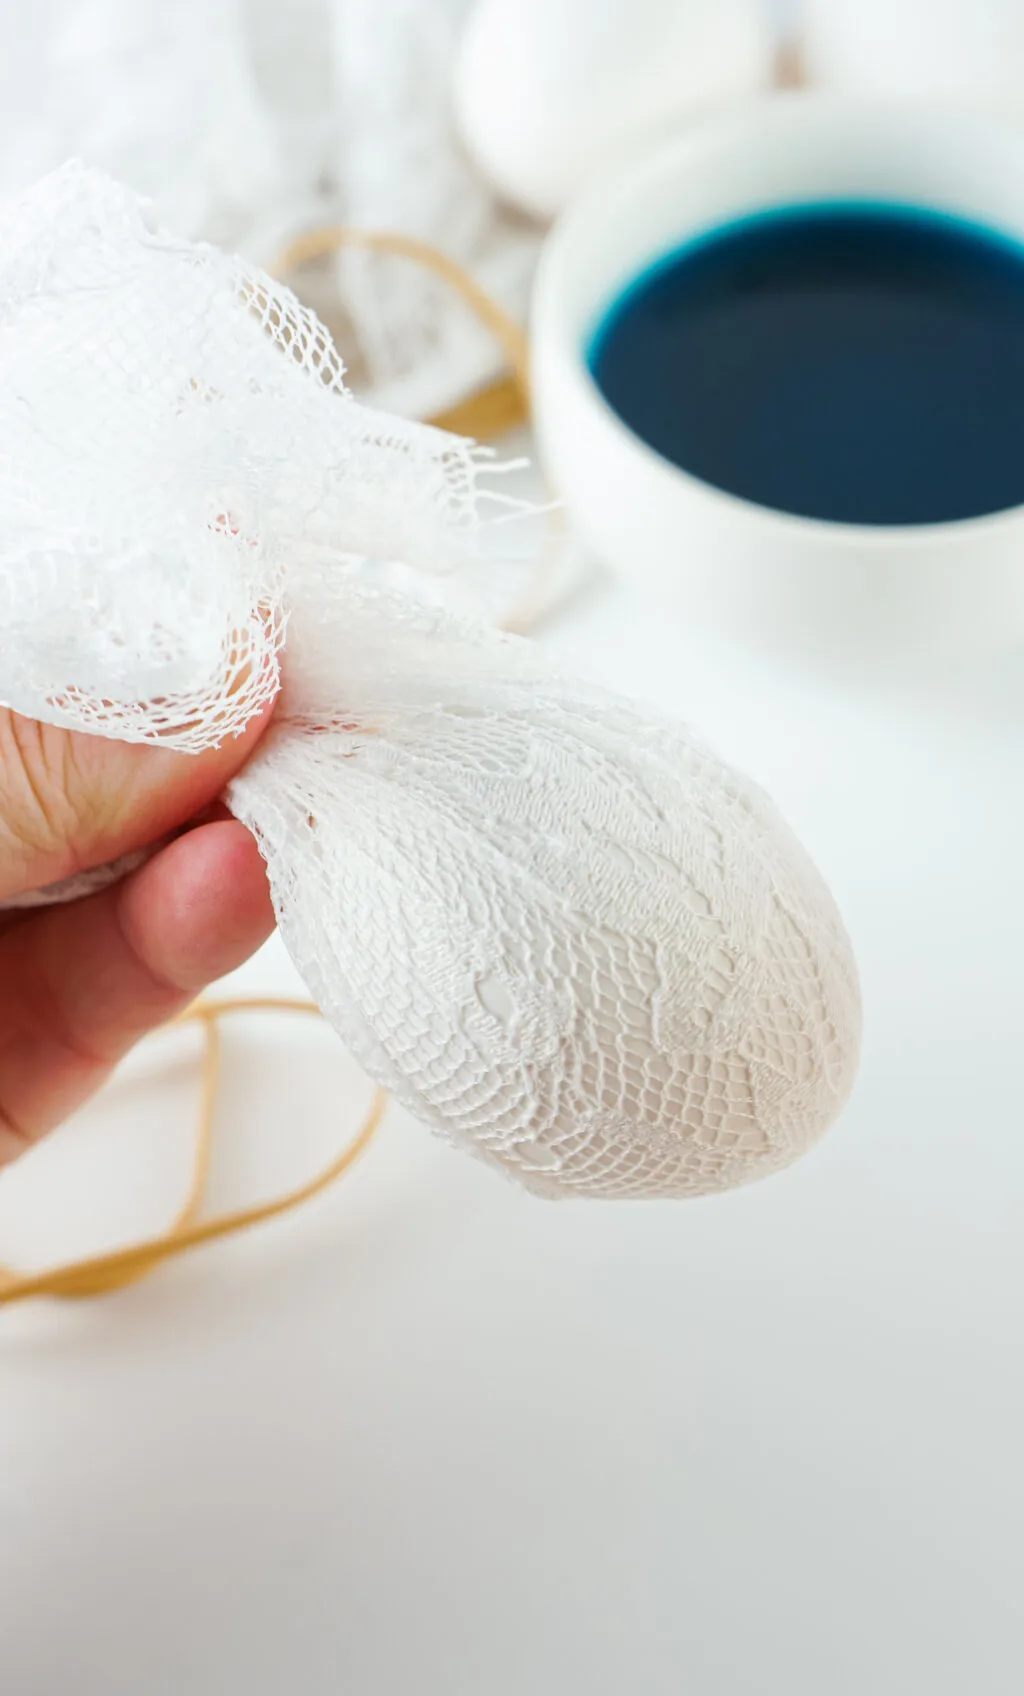
Dip the wrapped egg fully into your dye and leave for 30 seconds. It’s important you don’t leave it long. The more potent the dye, the less you’ll want to leave it in.
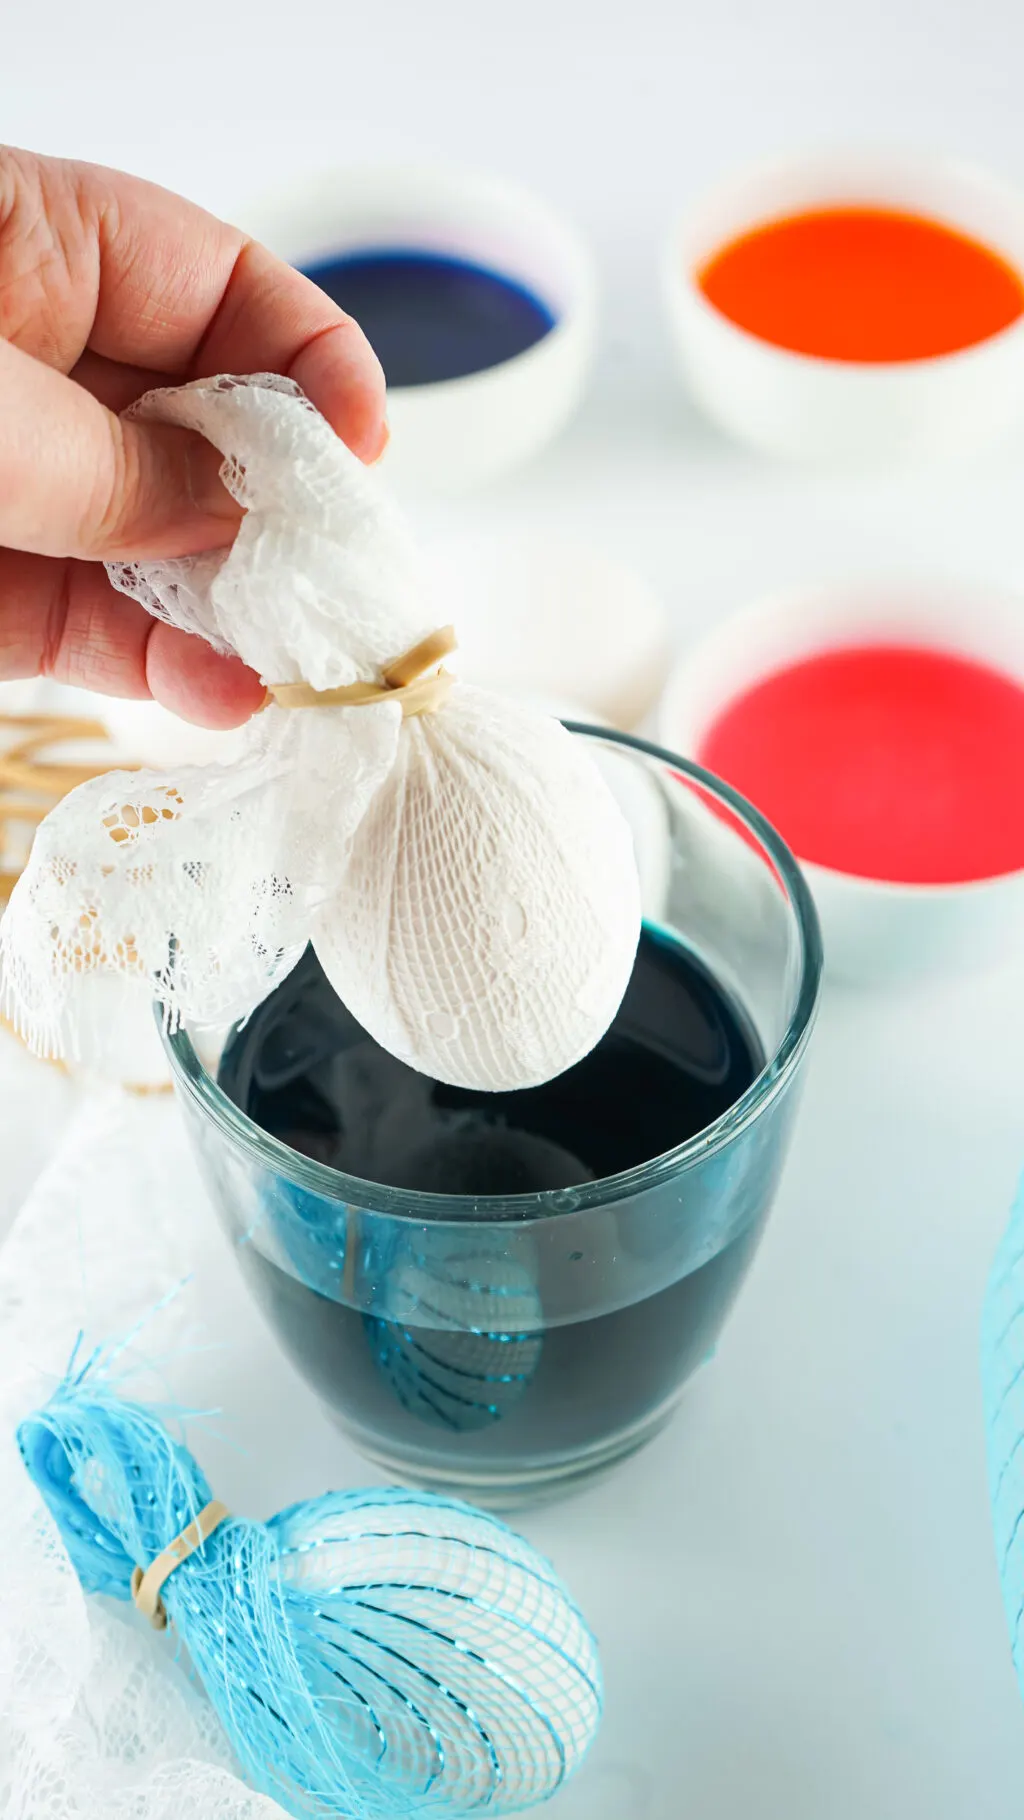
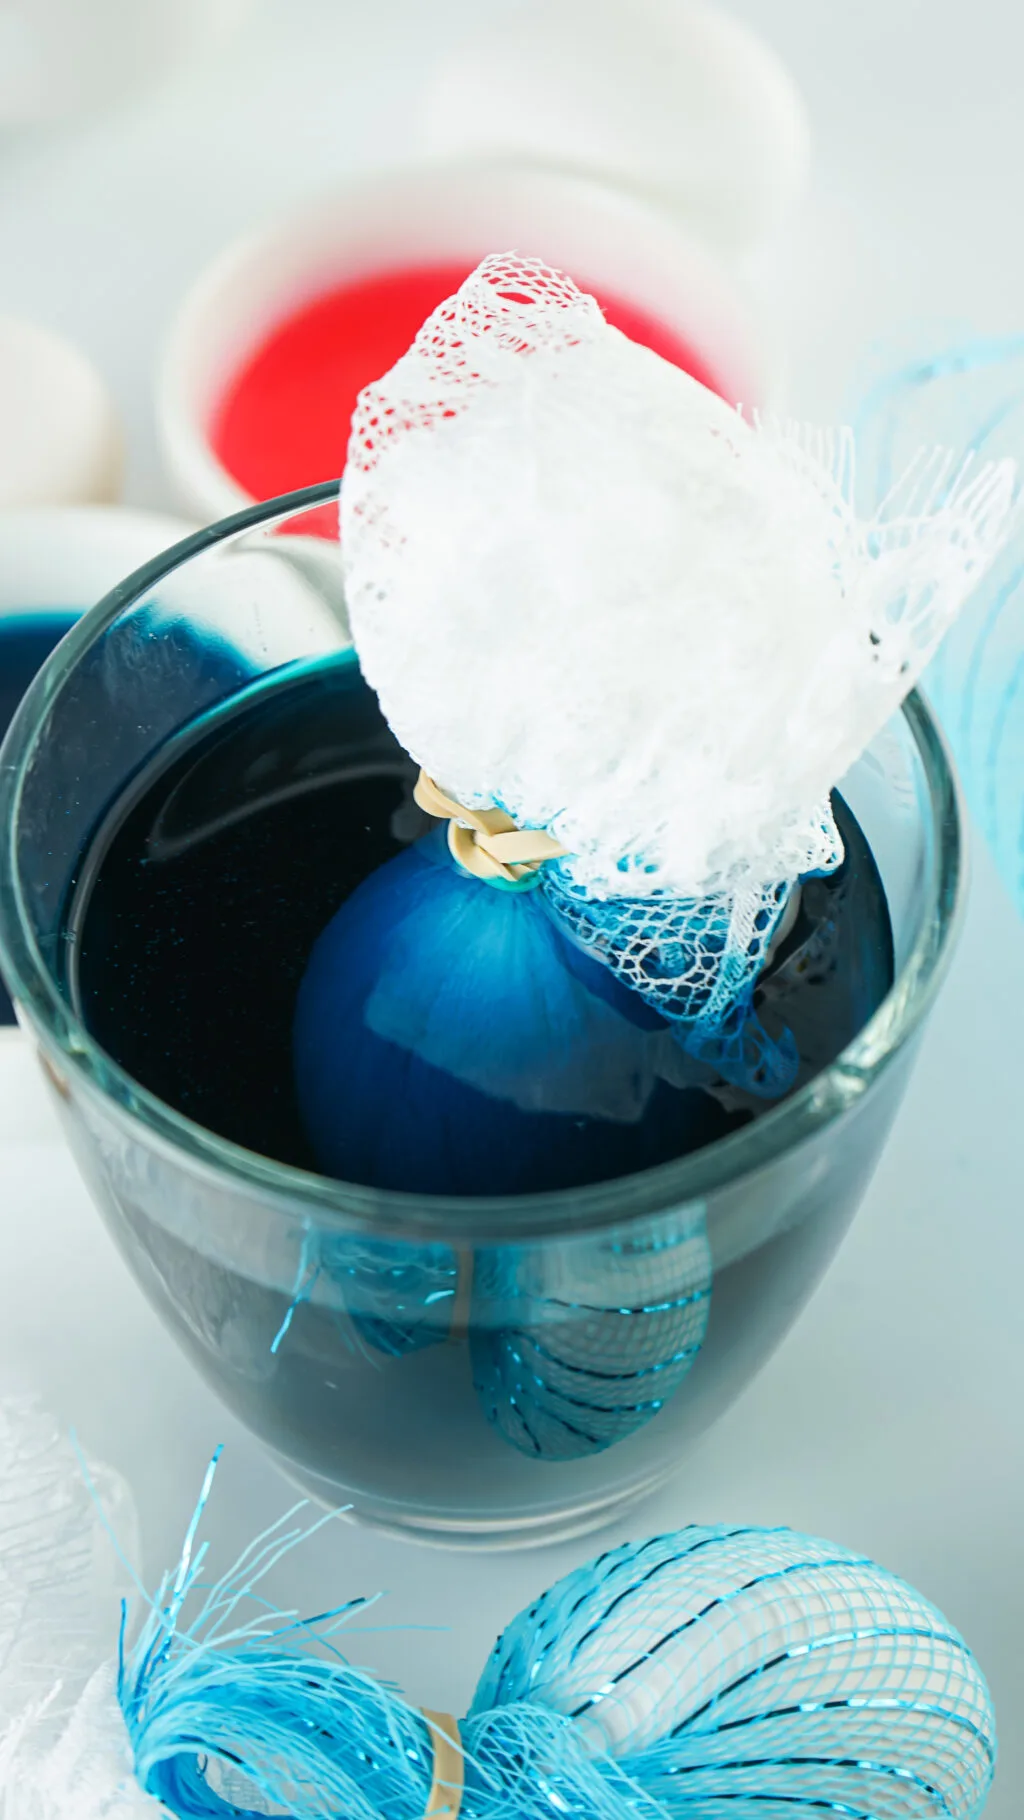
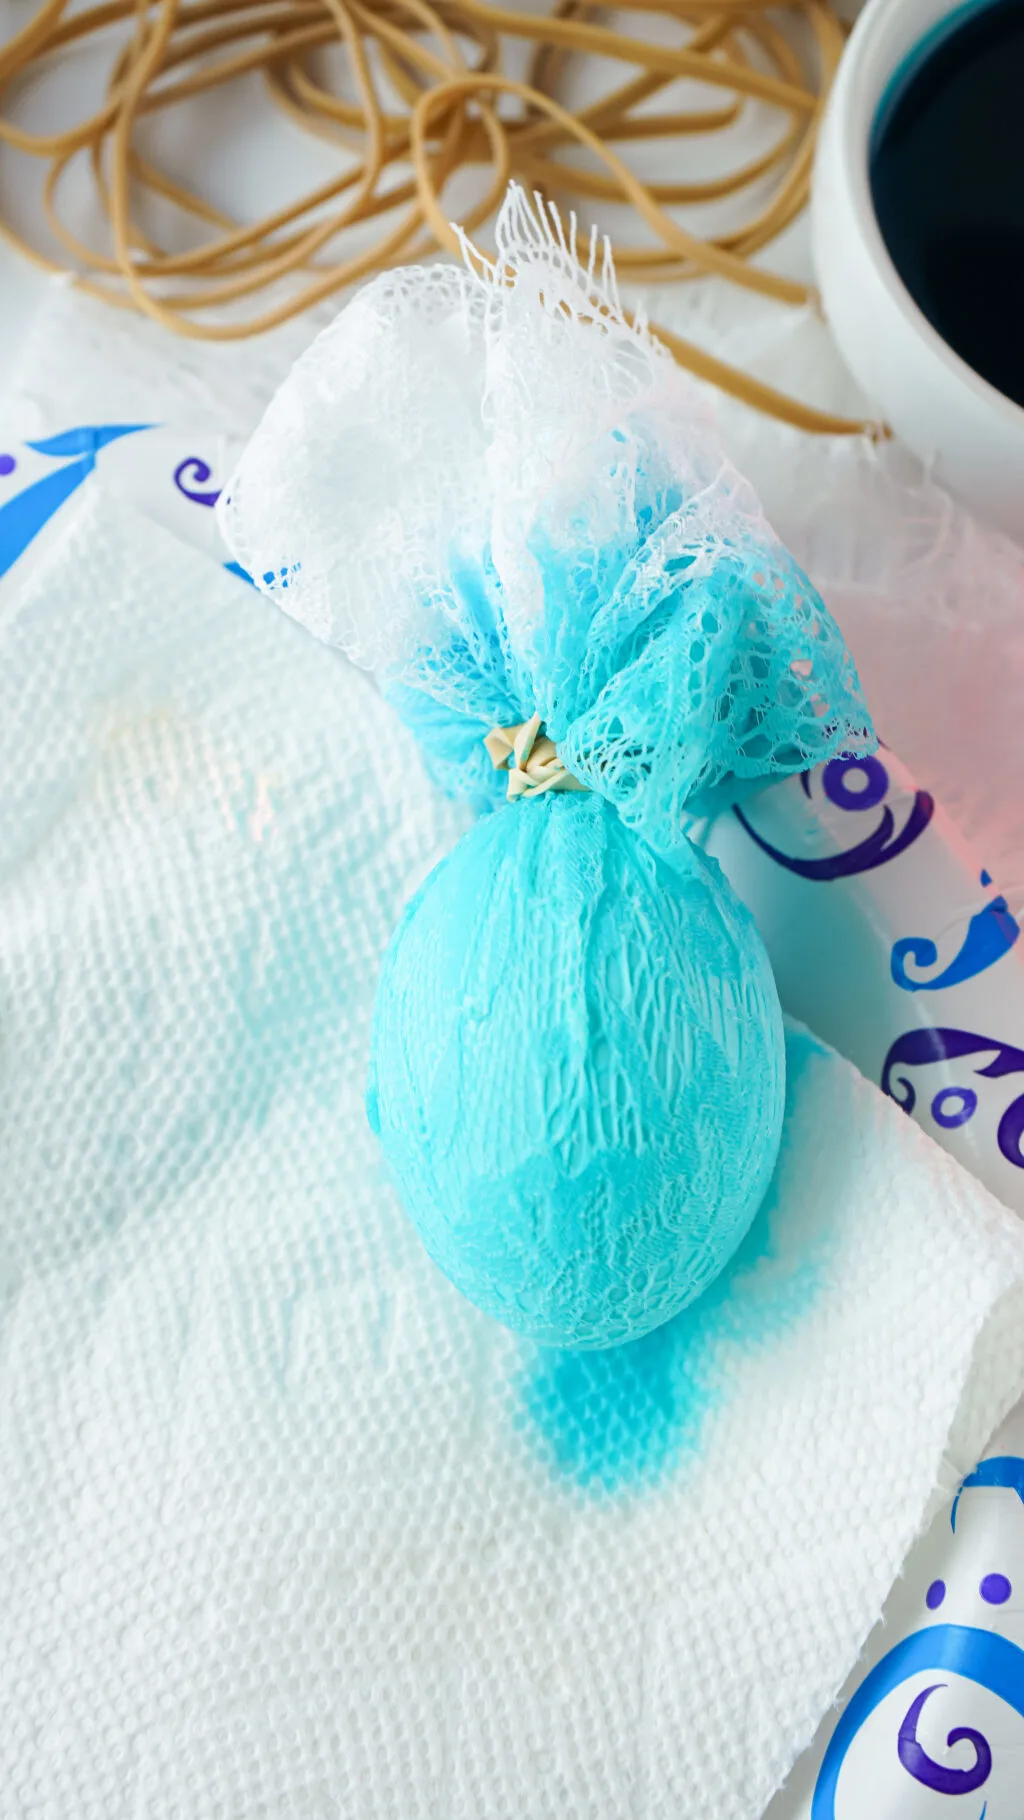
Immediately place eggs on a paper towel and pat the outside dry.
Leave to sit for about 2 minutes before gently cutting away the wrap.
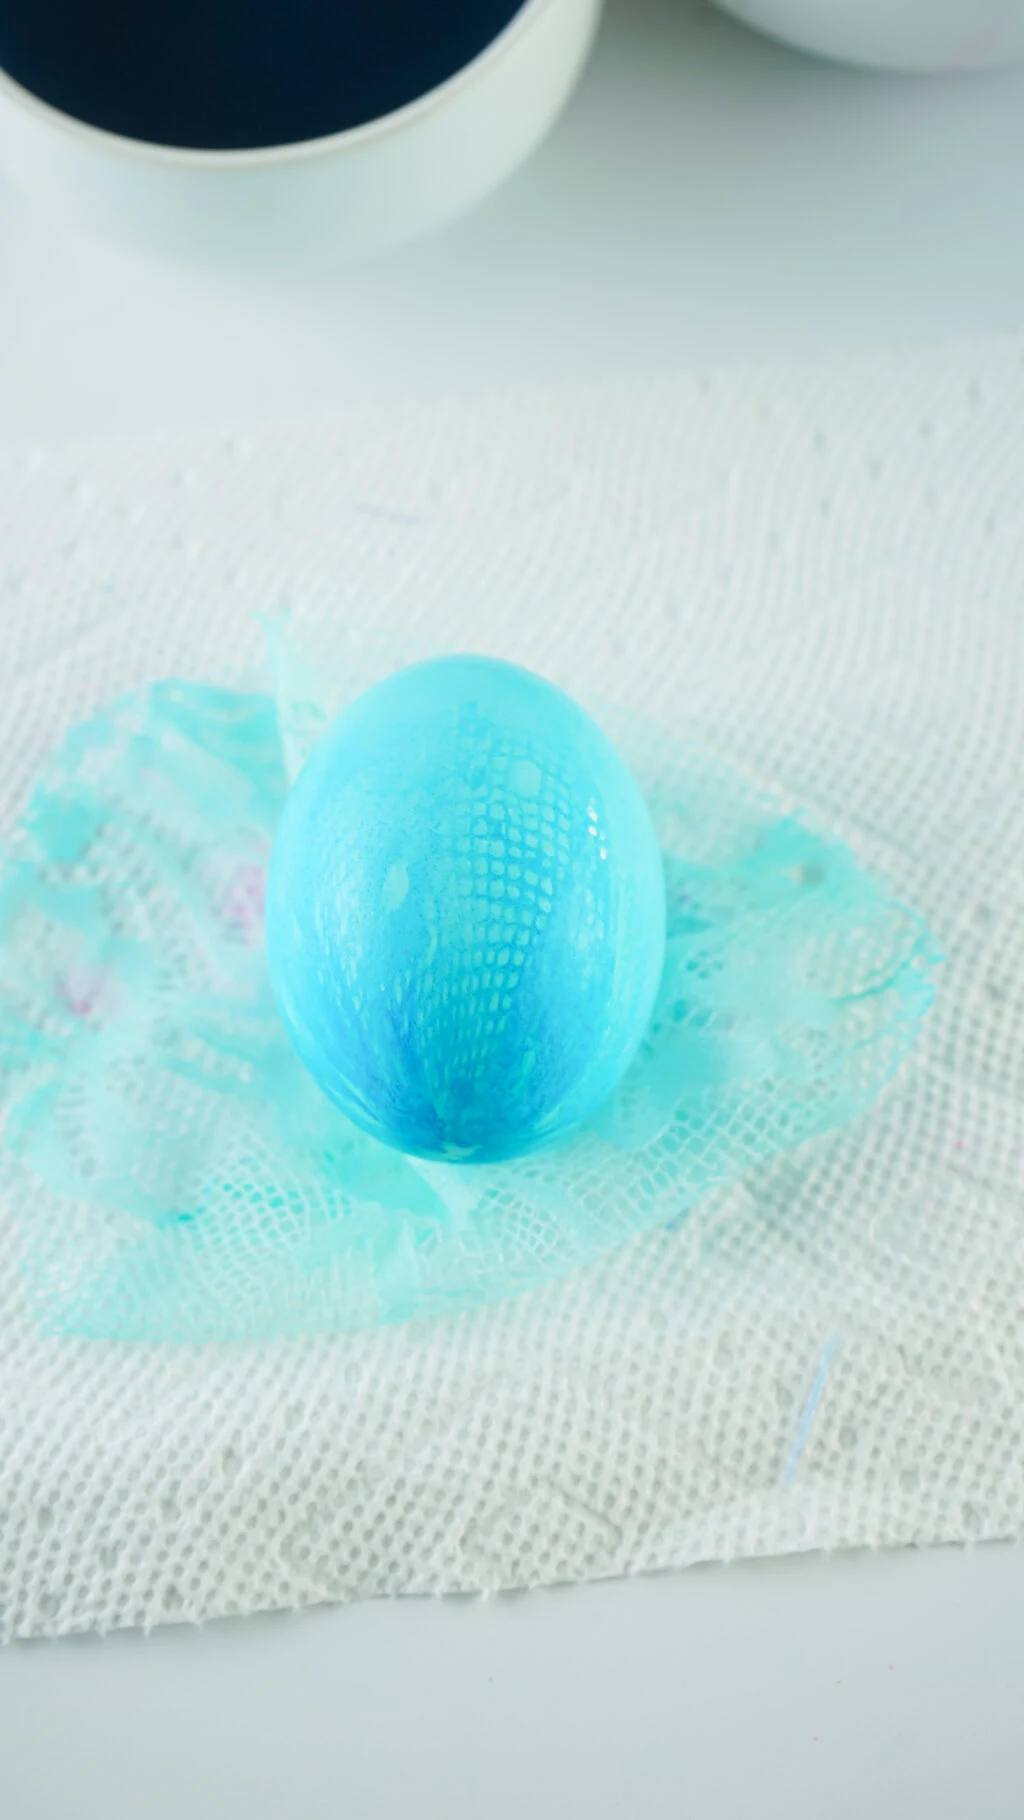
Immediately pat dry again and let rest for another 3 minutes to dry.
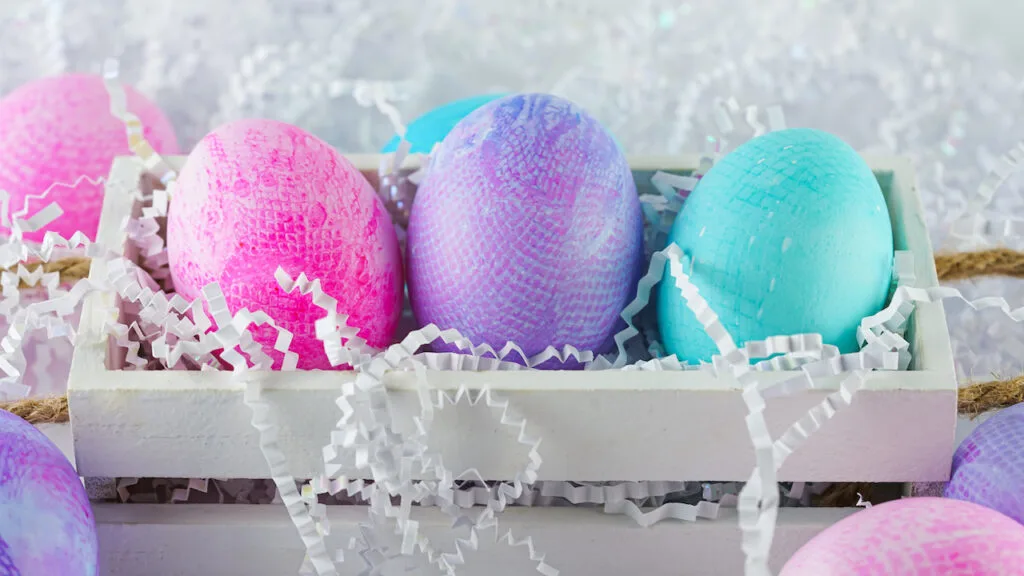
Repeat for all your eggs and enjoy!
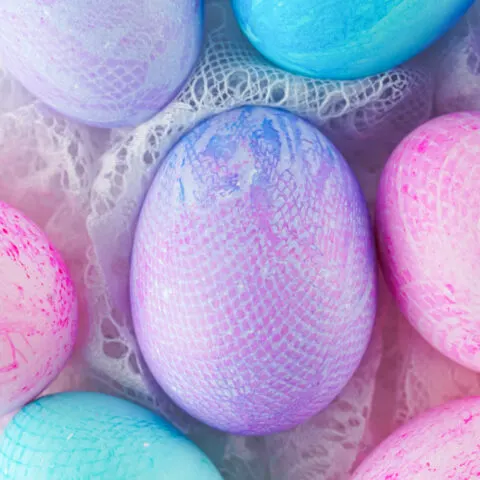
Fabric Dyed Easter Eggs
Materials
- 6 10-inch Textured Fabric Pieces lace, burlap, netting, poly mesh ribbon
- 12 Hard-Boiled Eggs dozen eggs
- Egg Dye any you like
- Rubber Bands
- Paper Towels
- Scissors
- Food Safe Gloves optional
Instructions
- Prepare your egg dye. I used homemade egg dye using food coloring, which can be very potent, so keep that in mind.
- Tightly wrap a material piece around your egg and secure it at the top with the rubber band. It’s important you get the material tightly against the egg as much as possible.
- Dip the wrapped egg fully into your dye and leave for 30 seconds. It’s important you don’t leave it long. The more potent the dye, the less you’ll want to leave it in.
- Immediately rest on a paper towel and pat the outside dry.
- Leave to sit for about 2 minutes before gently cutting away the wrap.
- Immediately pat dry again and let rest for another 3 minutes to dry.
- Repeat for all your eggs and enjoy!
