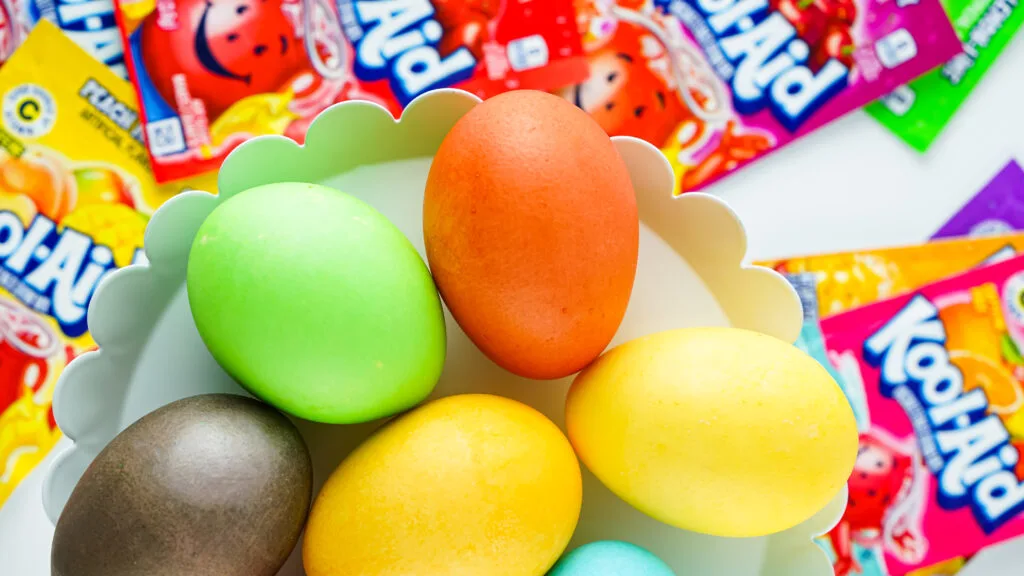
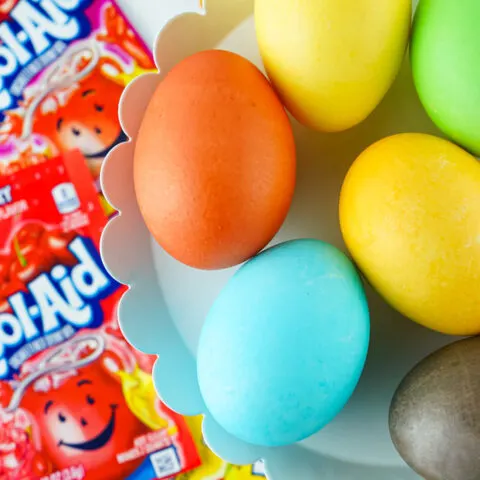
Kool-Aid dyed eggs are a fun and vibrant alternative to traditional Easter egg coloring. Made with just a few simple ingredients, this easy and affordable DIY project is perfect for families and kids of all ages. By using Kool-Aid packets as an egg dye, you can achieve a wide range of bright and bold colors that will make your Easter eggs stand out from the crowd.

My kids love Easter especially when it comes to dyeing Easter eggs.
And if your family is the same way, you are going to love this unique hack to making vibrant Easter eggs that also smell amazing!
I personally prefer this method of egg dyeing over those dye tablets you find in-stores.
Want more Easter egg decorating ideas? Check out our Easter Egg Dyed Potatoes, Natural Yellow Egg Dye Recipe and 33 Creative Easter Egg Designs.
What You Need to Dye Easter Eggs with Kool-Aid
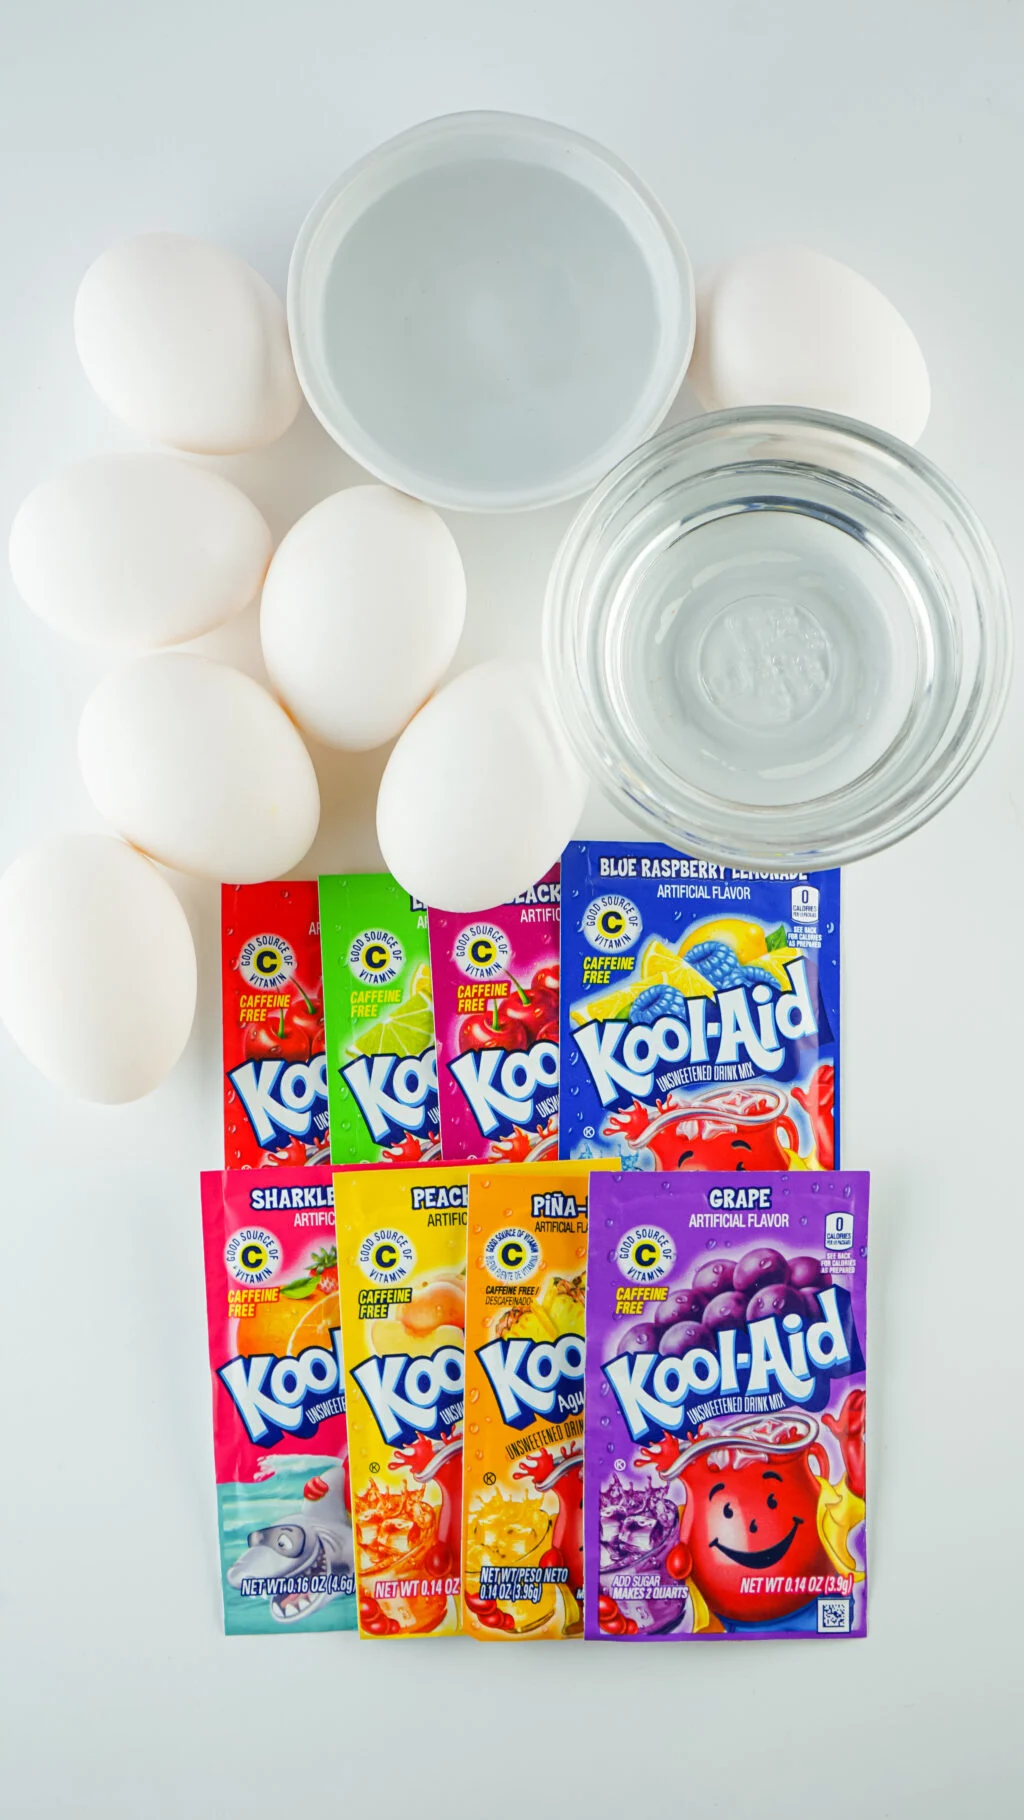
- Hard Boiled Eggs
- Kool-Aid (in different colors/flavors)
- Boiling Water
- White Vinegar
- Paper Towels
- Spoons
- Cups or Bowls for each color
Frequently Asked Questions
How long should I leave the eggs in for?
Just like with any egg dye, you’ll want to leave the eggs in the Kool-Aid for as long as you want to achieve the color you’d like. You can check on the eggs every 2-3 minutes or so until your desired shade is achieved.
Can I use brown eggs?
Yes! You can certainly use brown eggs but keep in mind, the colors will be much darker when dyed.
Can I decorate the eggs with stickers and other embellishments?
Yes! Once your dyed eggs are dry, you can certainly decorate them any way you’d like!
Things to Note:
- Some of the lighter colors of Kool-Aid like lemonade come out very light and will take a little longer soaking in the dye. We tested a ton of flavors of Kool-Aid and only lemonade came out poorly. It’s the only color I wouldn’t suggest. For some colors like the pink lemonade, they come out pretty, but you’ll want to leave them in there for 3-4 minutes, rather than the 1-2.
- Do not add any more vinegar than suggested. It will eat the color off the egg and make it look bad.
- Don’t add more water unless you add more Kool-Aid or it will water down the dying aspect of the Kool-Aid and cause the dye to not do as well.
- If you handle the eggs too much coming right out of the dye, it will make marks in your coloring. For a more flawless egg, allow the egg to dry before handling it. The dye will settle onto the shell and it won’t budge after that.
- The color of the egg will brighten a bit as it dries.
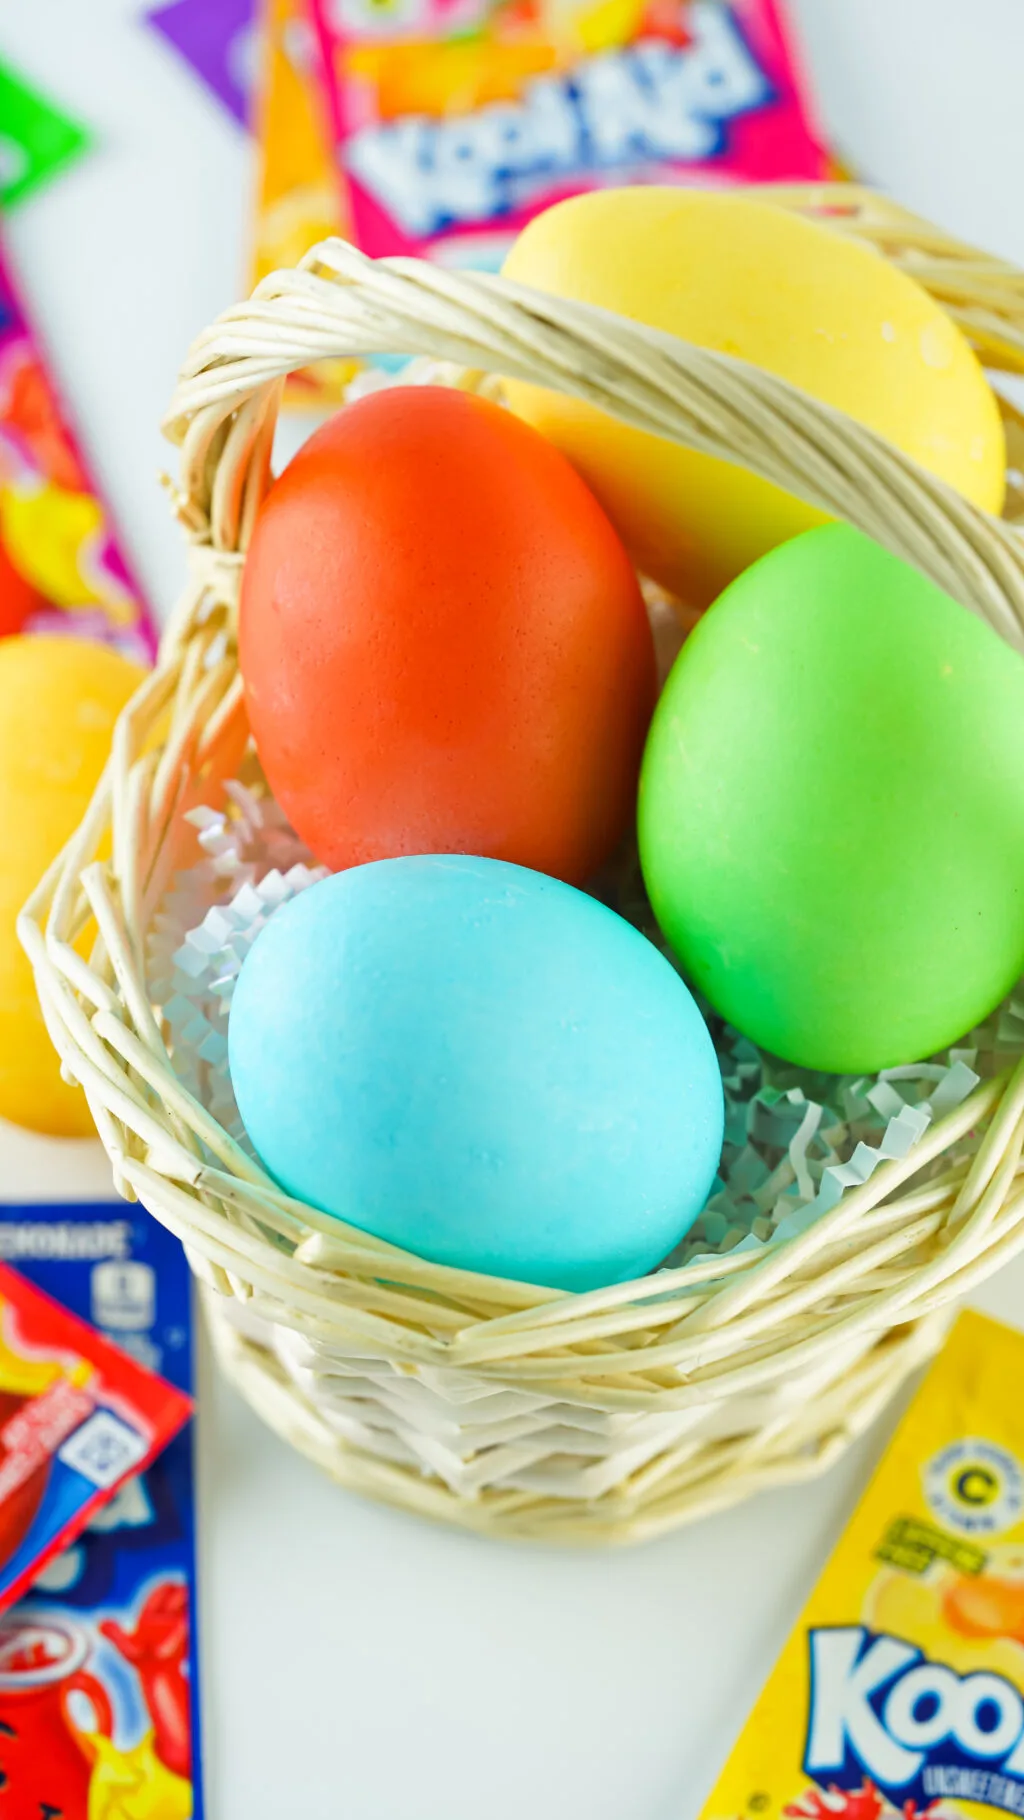
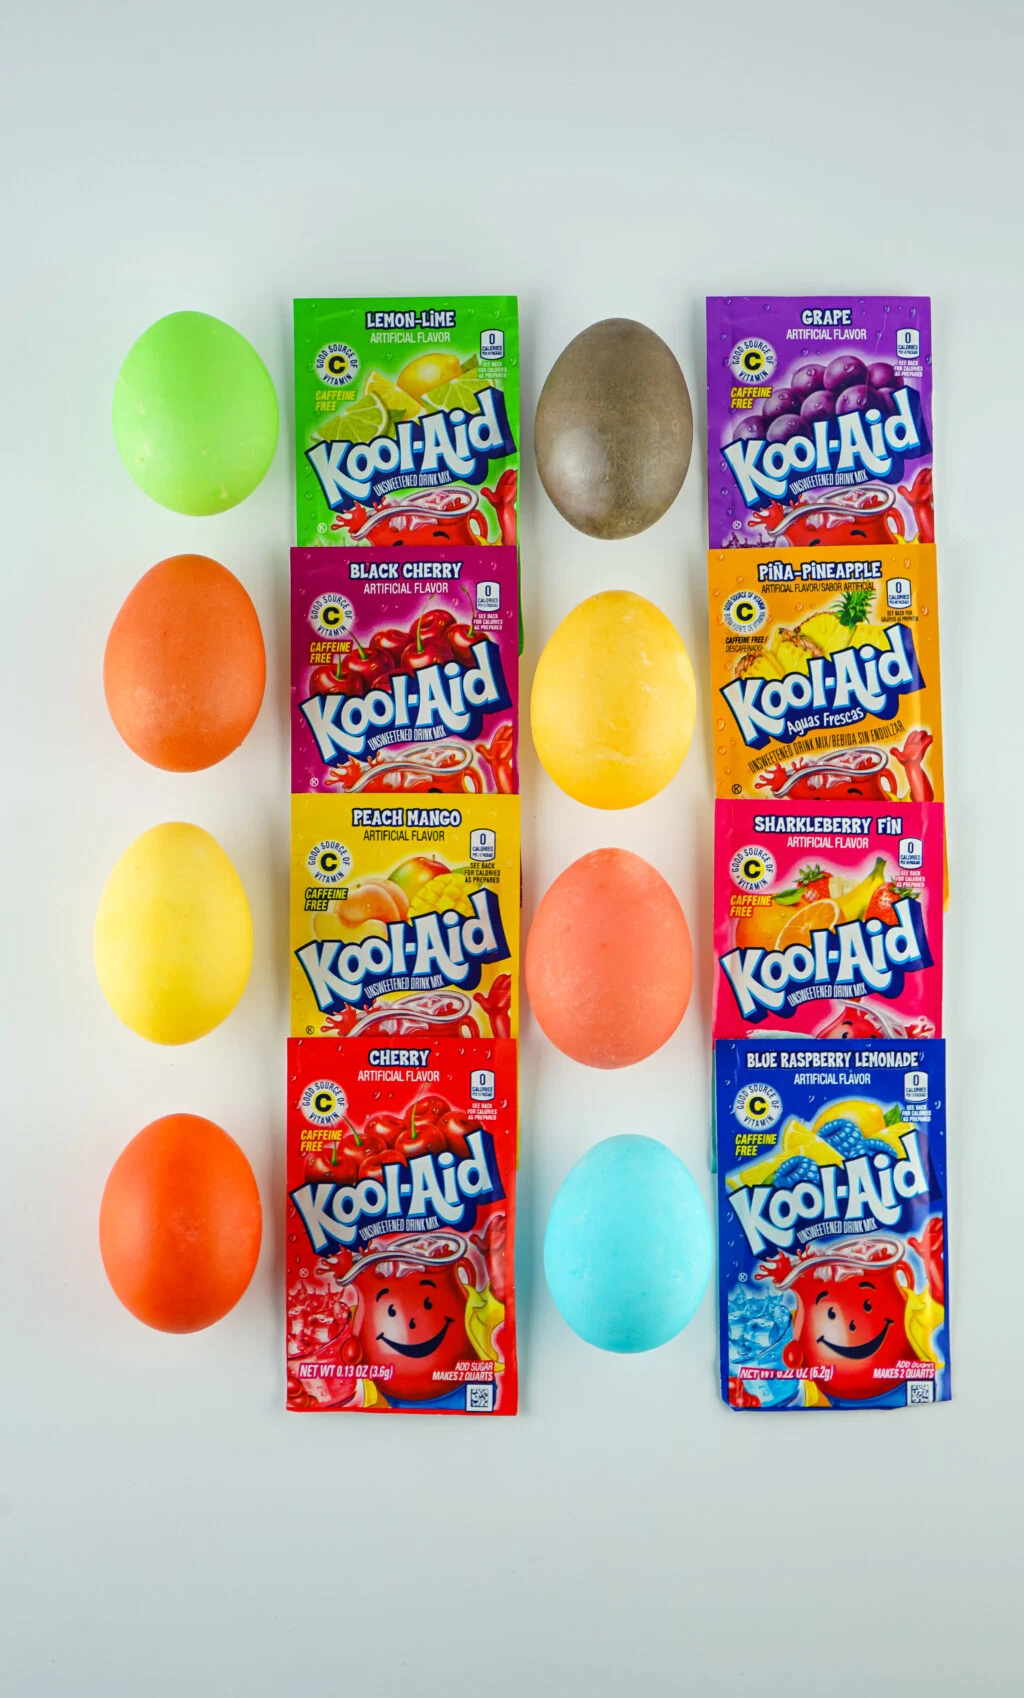
- Lemon lime and green apple come out the same color of green.
- Black cherry, sharkleberry, and cherry come out very similar shades of red, but they ARE different shades.
- Peach mango comes out light orange and pina-pineapple comes out a gorgeous spring yellow.
How to Dye Easter Eggs with Kool-Aid
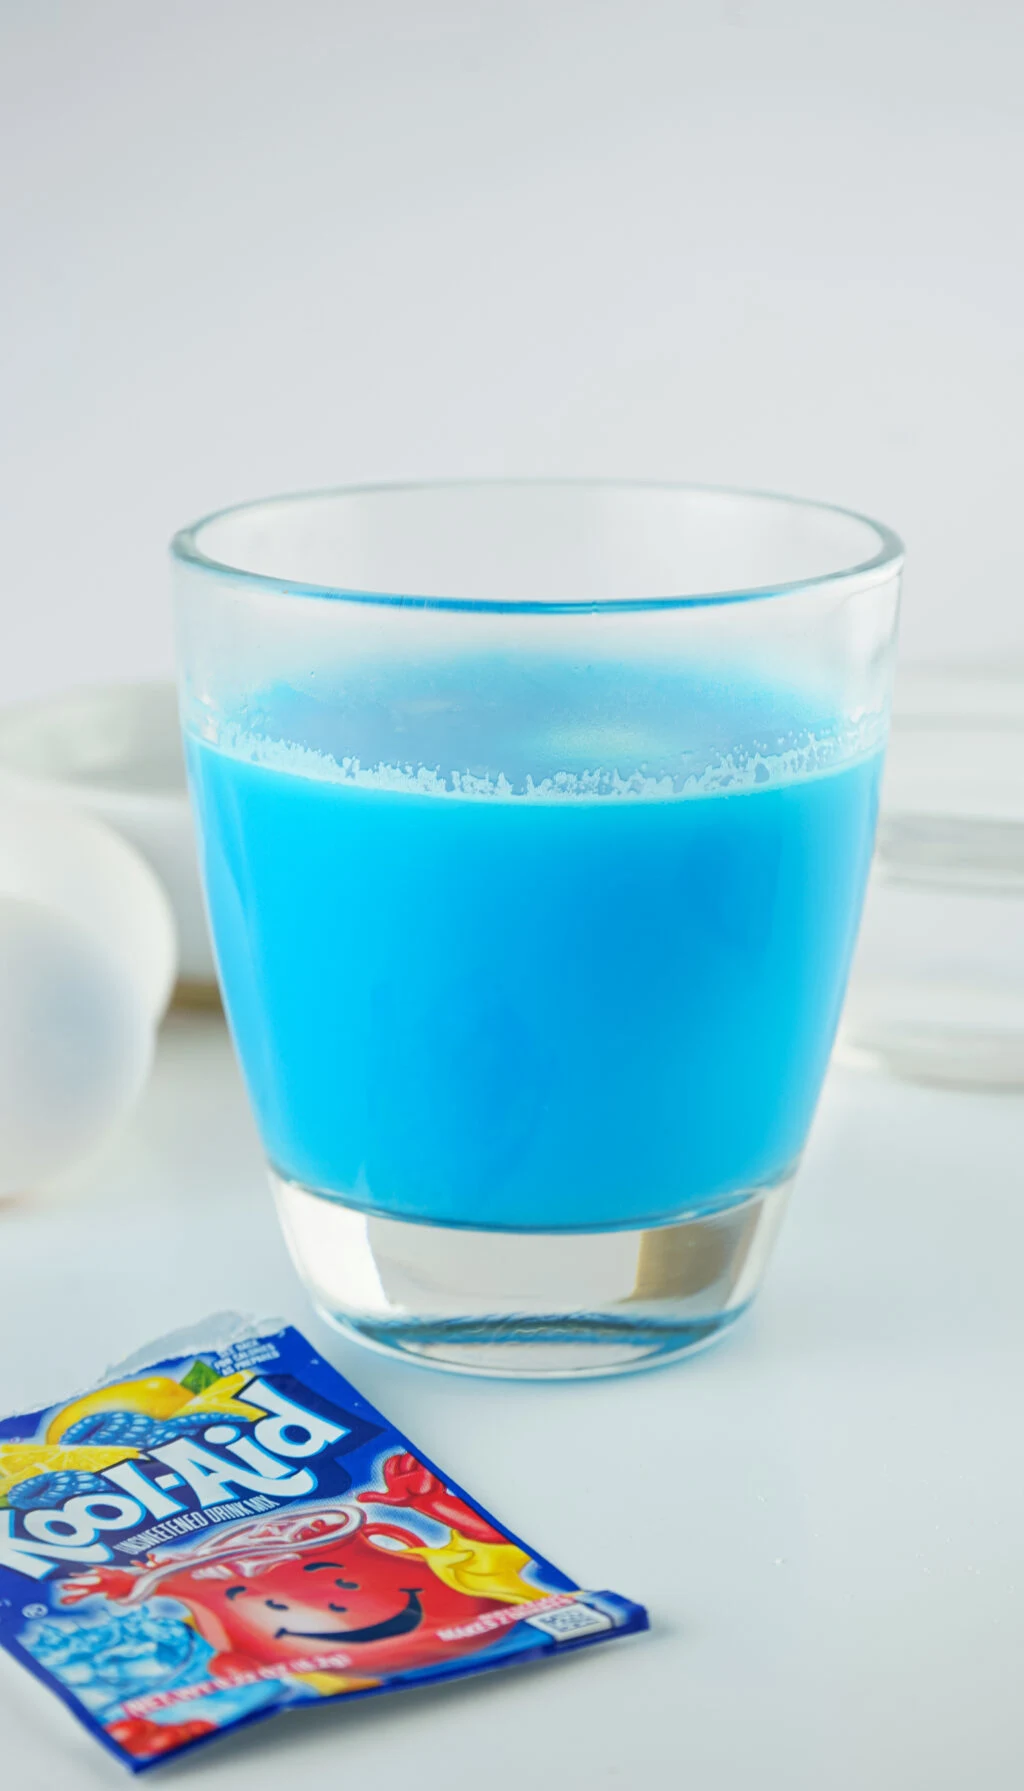
For each color or packet of Kool-Aid, add ½ cup boiling water, 1 teaspoon vinegar, and one full packet of Kool-Aid mix to a cup and stir until the Kool-Aid is dissolved.
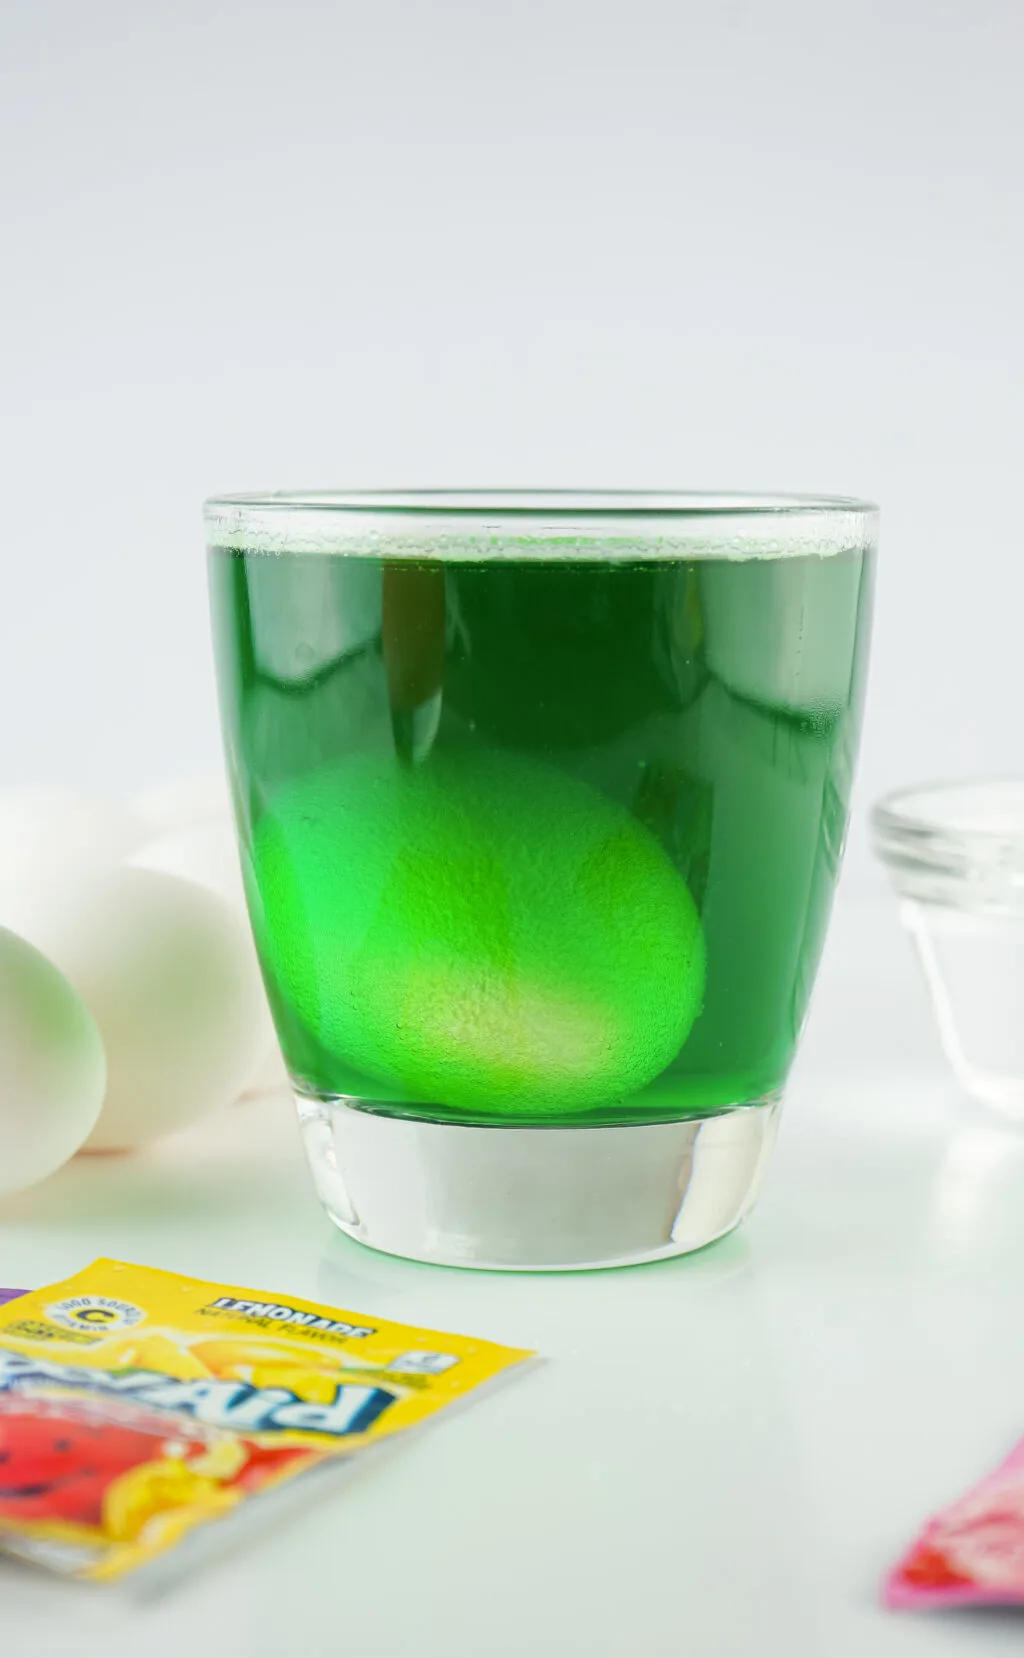
Gently add your eggs to the dye of your choice (one egg to a cup is ideal) and let sit for 1-2 minutes or until the desired color is reached.
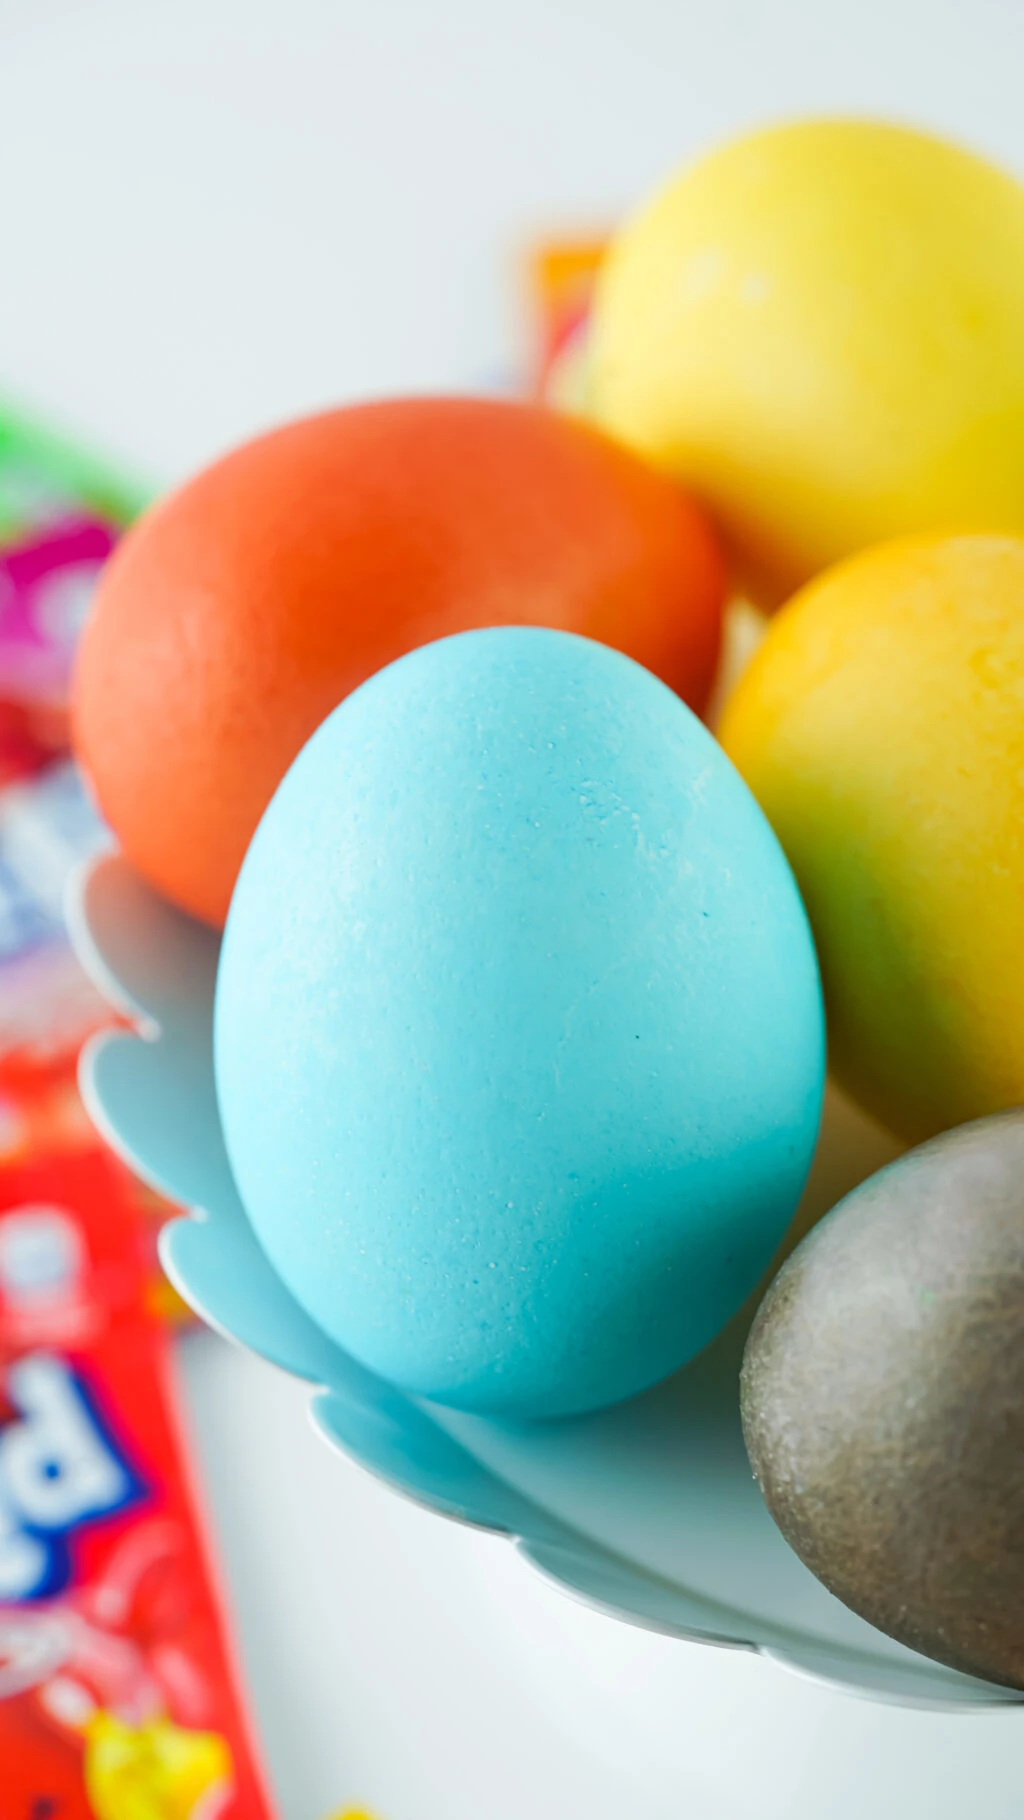
Remove the egg with a spoon and gently lay it on a paper towel without touching it as much as possible.
Allow to sit undisturbed for about 5 minutes or until no longer wet before placing it back in the egg carton.
Enjoy!
Kool-Aid Dyed Eggs
Ingredients
- Hard Boiled Eggs as many as you want to dye
- 1 Packet Kool-Aid in different colors/flavors
- ½ Cup Boiling Water
- 1 Teaspoon Vinegar
- Paper Towels
- Spoons
- Cups or bowls for each color
Instructions
- For each color or packet of Kool-Aid, add ½ cup boiling water, 1 teaspoon vinegar, and one packet of Kool-Aid to a cup and stir until the Kool-Aid is dissolved.
- Gently add your eggs to the dye of your choice (one egg to a cup is ideal) and let sit for 1-2 minutes or until the desired color is reached.
- Remove the egg with a spoon and gently lay it on a paper towel without touching it as much as possible.
- Allow to sit undisturbed for about 5 minutes or until no longer wet before placing it back in the egg carton.
- Enjoy!
NUTRITION
Nutrition information is a rough estimate only; actual values will vary based on the exact ingredients used and amount of recipe prepared.
