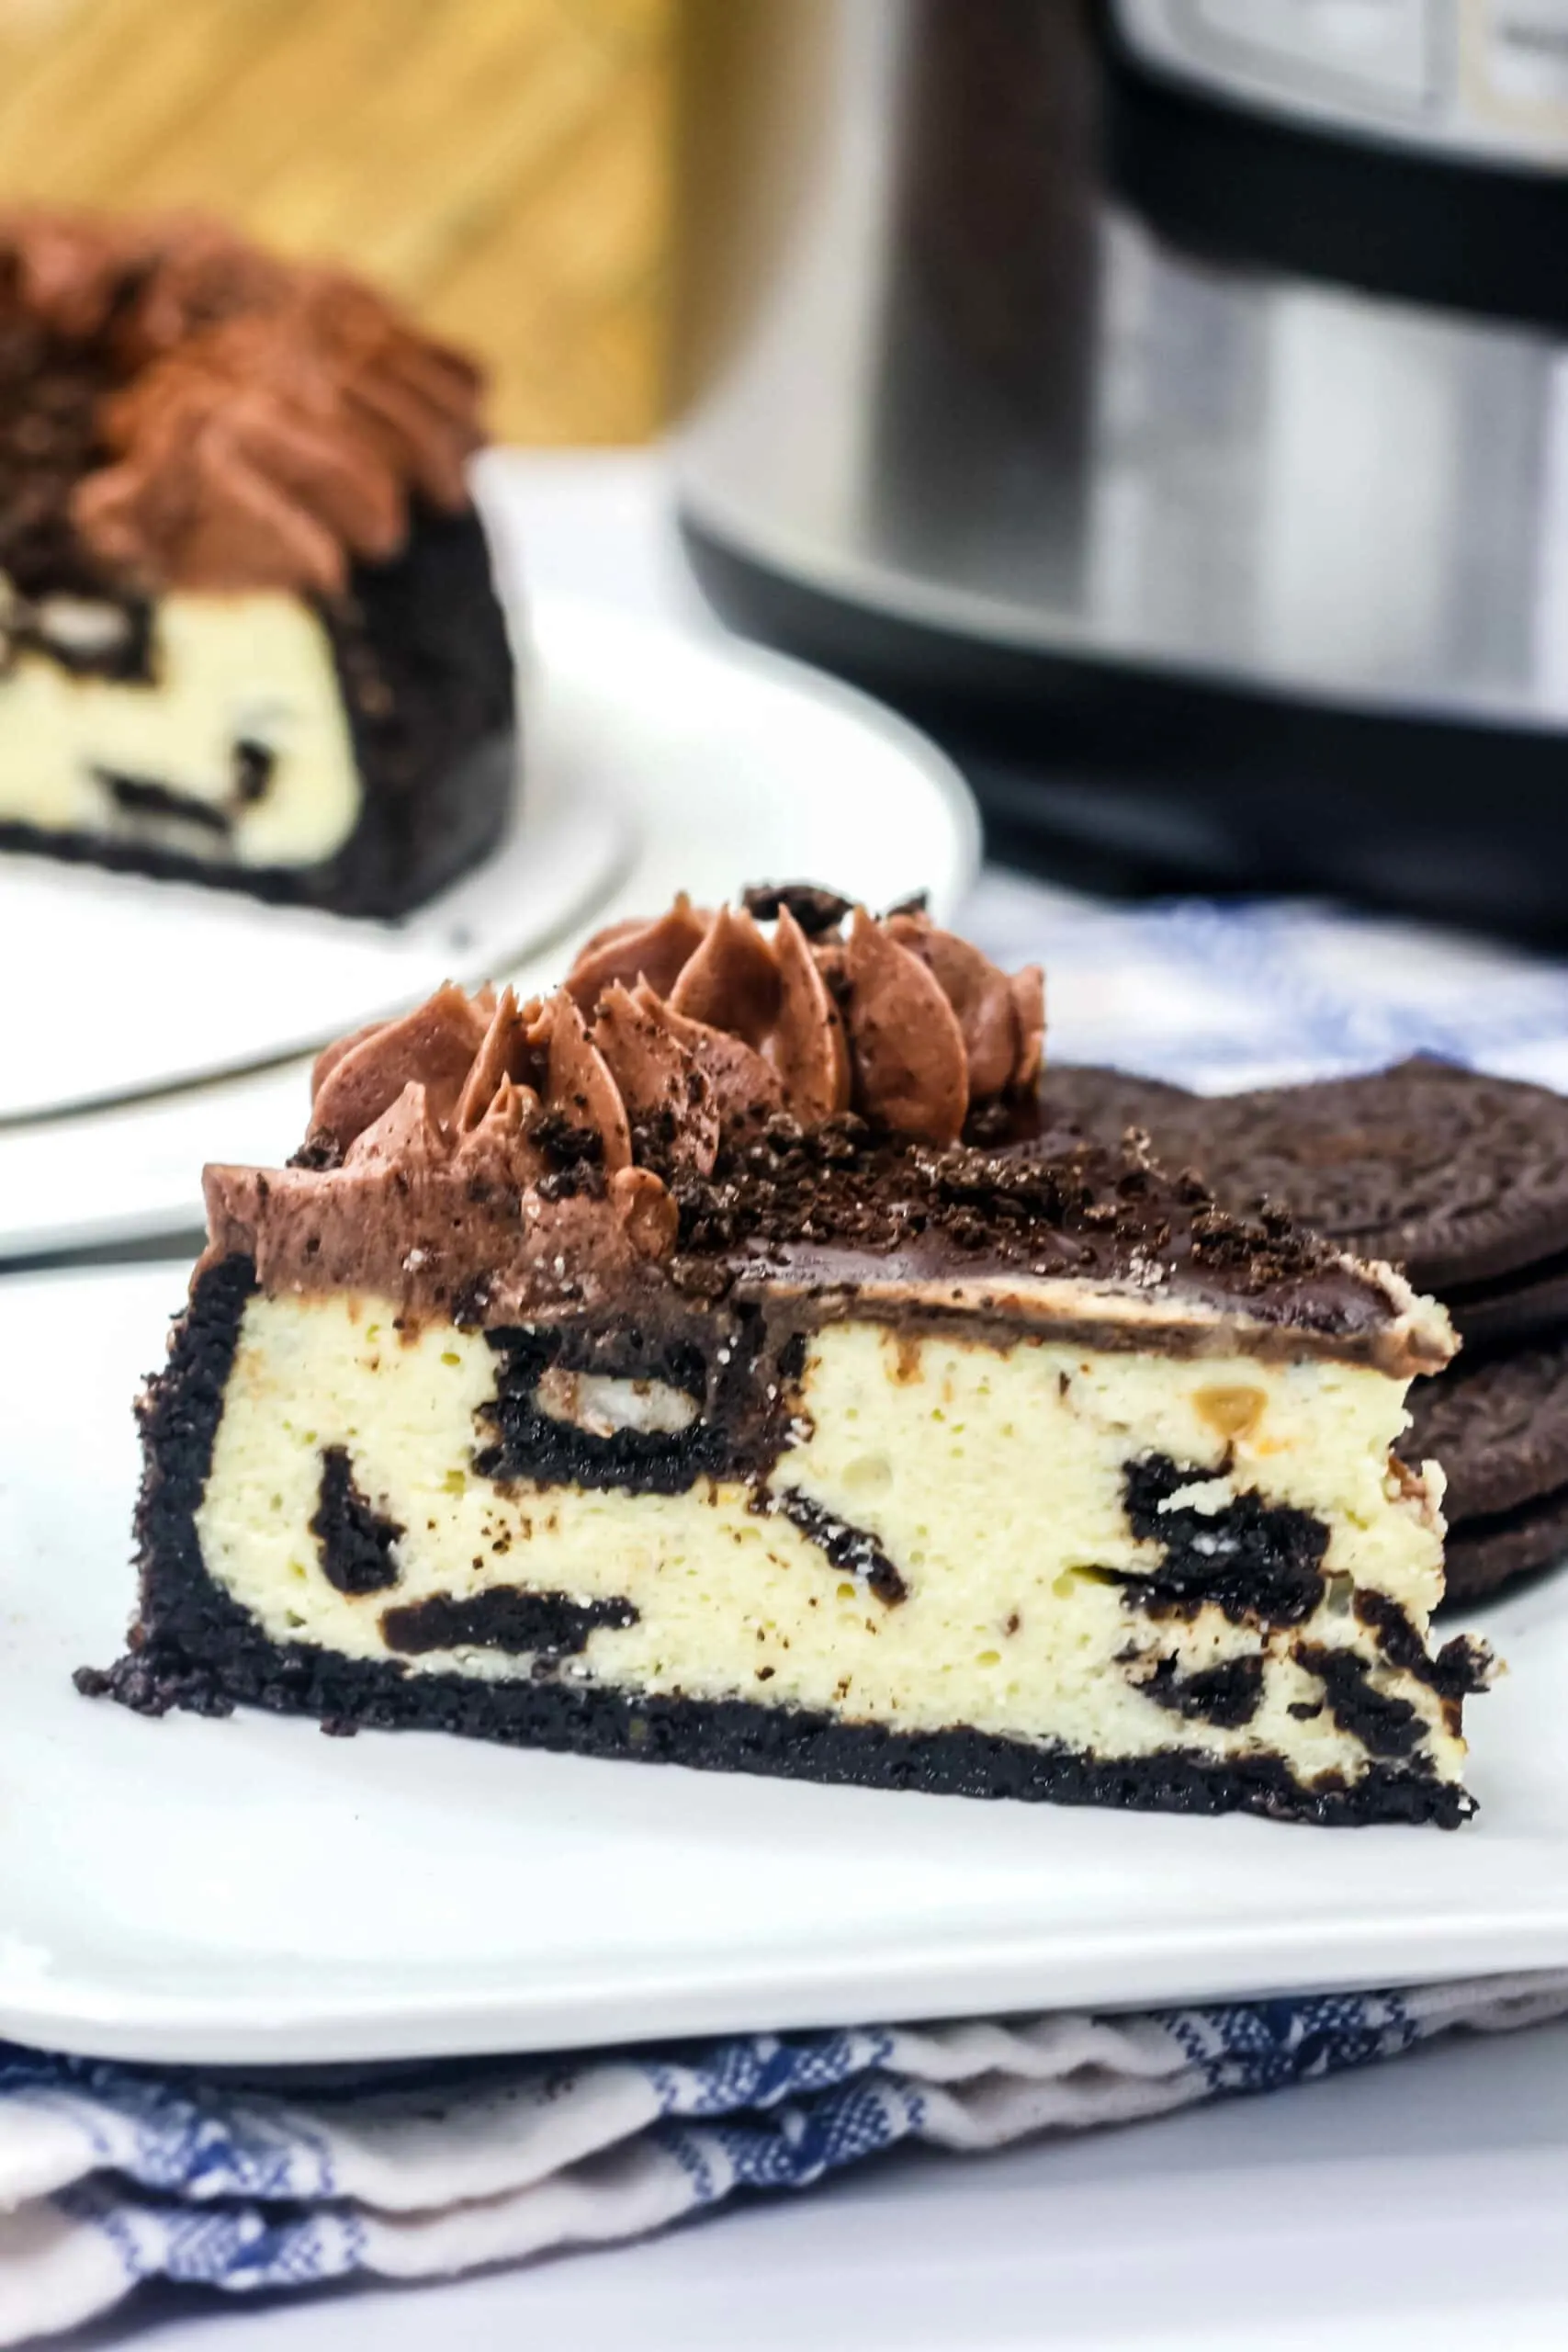
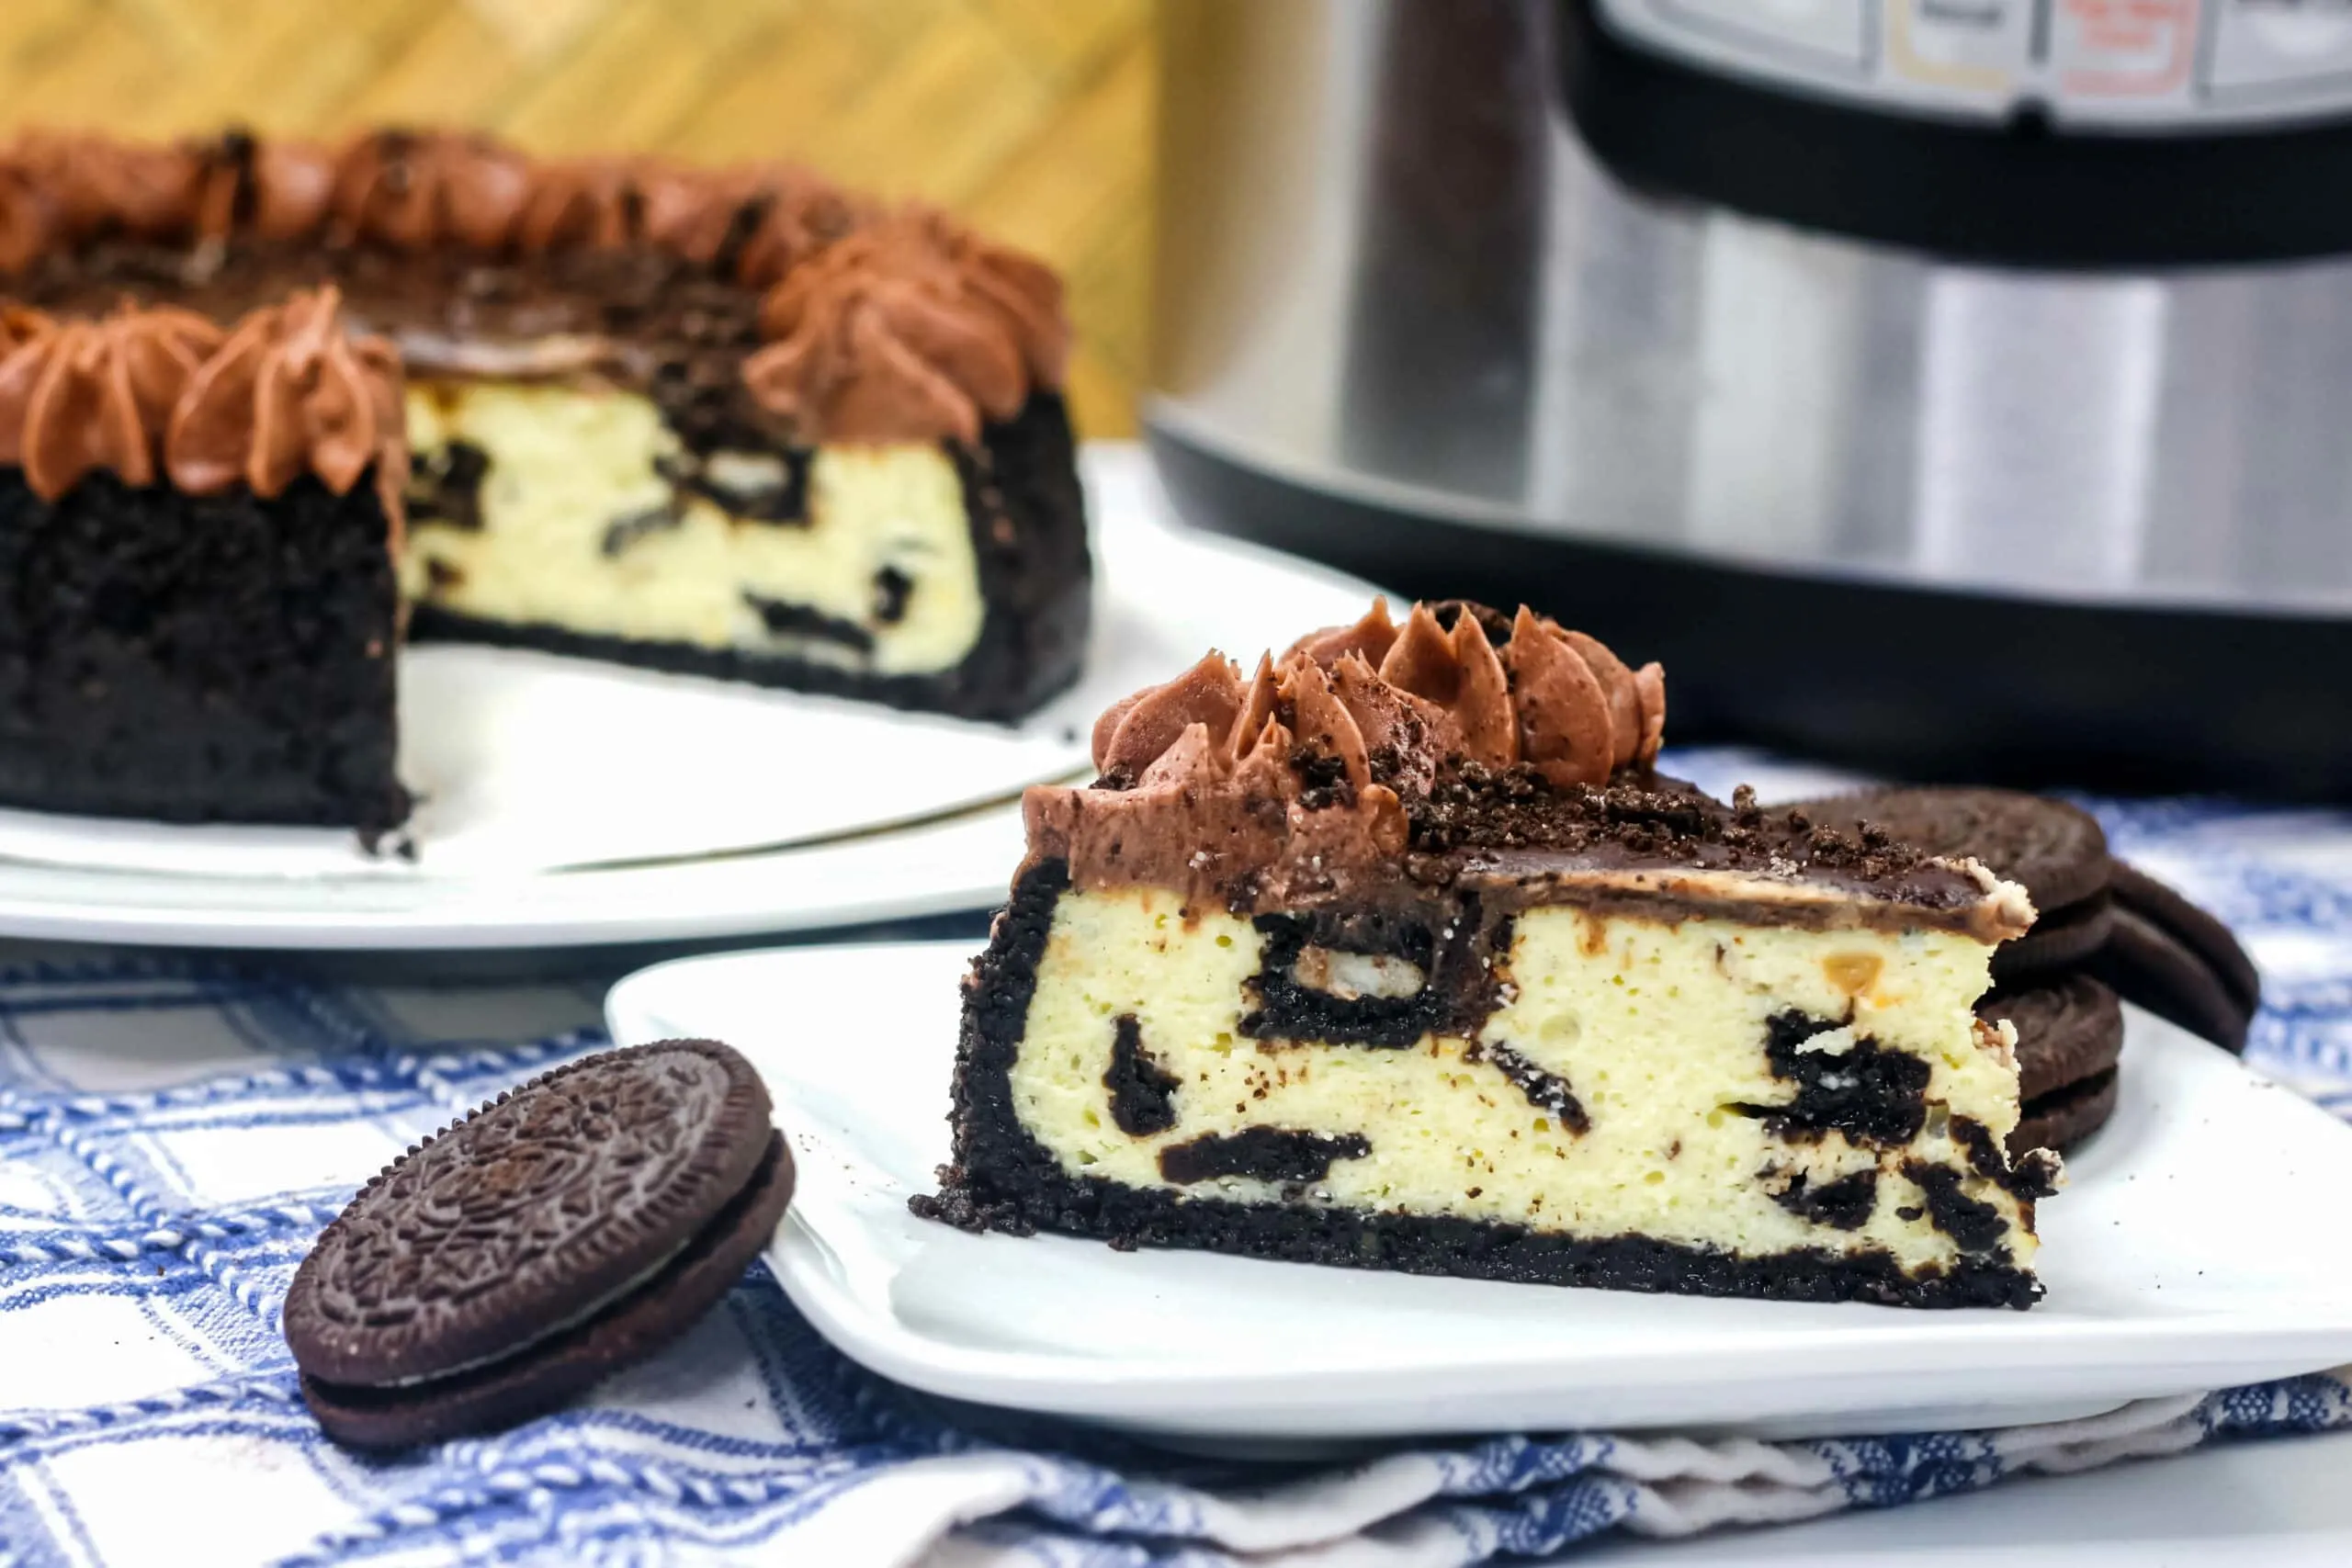
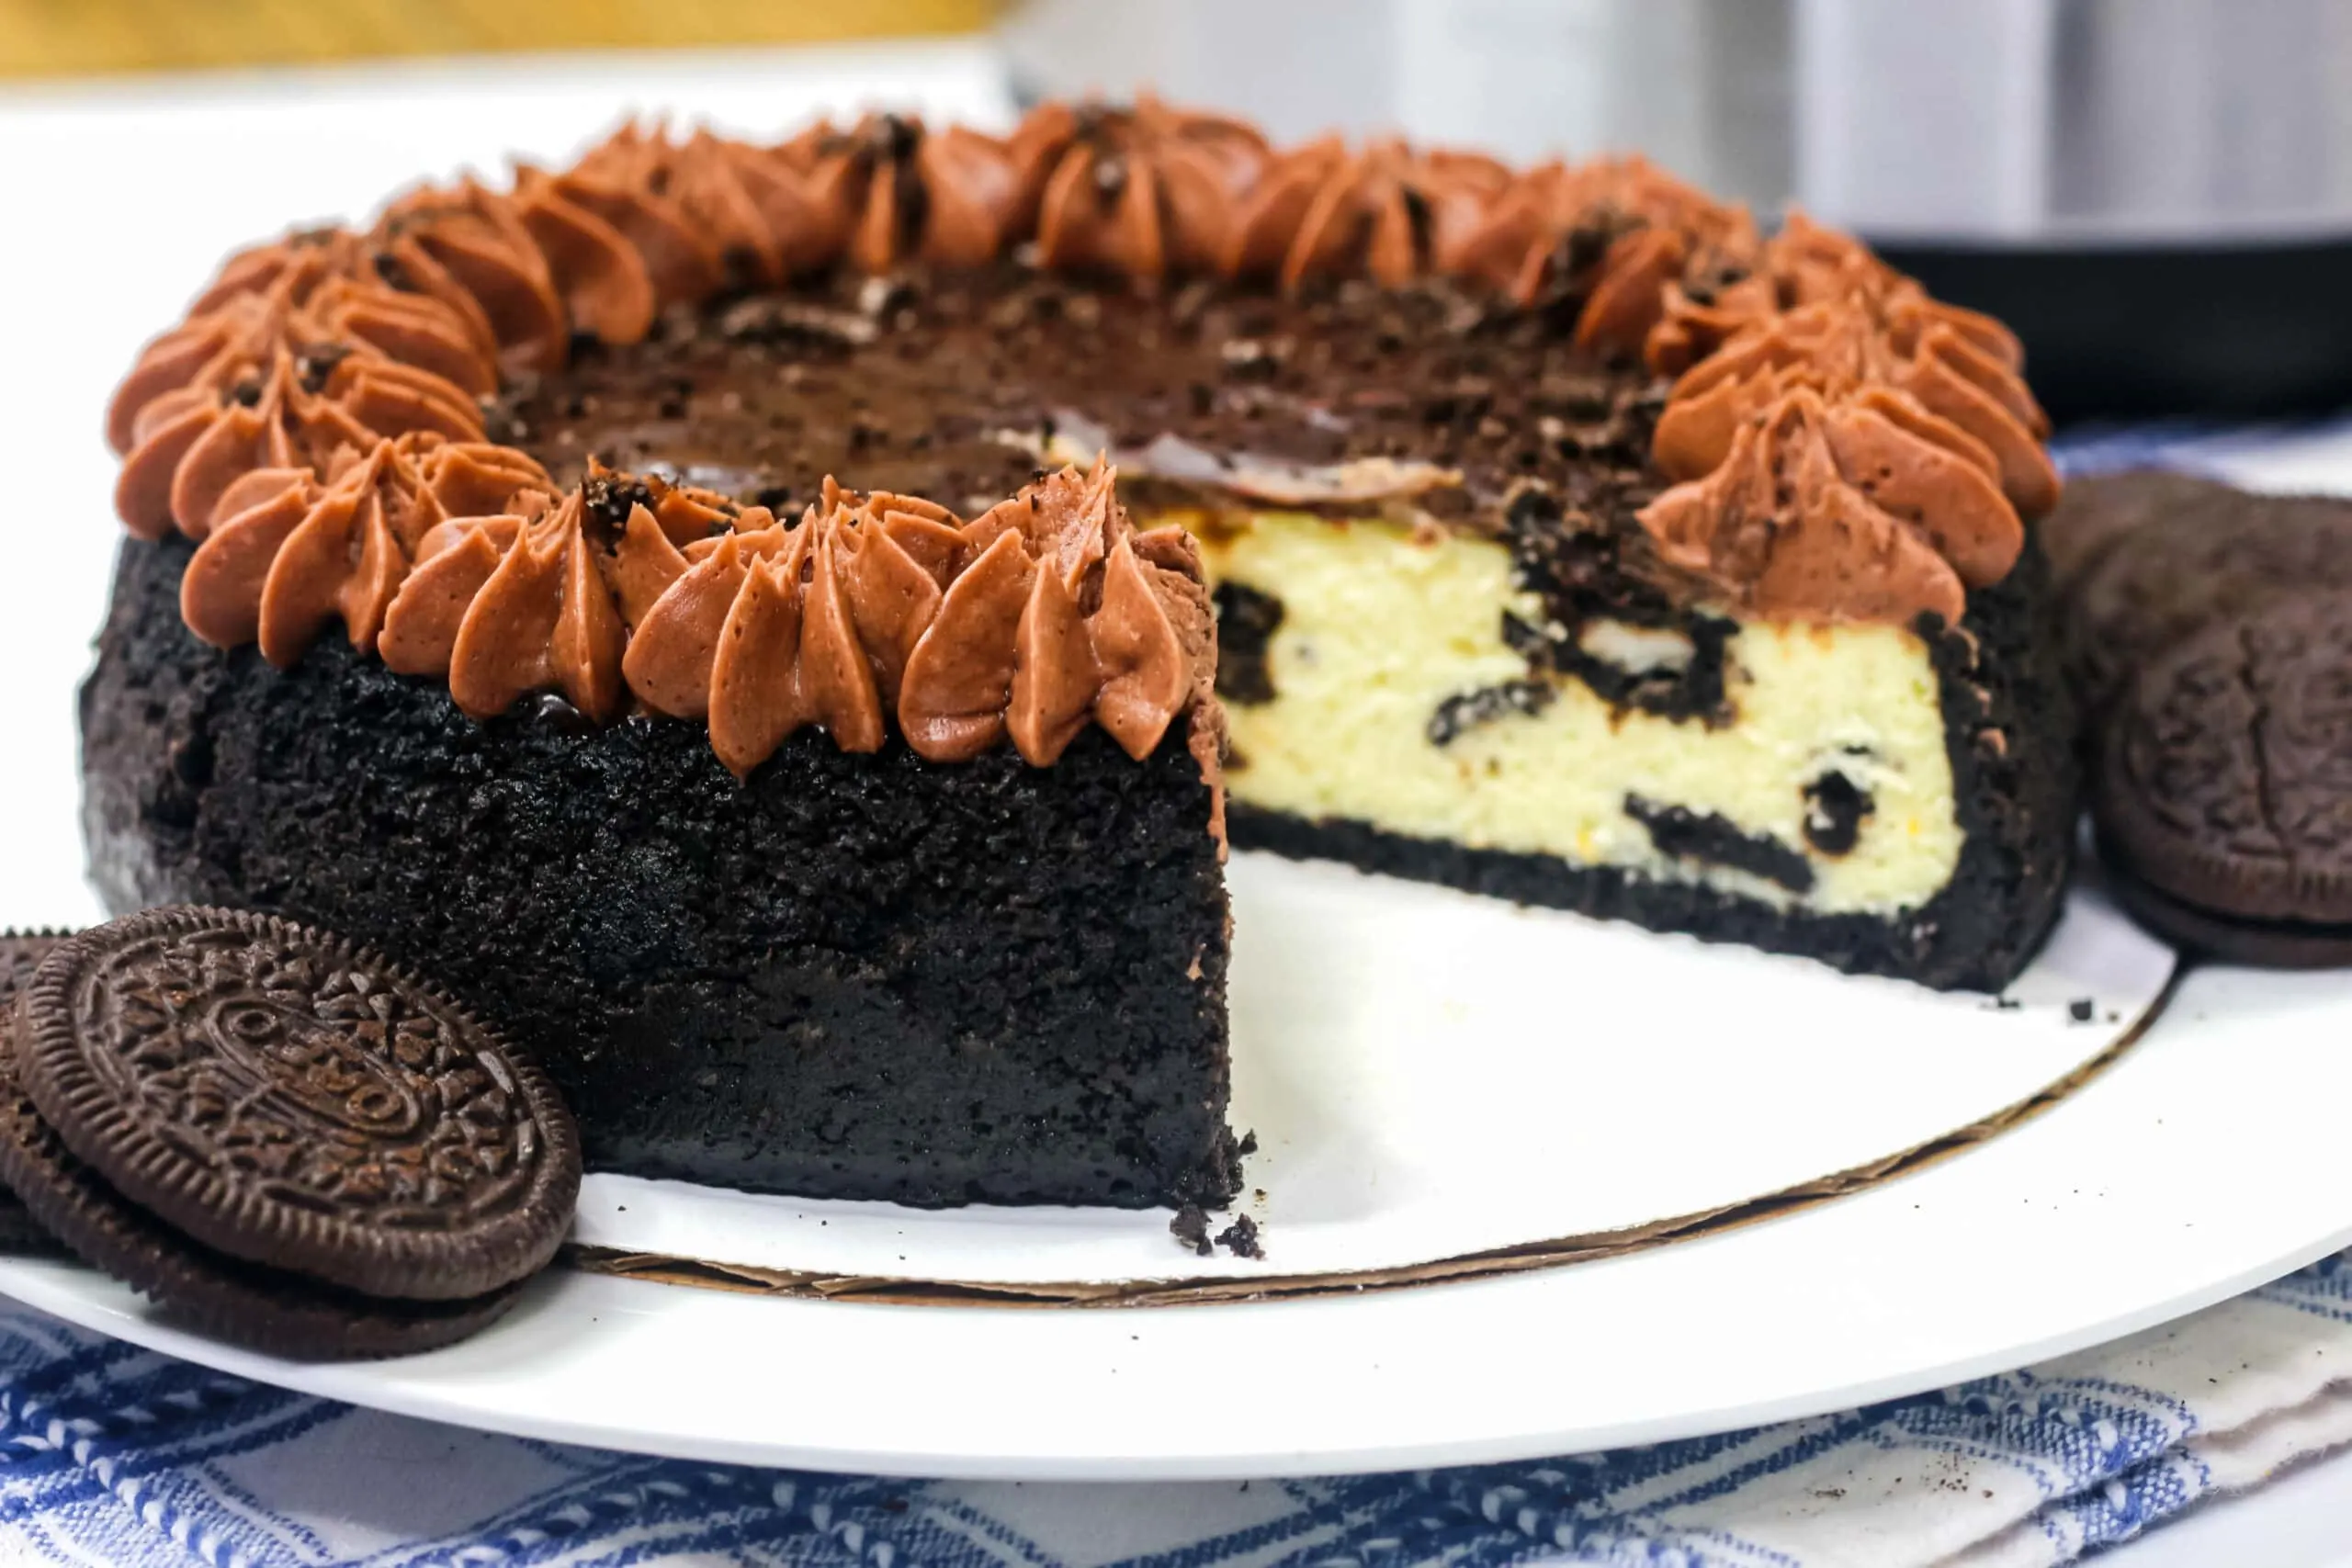
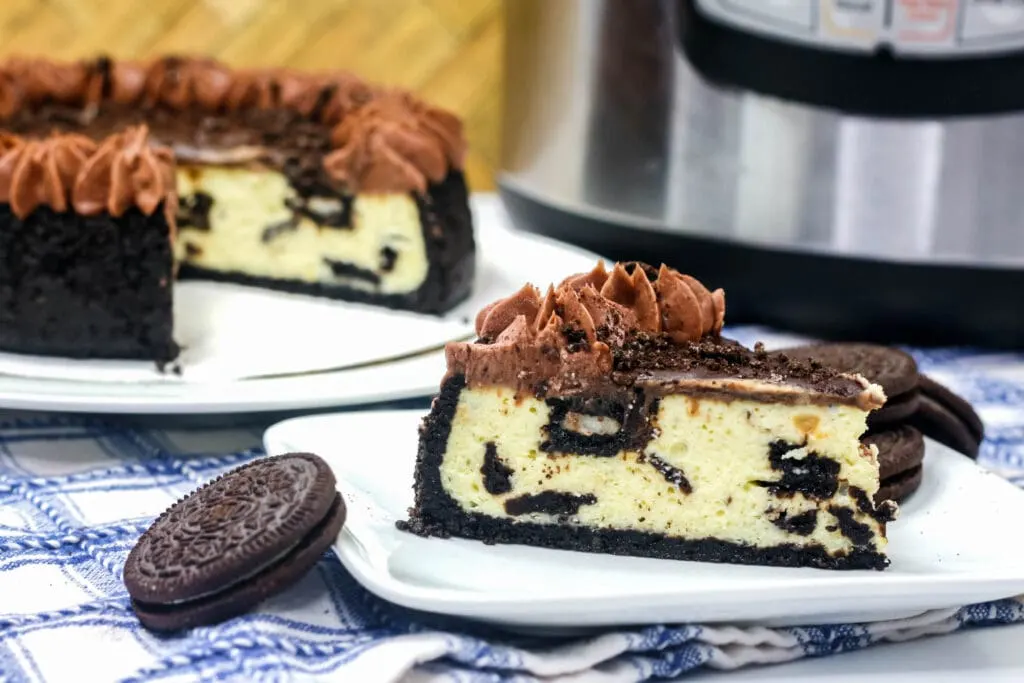
Delicious Instant Pot Oreo Cheesecake. An Oreo cookie crumble crust, creamy cream cheese filling with Oreo cookie bites and topped with chocolate ganache. It is the perfect chocolatey dessert to satisfy any sweet tooth.
Something you should know about me is, I am obsessed with chocolate but I am also very particular with my chocolate.
While I love chocolate, I think there has to be a good ratio of rich chocolate to creamy goodness and that is why I love everything about this Oreo Cheesecake that you can make in your Instant Pot.
The combination of the cream cheese filling and Oreo cookie with the chocolate ganache just make you want to escape to a private island so you can indulge in every bite in peace.
The bad news is, this probably won’t last very long in your house.
The good news is, it’s delicious, easy to make and it’s the perfect Instant Pot Dessert beginner recipe especially if you’ve never made Instant Pot Cheesecake before.
Making Instant Pot Cheesecake
If there is one tip I can give you about making Instant Pot Cheesecake it is that you NEVER and I mean NEVER want to make cheesecake in your Instant Pot after you’ve cooked something in it without cleaning the rings.
I have to say, I don’t mind if I get a little chicken flavor in my loaded potato soup or chili but chicken and cheesecake do not go. YUCK!
So, you will need to either do a deep cleaning of your Instant Pot before making your cheesecake or just purchase new sealing rings.
The sealing rings help the Instant Pot have that nice tight seal but they also are major magnets for odor.
They trap odors like nobody’s business so you need to remove them, soak them and clean them regularly or you get flavors/scents stuck into the next recipe you make.
Personally, I like these Instant Pot Sealing Rings because I can color code them based on how I use them. I use the black for meat, mint for desserts and clear for everything else (like veggies and stuff). It really makes a difference.
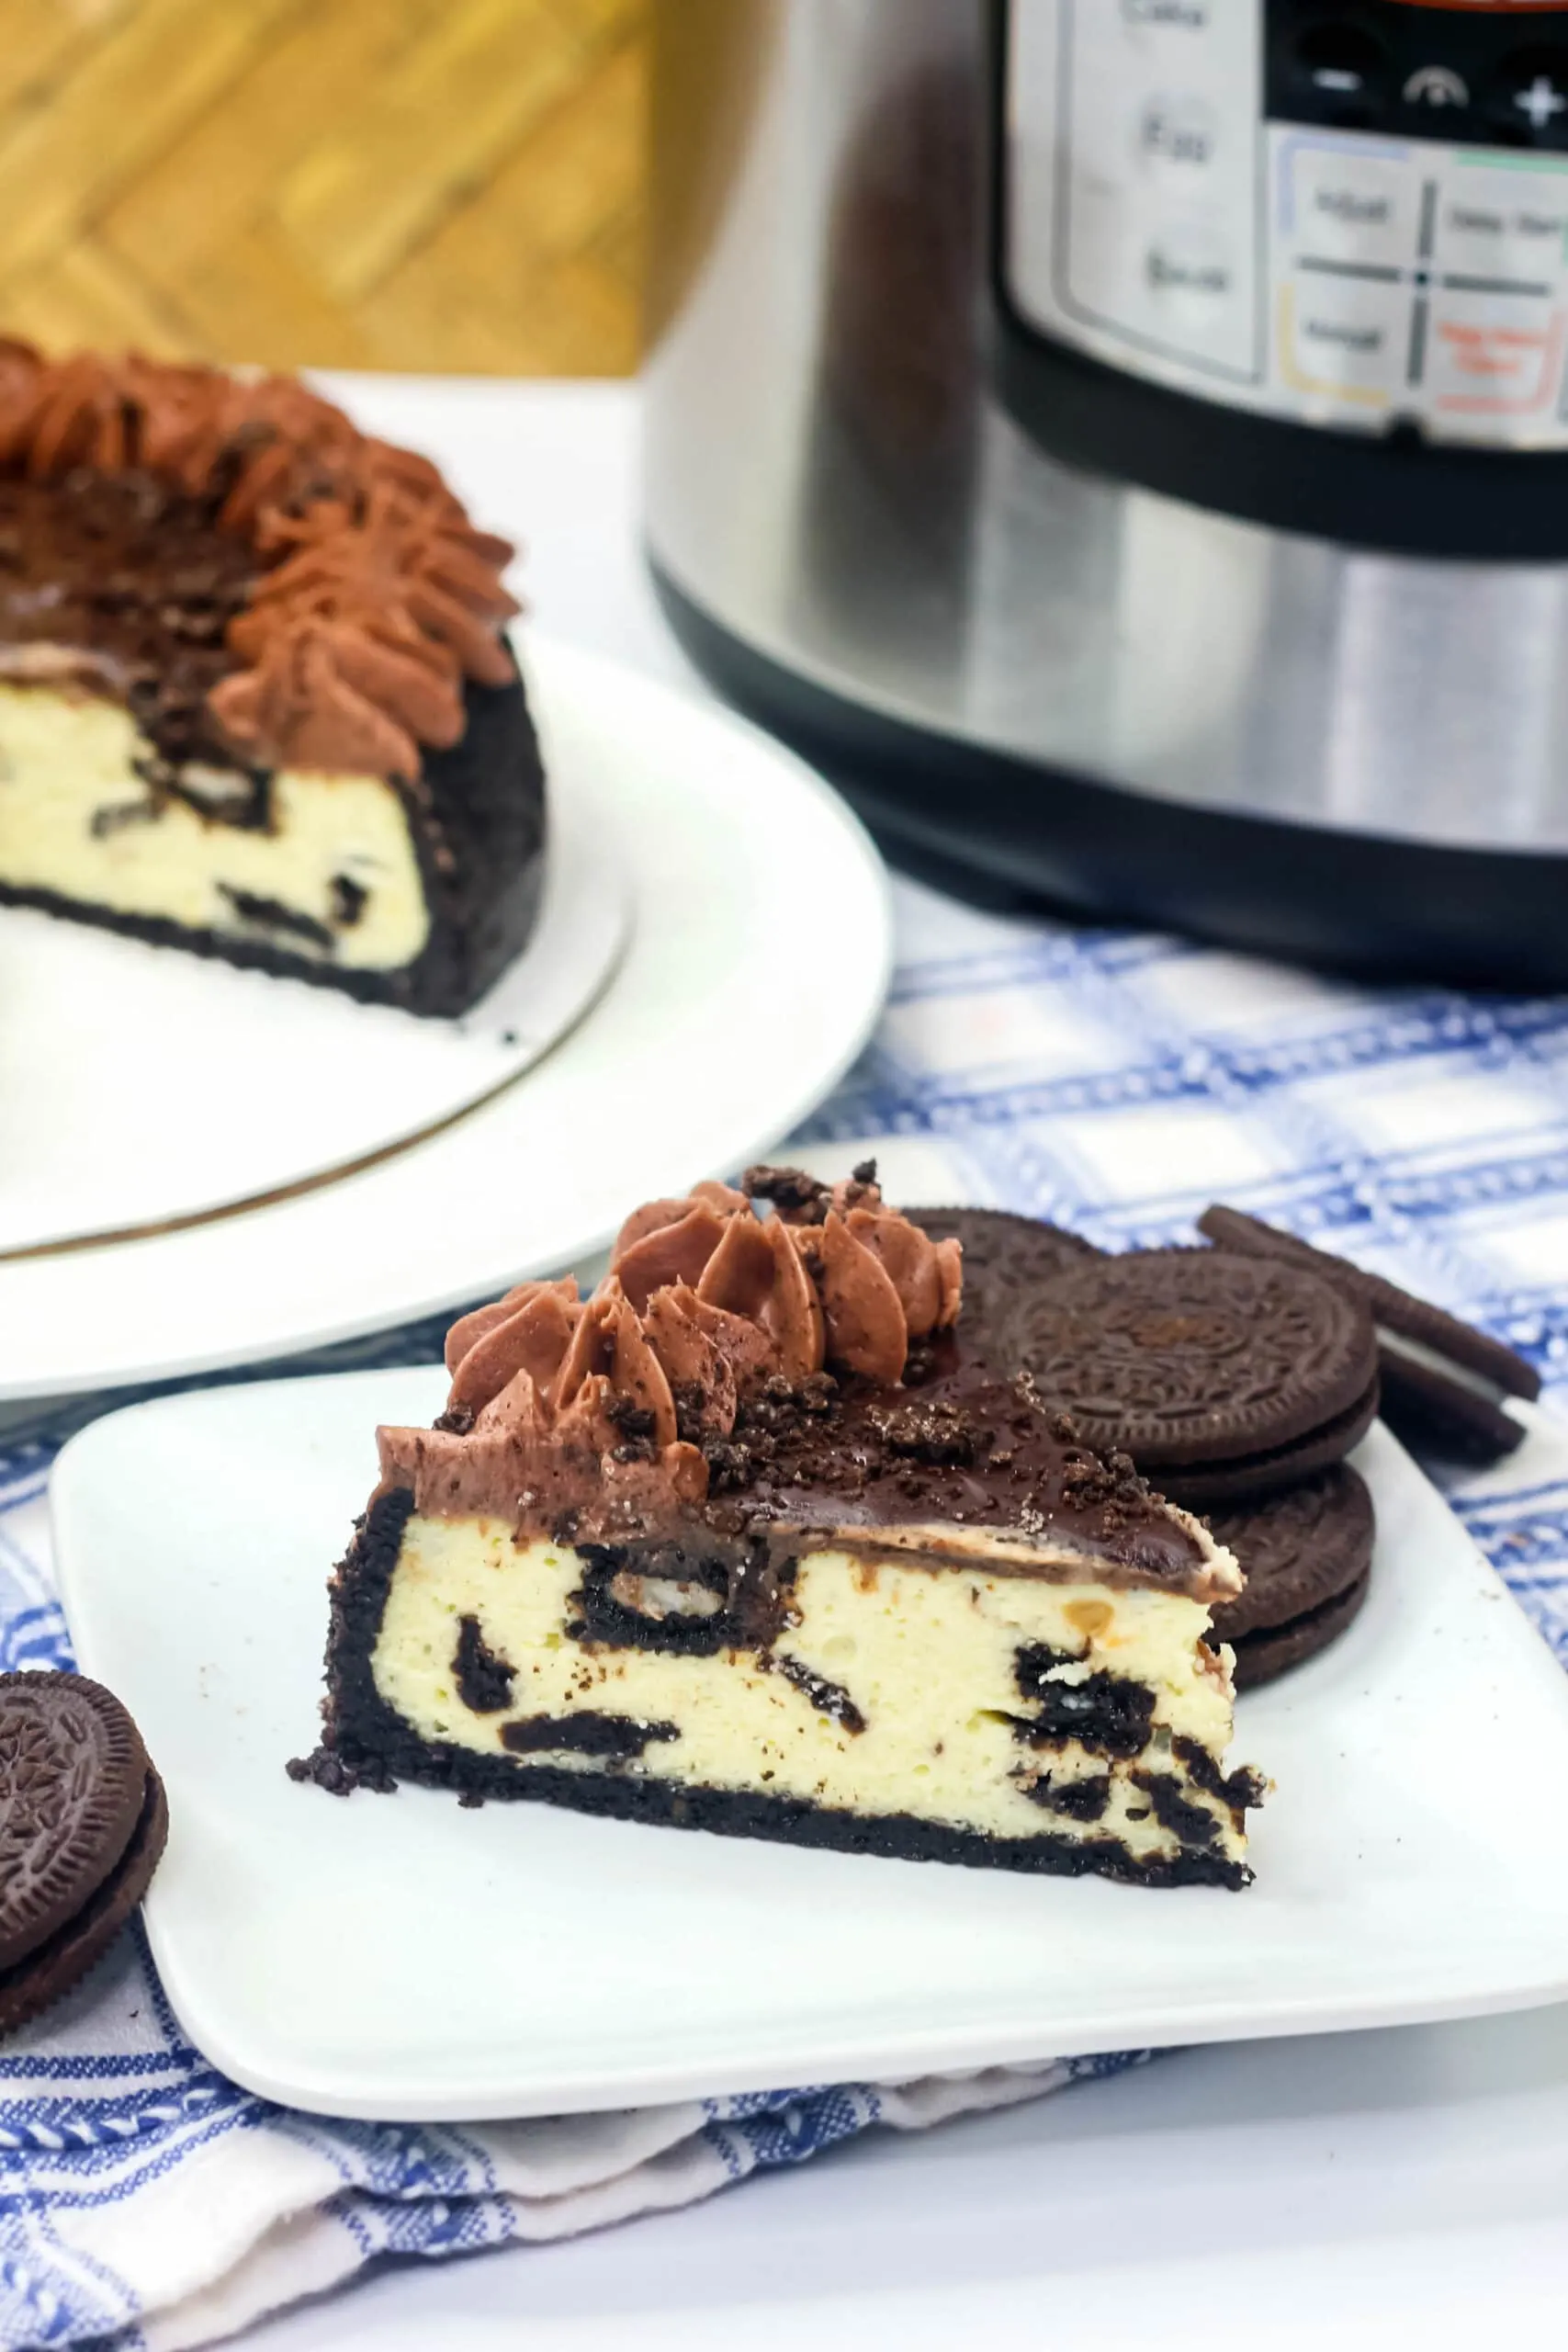
Aside from that, you just need the ingredients, an Instant Pot and a 7-Inch Springform Pan to make this tasty cheesecake. Don’t worry, sharing is not required.
How to Make Instant Pot Oreo Cheesecake

Instant Pot Oreo Cheesecake
Equipment
Ingredients
Crust Ingredients
- 15 Oreo cookies
- 3 TBSP unsalted butter melted
Cheesecake Batter Ingredients
- 2 packages 8 oz each cream cheese (softened)
- ½ C sugar
- 1 TBSP cornstarch
- 3 large eggs room temp
- ½ C heavy cream room temp
- 1 tsp vanilla
- 10 Oreo cookies chopped
Ganache Ingredients
- ⅓ C heavy whipping cream
- 1 C white chocolate chips
Chocolate Whipped Cream Ingredients
- 1 C heavy whipping cream
- ½ C powder sugar
- ¼ C cocoa powder
Garnish Ingredients
- 8 Oreo cookies chopped
Instructions
Crust Directions:
- Combine cookie crumbs and melted butter in a large bowl. Stir until both ingredients are well combined.
- Transfer the mixture to the prepped pan. With a measuring cup press down on the mixture to make a crust.
- With this crust, work to line the sides to about the middle of the pan.
- Move to the refrigerator and chill for at least 20 minutes.
Cheesecake Batter Directions:
- (Before you start ensure that all of the ingredients are at room temp.)
- Using an electric mixer, beat the cream cheese, sugar, and cornstarch on medium-low speed. Continue to beat until the mixture is light and fluffy. Scrape down the sides and bottom of the bowl. Reduce the mixer speed to low.
- Add in the heavy cream. Beat until blended. Scrape the bottom and sides of the bowl.
- Add one egg at at a time beating after each addition until combined.
- Add the vanilla beating to to mix well.
- Slowly begin to add in the chopped cookies. Stir to mix.
- Remove the crust from the refrigerator.
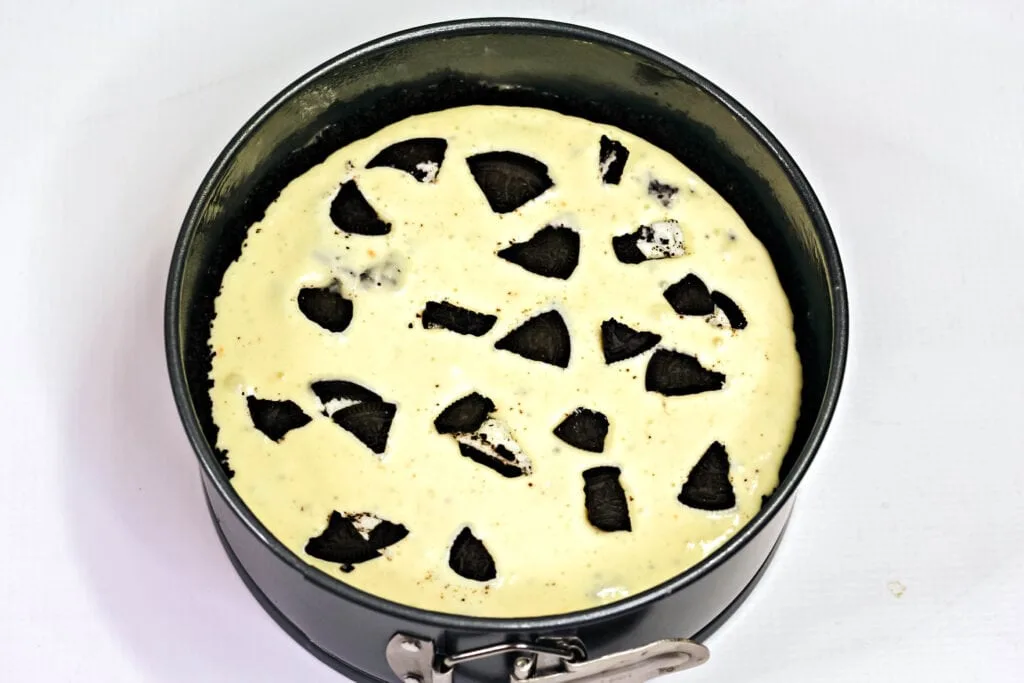
- Slowly begin to pour the cheesecake batter into the prepped pan and spread evenly.
Cooking Directions:
- Put the metal trivet into the Instant Pot. Add 1 1/2 cups of water.
- Gently place the cheesecake pan on top of the trivet. Cover the pan that has the cheesecake with foil.
- Set on manual setting. Adjust the pressure to high. Cook for 30 minutes. (30 minutes will make the cheesecake creamy while 35 minutes will result in a denser cheesecake.)
- When the IP beeps, release the pressure naturally for about 20-30 minutes.
- Carefully open the IP. Gently move the cheesecake to a cooling rack.
- Allow to cool for about 1 hour. Carefully run a paring knife around the edges of the cheesecake.
- Transfer the cheesecake (still in the springform pan) to the refrigerator for at least 6 hours or overnight.
Chocolate Ganache Directions:
- Pour the heavy cream in a microwave safe bowl.
- Put the bowl in the microwave for 45 seconds. (Or until it begins to bubble.)
- In a medium bowl add the white chocolate chips. Pour the hot heavy cream on top of the chocolate chips. Check to make sure all of the chips are covered with the heavy cream. Set the bowl aside for about 1 minute.
- After the minute start to slowly stir the mixture until all is totally blended. (If not all of the chips are melted return the bowl for another 20 seconds.) Stir. Repeat these last 2 steps as necessary until the chips are melted and incorporated. (If the mixture is too thin add move chips, If the mixture is too thick add more cream. If added stir until all ingredients are blended.)
- Move the serving plate close to the cheesecake. Remove the cheesecake from the pan.
- Set it on the serving plate.
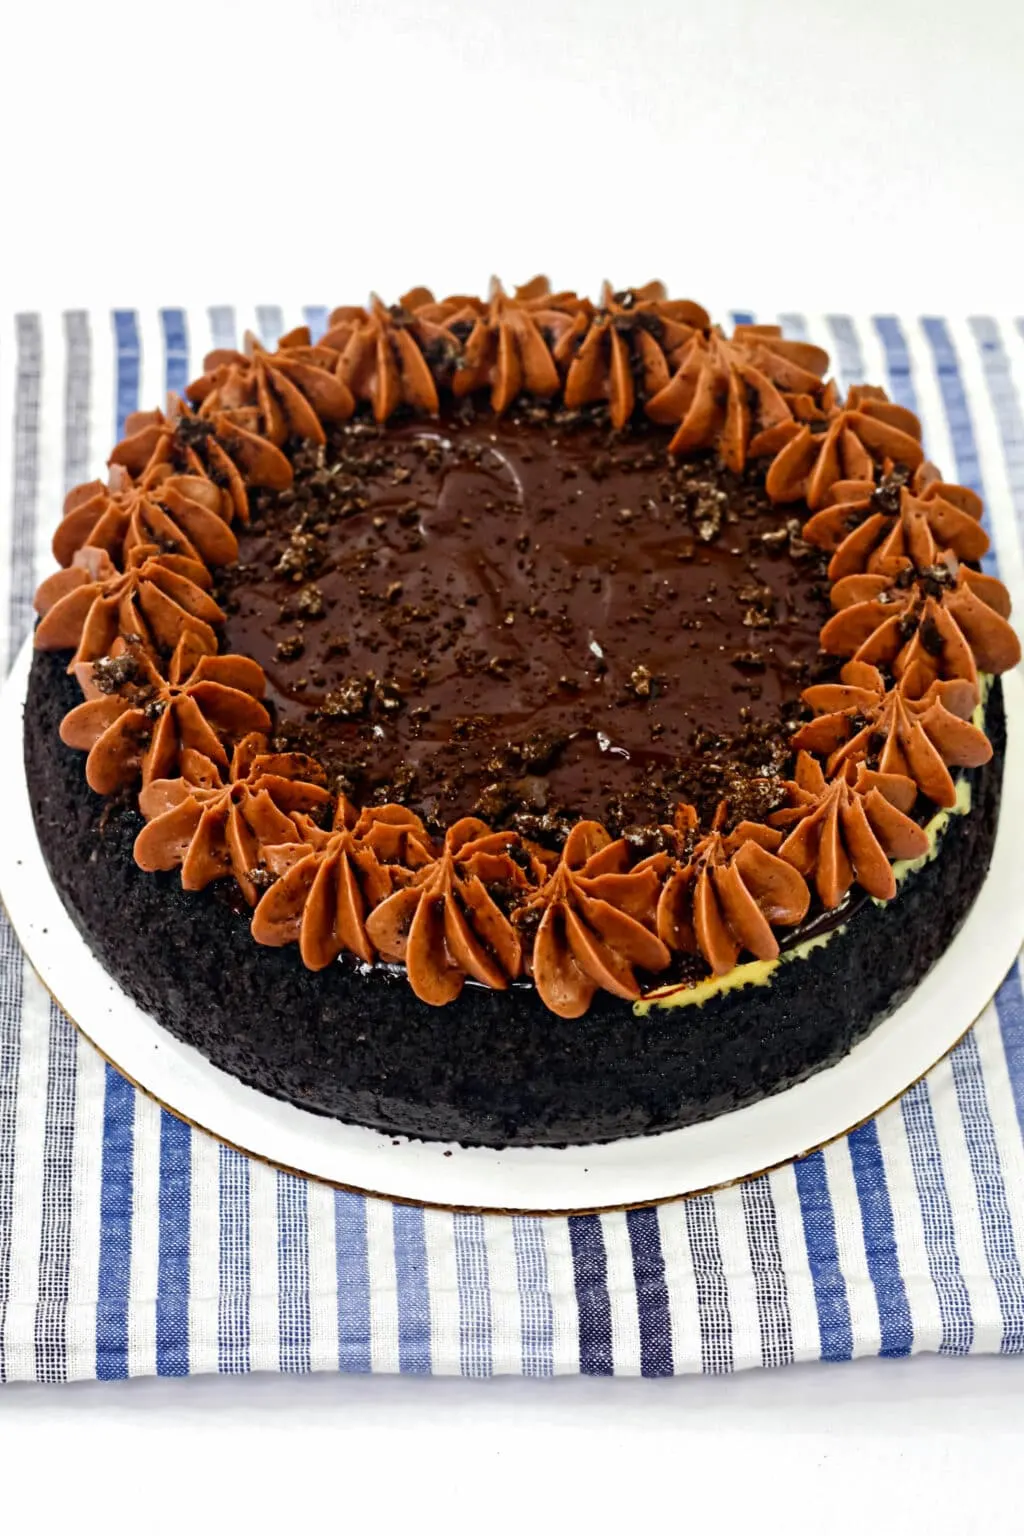
- Carefully pour the ganache over the cheesecake.’
Chocolate Whipped Cream Directions:
- Using a hand mixer, beat together the whipping cream, cocoa powder and powdered sugar until stiff peaks form.
- Scoop into the piping bag
- Using the piping bag with the chocolate whipped cream, pipe dollops along the edge
- Garnish with Oreo cookies.
- Set the cheesecake aside allowing the ganache to harden before cutting and serving.
- Return the left over cheesecake to the refrigerator. Cover the cheesecake loosely with foil. It will last in the refrigerator for about 1 week.
NUTRITION
Nutrition information is a rough estimate only; actual values will vary based on the exact ingredients used and amount of recipe prepared.
