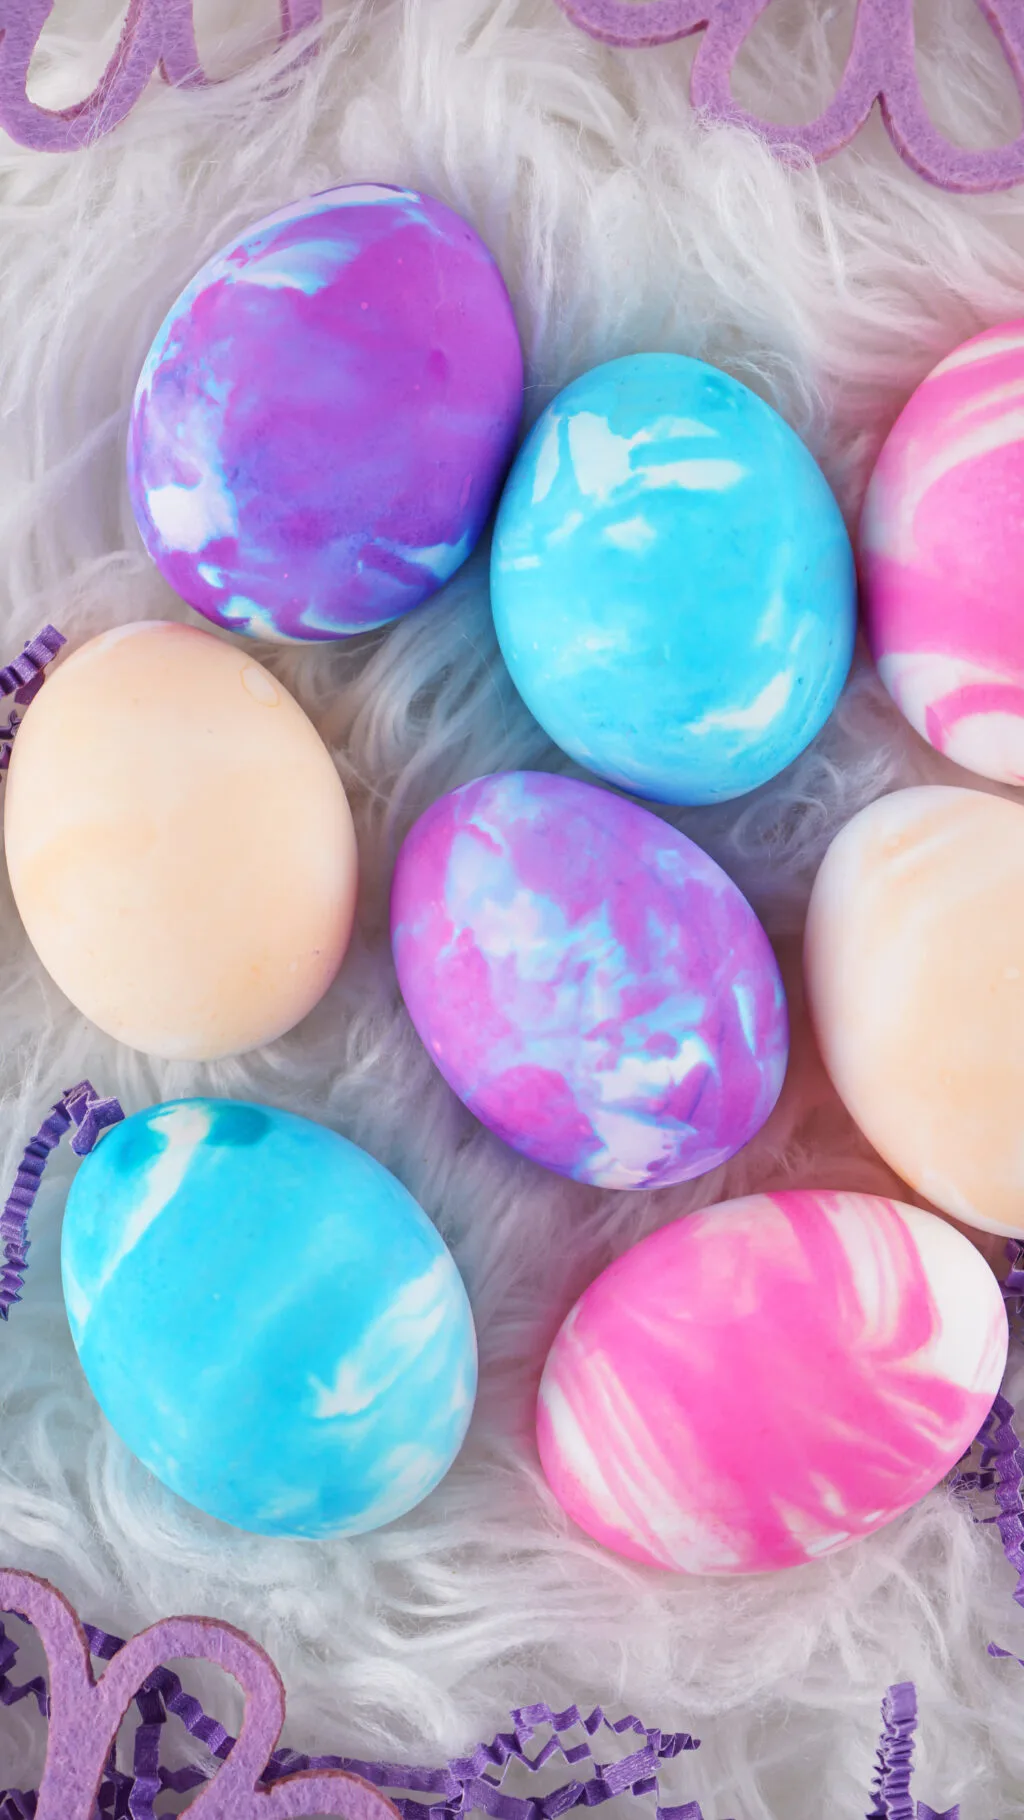
Forget the store-bought egg dyeing kits and learn How to Make Cool Whip Easter Eggs that combine hard-boiled eggs, whipped topping, white vinegar and food coloring to make colorful eggs for Easter!

Cool Whip Easter Eggs
While the traditional way of making beautiful Easter eggs works for many, I like to try different ways of dyeing Easter Eggs each year and it’s especially fun for the whole family.
So far, we’ve tried Kool-Aid Dyed Eggs, Dyed Eggs with Food Coloring, Dyed Easter Eggs with Fabric, Natural Yellow Egg Dye, Dyeing Easter Eggs with Rice, Dyeing Easter Eggs with Glitter and we’ve even made Easter Egg Dyed Potatoes!
This year we decided to give the cool whip method a try and we ended up loving it! It’s such an easy way to DIY Easter eggs.
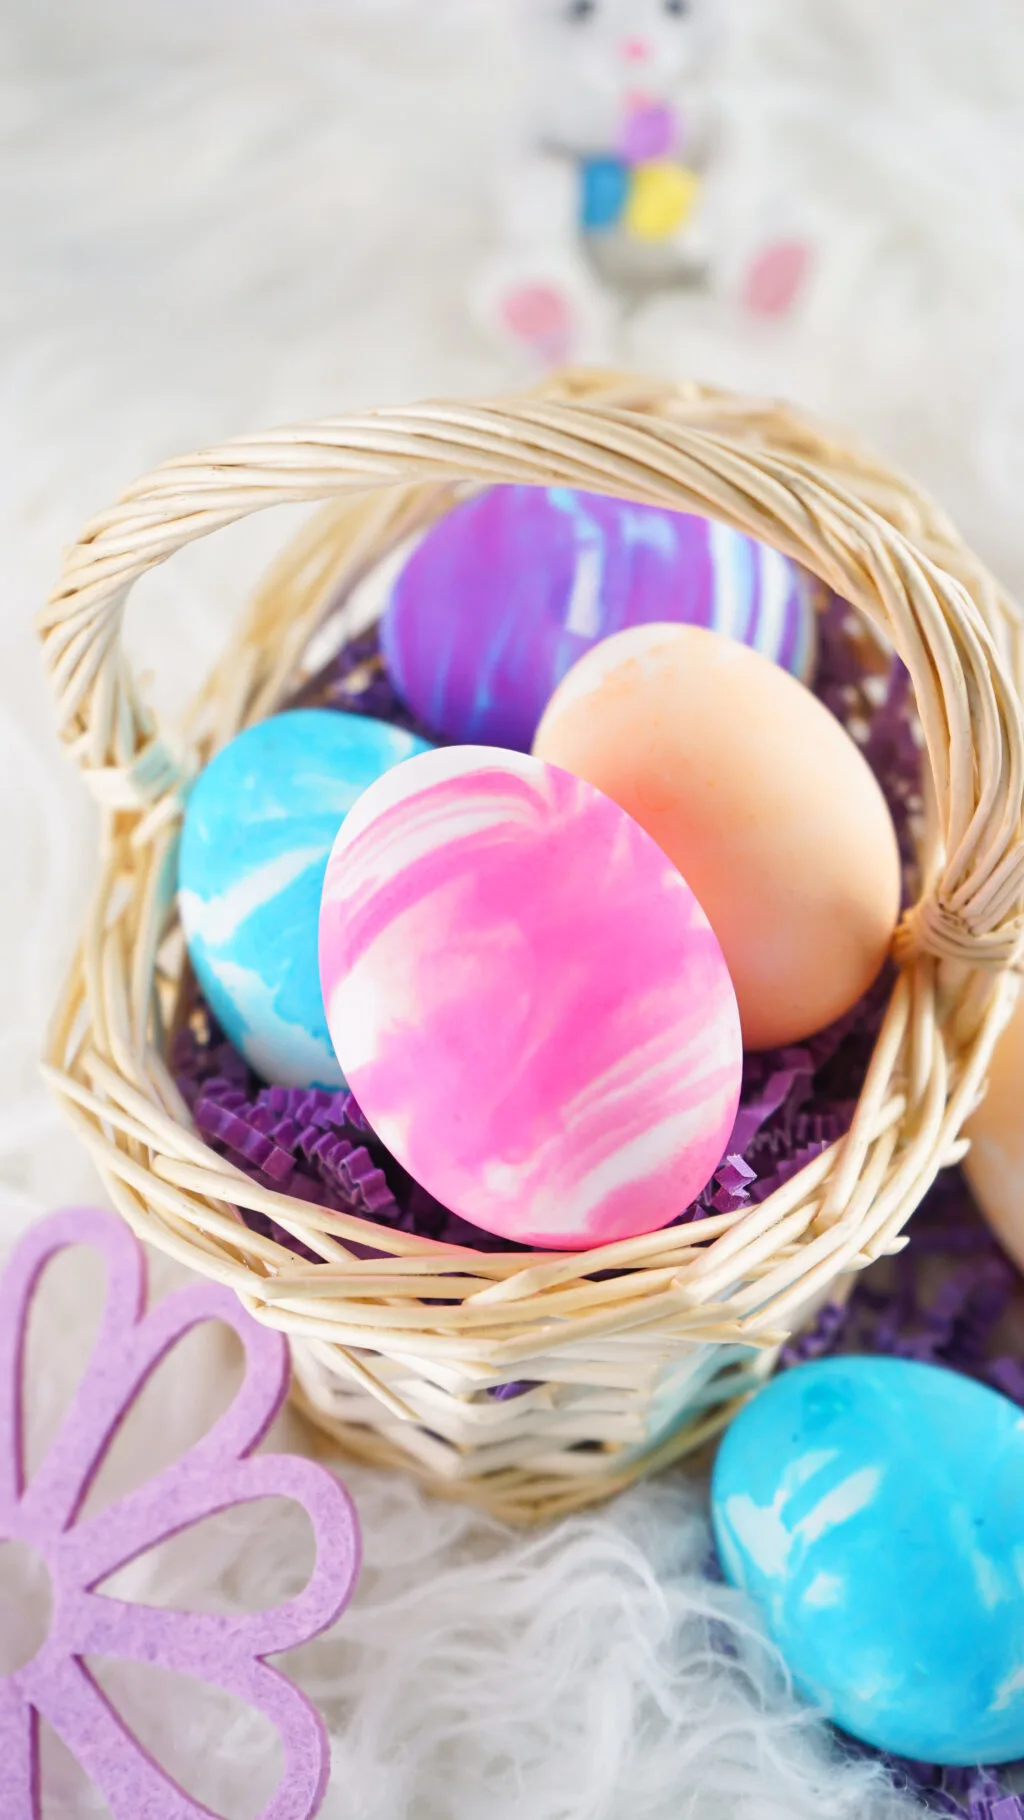
This is such a fun way to make the prettiest eggs in vibrant colors for Easter with a cool marbled effect. Plus, it’s perfect for younger children who may want to eat the ingredients! So, give this fun egg dyeing method a try and let me know what you think!
What You Need to Make Whipped Cream Easter Eggs
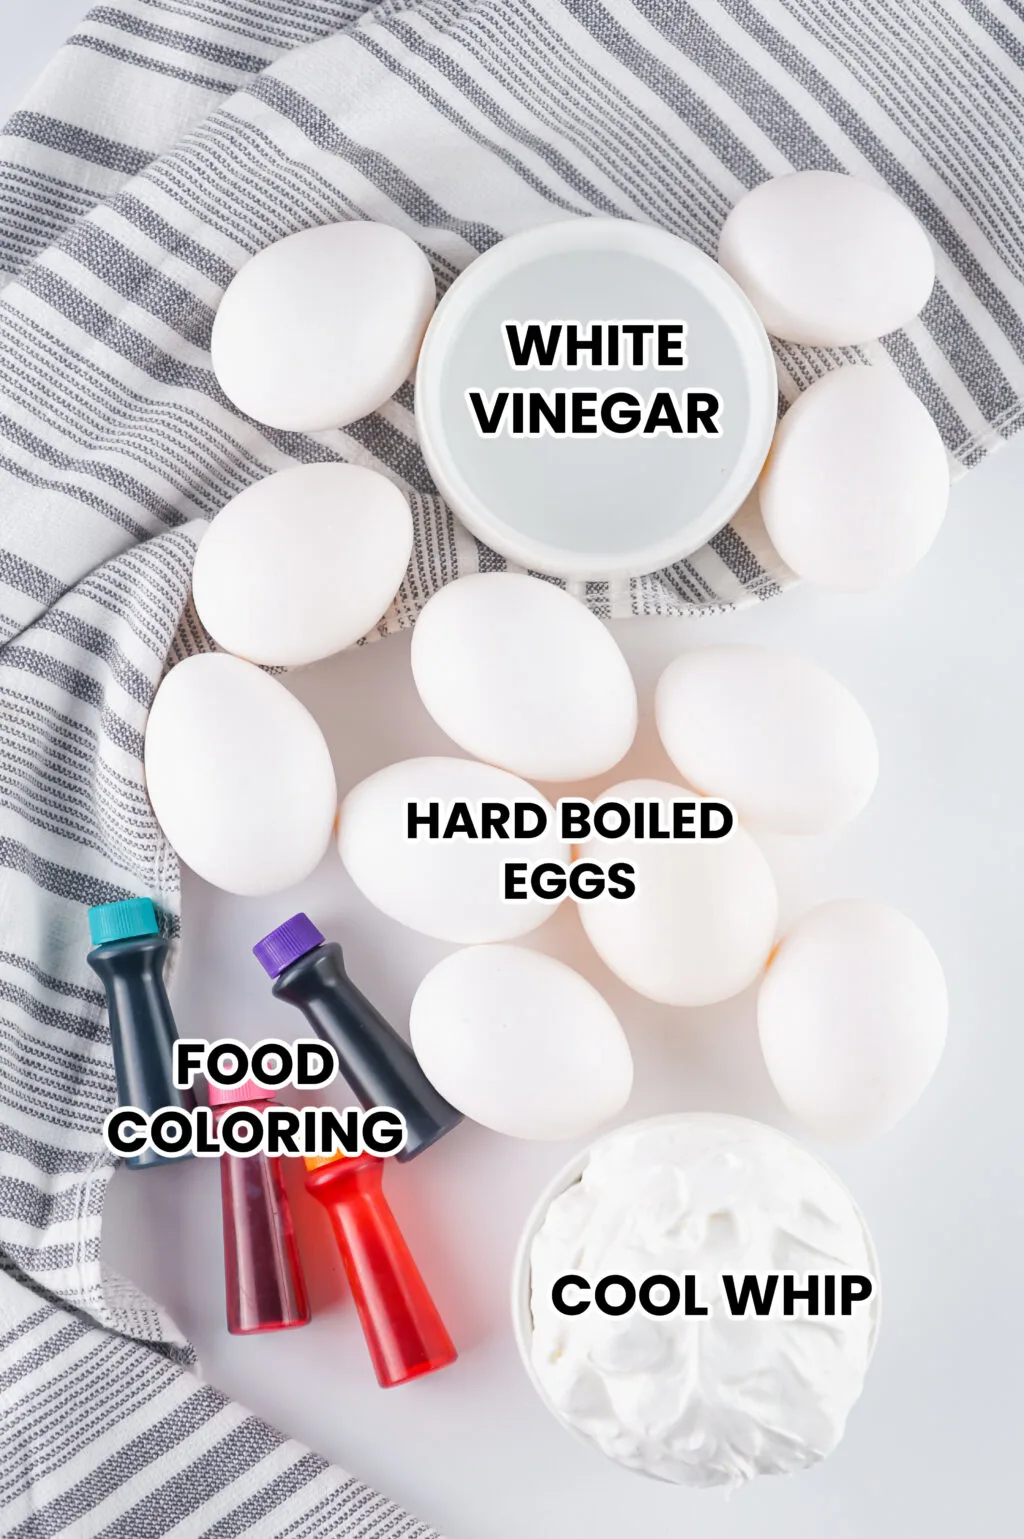
- Hardboiled Eggs – Make your eggs ahead of time and ensure they are cool. Try our recipe for the Best Hard Boiled Eggs Ever.
- Cool Whip – You can use light Cool Whip or Sugar-Free Cool Whip if you’d rather.
- White Vinegar– This helps adhere the color to the egg shell.
- Food Coloring – You can use any food dye you wish. I prefer gel food coloring as it makes the colors more vibrant.
You will also need: - 9×13 Baking Dish
- Rubber Gloves
- Toothpicks
- Large Bowl
- Paper Towels
How long do you leave eggs in Cool Whip?
You are going to let the eggs sit in the cool whip mixture for 10-15 minutes. The longer you allow them to sit, the darker and more vibrant the color will be.
Is shaving cream or Cool Whip better for eggs?
If you plan to consume (eat) the eggs after dyeing, you will want to use Cool Whip. Egg shells are porous so you want to ensure the materials you use are safe to consume.

Is it safe to eat dyed Easter Eggs?
Depending on the method, dyed Easter eggs are safe to consume. As long as the method of dyeing is safe for consumption such as cool whip dye, the eggs are safe to eat.
How do I store leftovers?
Store any leftovers in an airtight container in the fridge for a few days. Peel the egg shells prior to consuming.
Helpful Tips
- When allowing the eggs to sit in between steps, you can place them in the fridge so they’re still edible once you’re finished dyeing them.
- Using rubber gloves simply keeps the dye from getting all over your hands and making them pretty colors.
- You can use other pans and dishes if you like. Whatever you have on hand. Just as long as the cool whip stays about 1-inch deep.
- Don’t let the eggs sit overnight in the cool whip or it will start to eat into the shell.
- If using gel food dye, go easy on how much you use as it’s very strong compared to the liquid dyes.
How to Make Cool Whip Easter Eggs
Begin by placing your hard boiled eggs into your bowl of white vinegar. Allow to sit for roughly 10 minutes.
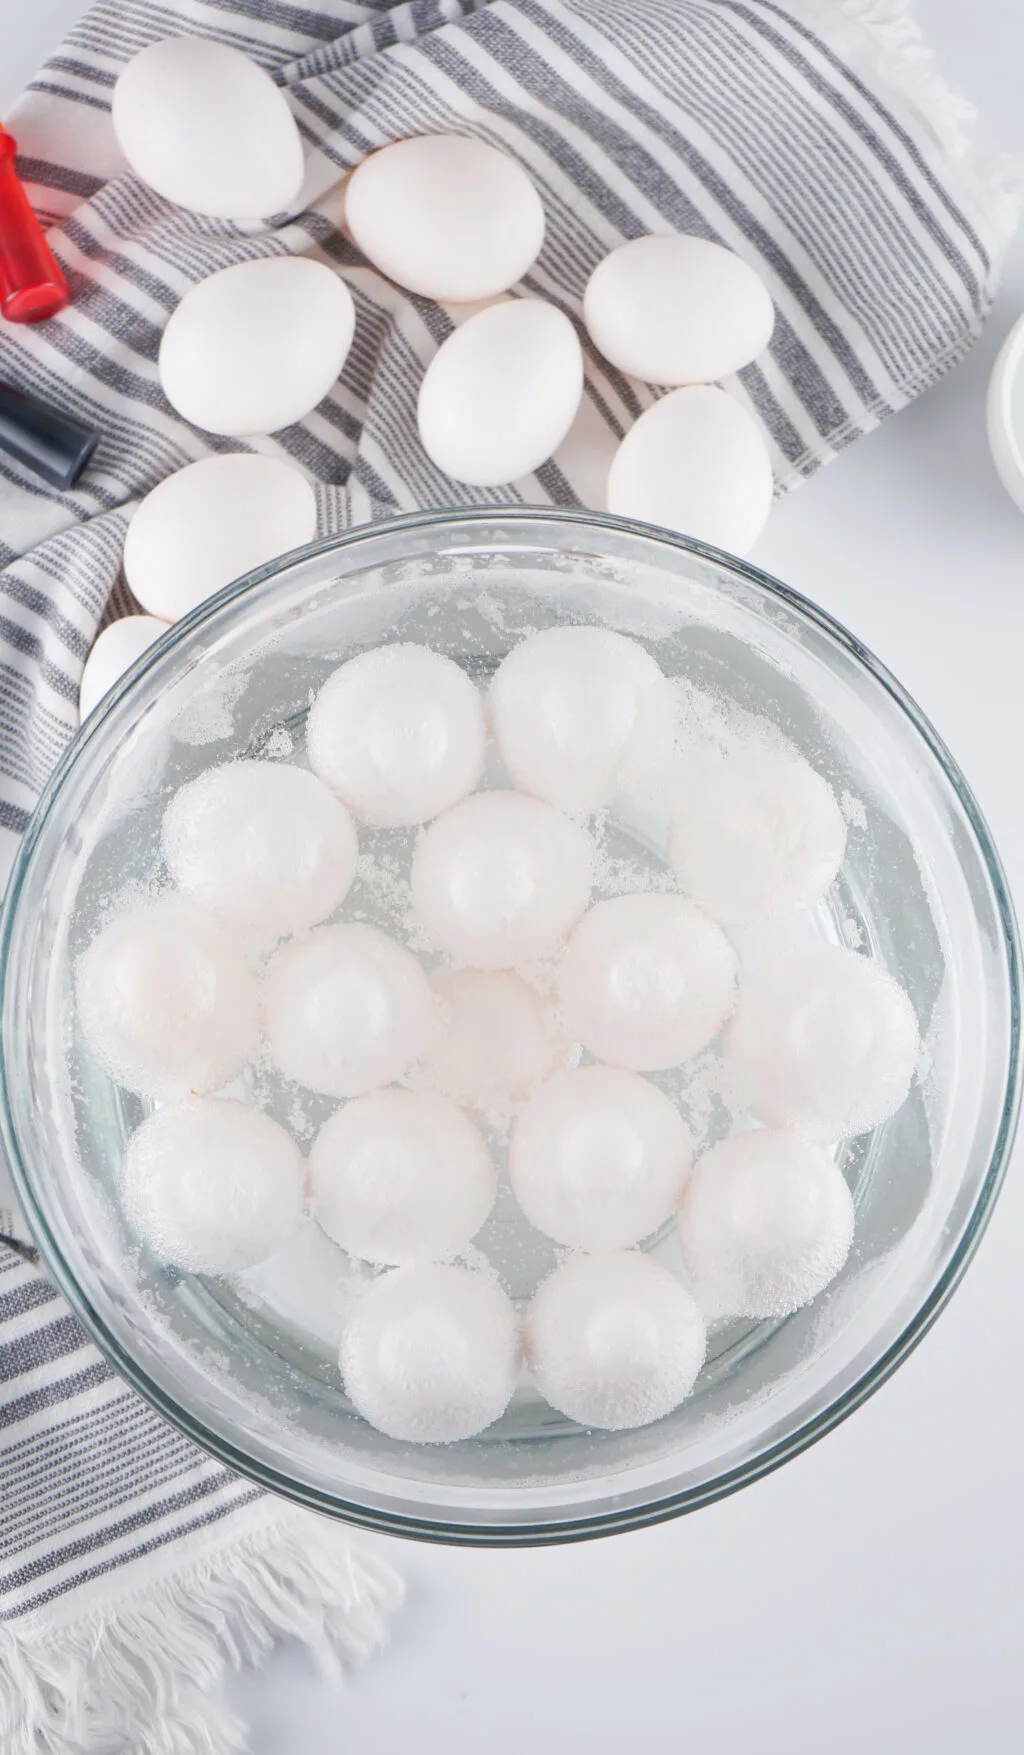
Rinse eggs and let dry before moving onto next step.
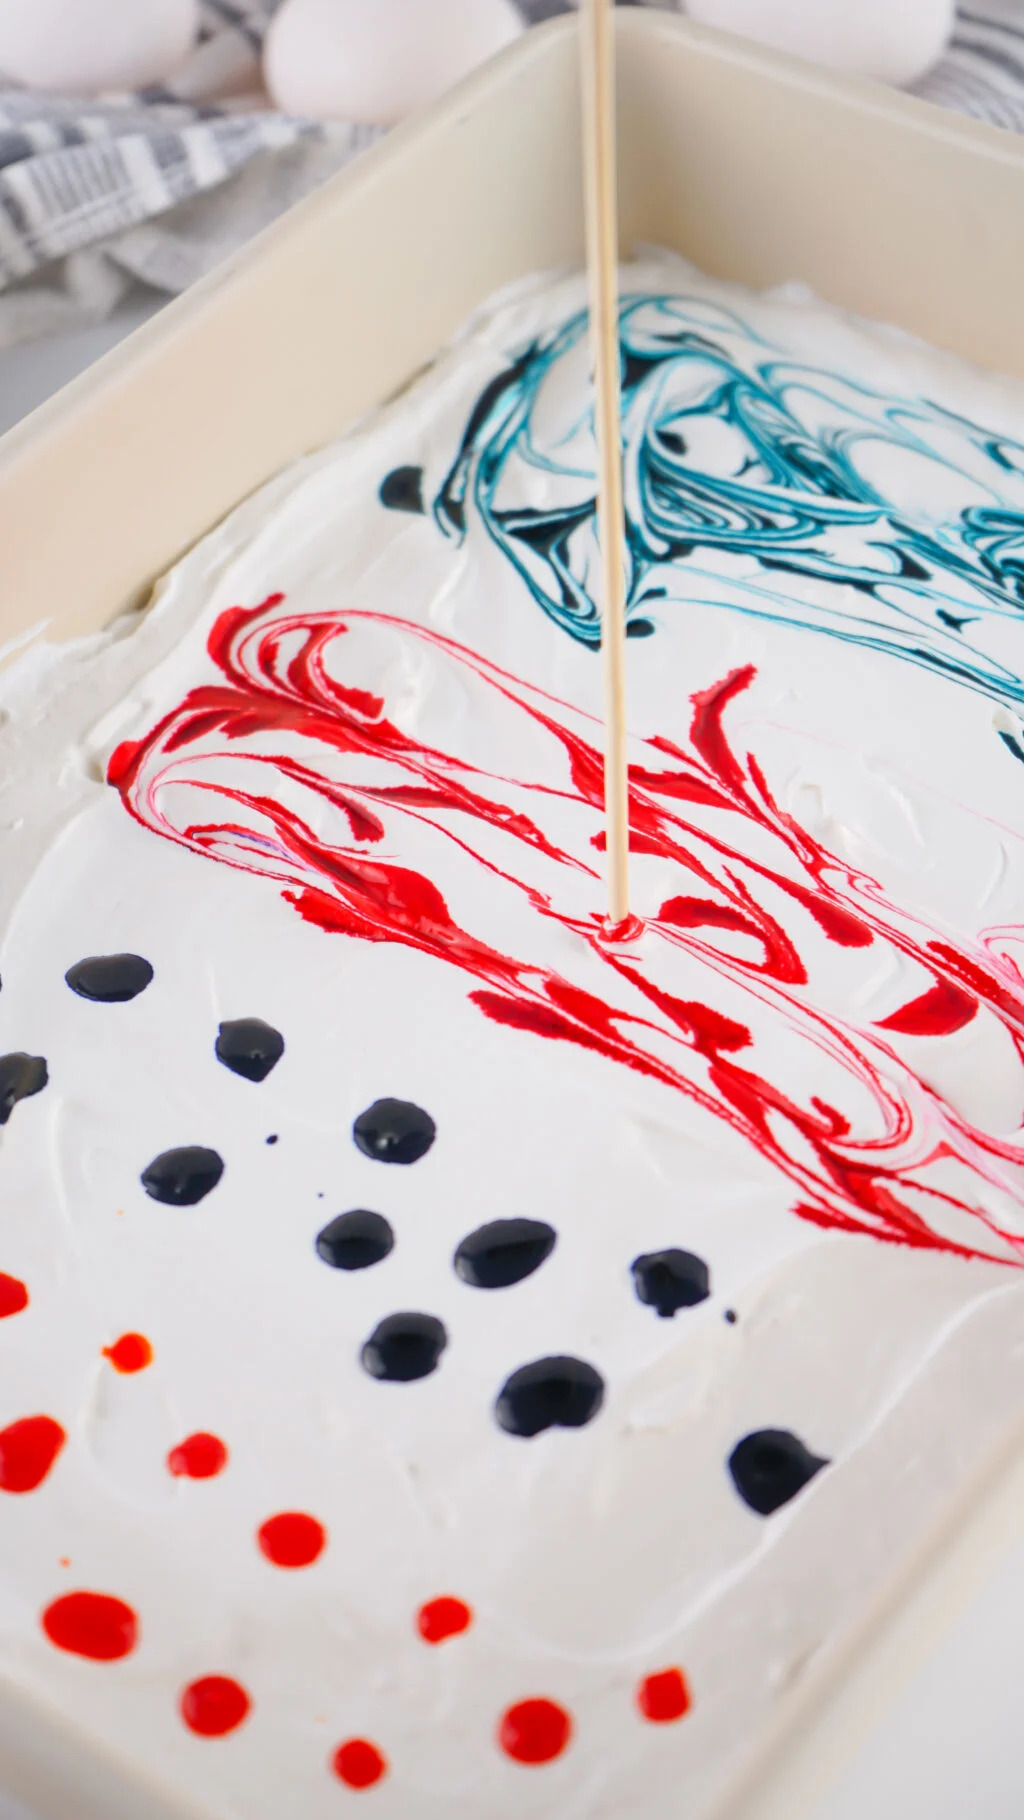
Once dry, place your cool whip into a large pan and add drops of food coloring into it.
Use a bamboo stick to swirl the food coloring into the whipped topping.
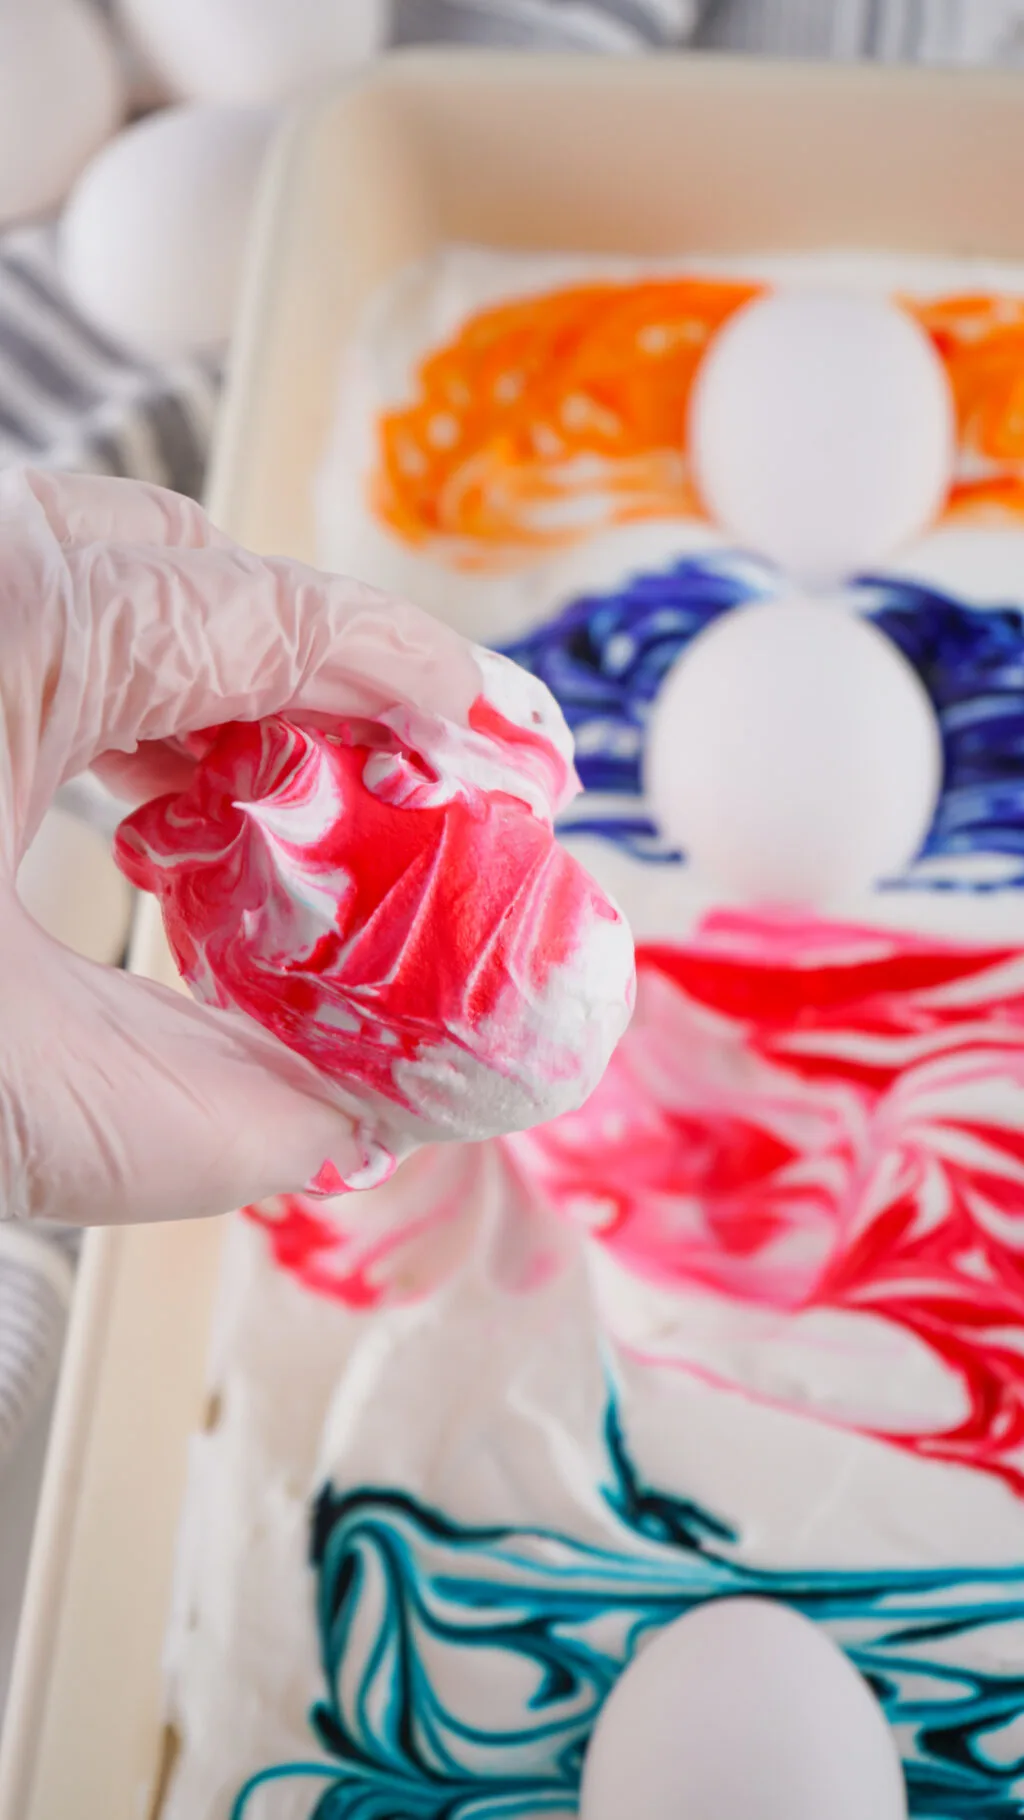
Roll your eggs into the mixture allowing them to sit in it for roughly 10 minutes.
Carefully remove eggs (wear gloves during this step) rinse and allow to dry on a paper towel.
When ready, serve and enjoy the beautiful colored eggs!
You can even leave some out for the Easter Bunny!

Cool Whip Easter Eggs
Ingredients
- 24 Boiled Eggs
- 1 Tub Cool Whip 16 ounces
- Gel or Liquid Food Dyes
- Vinegar see step 1 for more details
Instructions
- Place the boiled eggs in a bowl of vinegar and let them soak for about 15 minutes. Do not over soak them or the vinegar will start to eat away at the shell. The amount of vinegar needed will depend on the amount of eggs you’re using and the size/shape of your bowl. I just get a big jug of vinegar and keep it on hand and fill the bowl until the eggs are covered, then store the egg vinegar once I’m finished with it, for the following year when we do eggs again.
- Rinse the eggs and let them dry.
- Spread the cool whip in an even layer inside the 9×13 pan.
- You can designate certain areas for specific colors or do multiple colors in one area for a multi-colored egg. Just place a couple drops of food dye in each designated area and use a toothpick to swirl the color into the cool whip. You can’t really mess up how much dye goes into the cool whip, unless you go hog wild and add too much and then it gets messy.
- Using gloves, roll the eggs in the cool whip until completely covered, and let sit for at least 10 minutes.
- Rinse the eggs (do not rub) and place on paper towels to fully dry. Once dry, the color won’t transfer off of the eggs.
- I was able to easily make 24 eggs with one tub of cool whip. Store in fridge until ready to eat!
NUTRITION
Nutrition information is a rough estimate only; actual values will vary based on the exact ingredients used and amount of recipe prepared.
